
How to Make a Simple Spring Wreath in 10 Minutes
I have desperately needed a new Spring wreath. It’s March and until last week I still had a Winter wreath hanging on my front door – oops!
I love checking out all the beautiful wreaths online and in stores but do NOT want to shell out the $60+ for something to hang on my door. My mother-in-law had given me one of the many grapevine wreaths she had lying around her house, so that’s where I started. I made a trek to the craft store and set to work thinking of the most simple way to dress it up within a small budget and this is what I came up with:
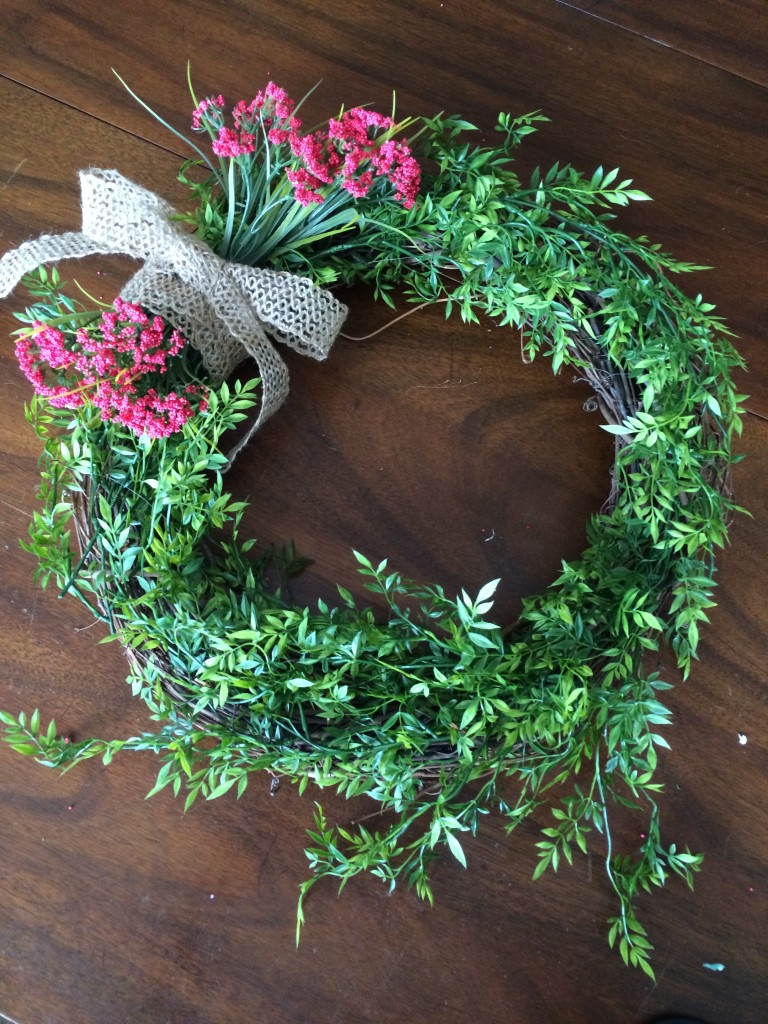
The BEST part…I made this $15 wreath in 10 minutes!
Here are the supplies I picked up along with additional items you’ll need to complete the project:
- Greenery – $8.99
- Flowers – $2.39
- Wired Ribbon – $2.39 (40% off coupon)
- Grapevine Wreath (already had)
- Thin Wire (already had)
- Wire Cutters (already had)
There is one simple, little trick that I used on this project that I have never used before and I’m convinced it’s what made this wreath so quick to complete. It was the use of wire to attach the greenery! I know that’s not rocket science but I had never thought of it before – I always used my trusty hot glue gun, but that caused me some troubles that I could never overcome.
My front door faces west, on a brick house with zero shade. The front of my house gets SO hot in the afternoon during spring and summer that I’ve actually had wreaths completely fall apart, especially the ones that I’ve made using hot glue. I’m hoping this trick will save the life of my new wreath.
Here are the steps:
- Using your wire cutters, cut large sections of greenery and lay them on your grapevine wreath in a natural looking pattern.
- Wrap your wire around your greenery and twist together tightly to secure the initial loop.
- Continue to wrap your wire around the greenery just tight enough to securely hold the shape of the greenery around the grapevine frame.
- When you have wrapped your wire completely around, hold your wreath up as if it was hanging on your door and tighten or loosen the wire as necessary in order to create a natural looking shape.
- When you are happy with your design, twist the ends together and snip with your wire cutters
- If you choose to add flowers, go ahead and cut the stems so that you have several sections of flowers
- Once you’ve decided where you want the flowers to go, you can tuck the stems into the wreath until they are secure. You may want to wrap additional wire around the stems to secure it even further.
- Take your wired ribbon and attach a bow!
That’s it!
You’re done and now YOU have a beautiful wreath for your door or home.