
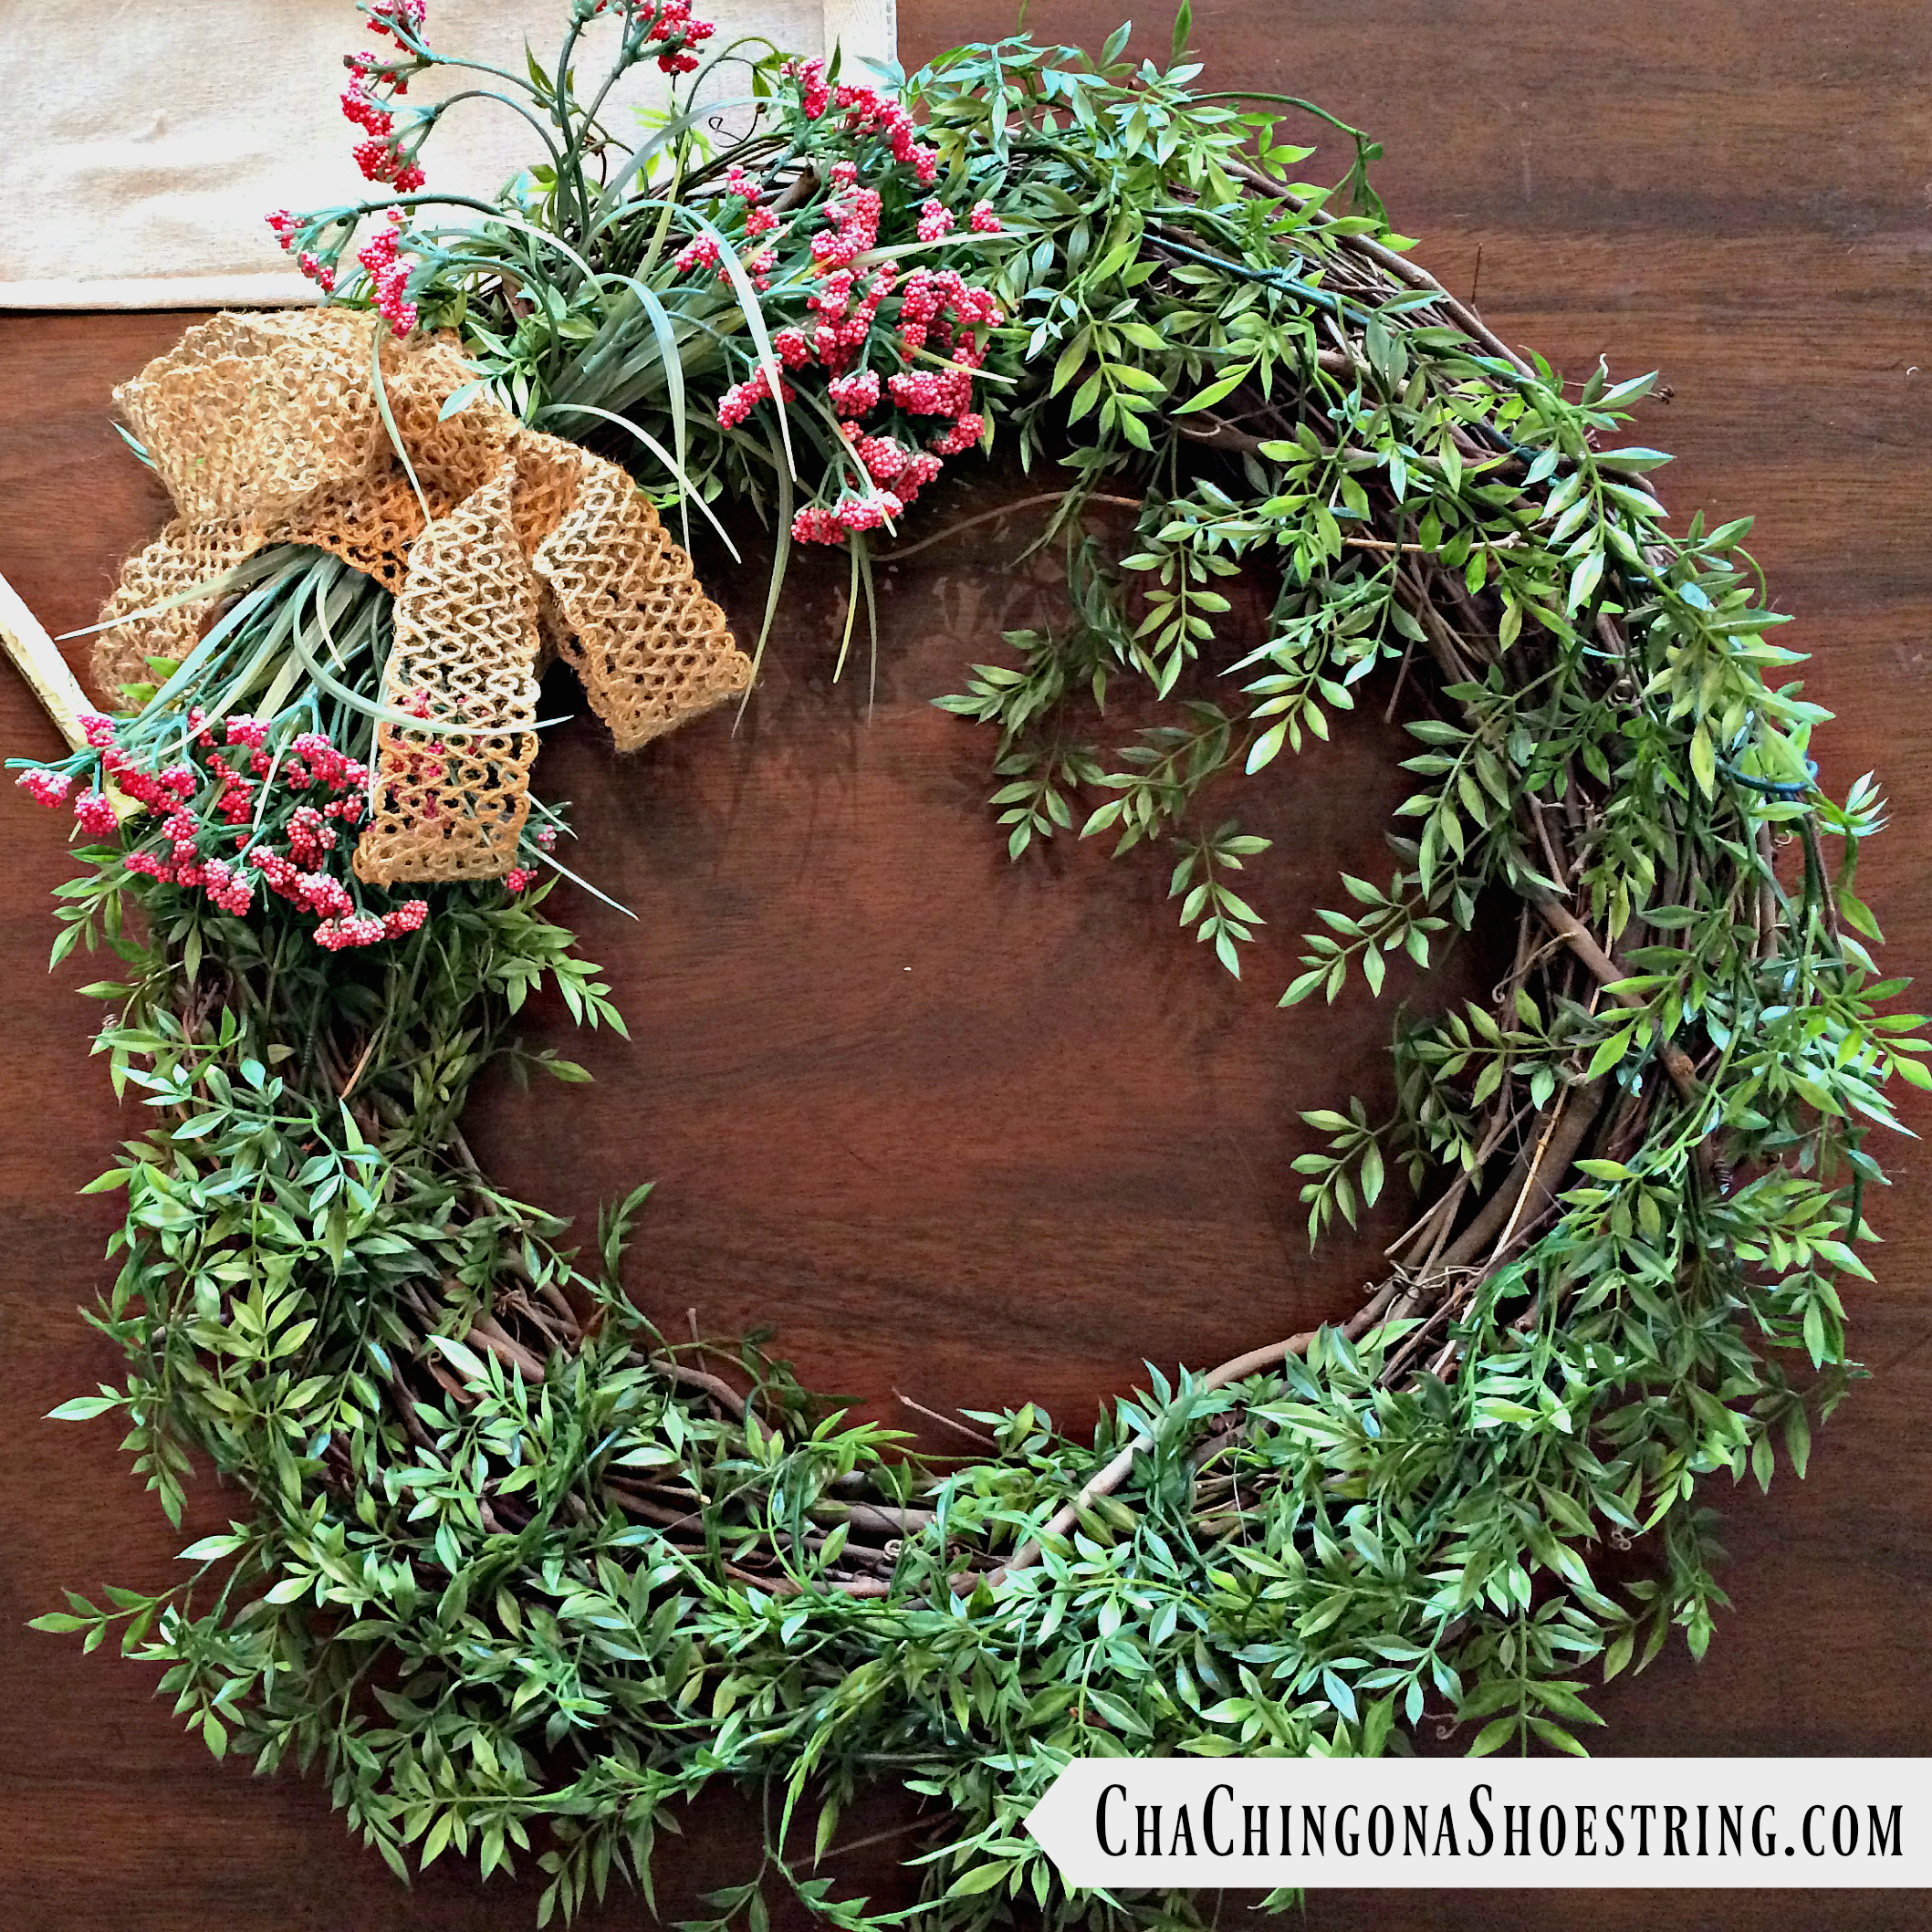
Do you remember the easy wreath I made back in the Spring for under $15? Well as you can see in the picture below, it’s hung in there so nicely on my front door all summer long and now I’m ready to give it a beautiful FALL makeover – all on a tiny budget too.
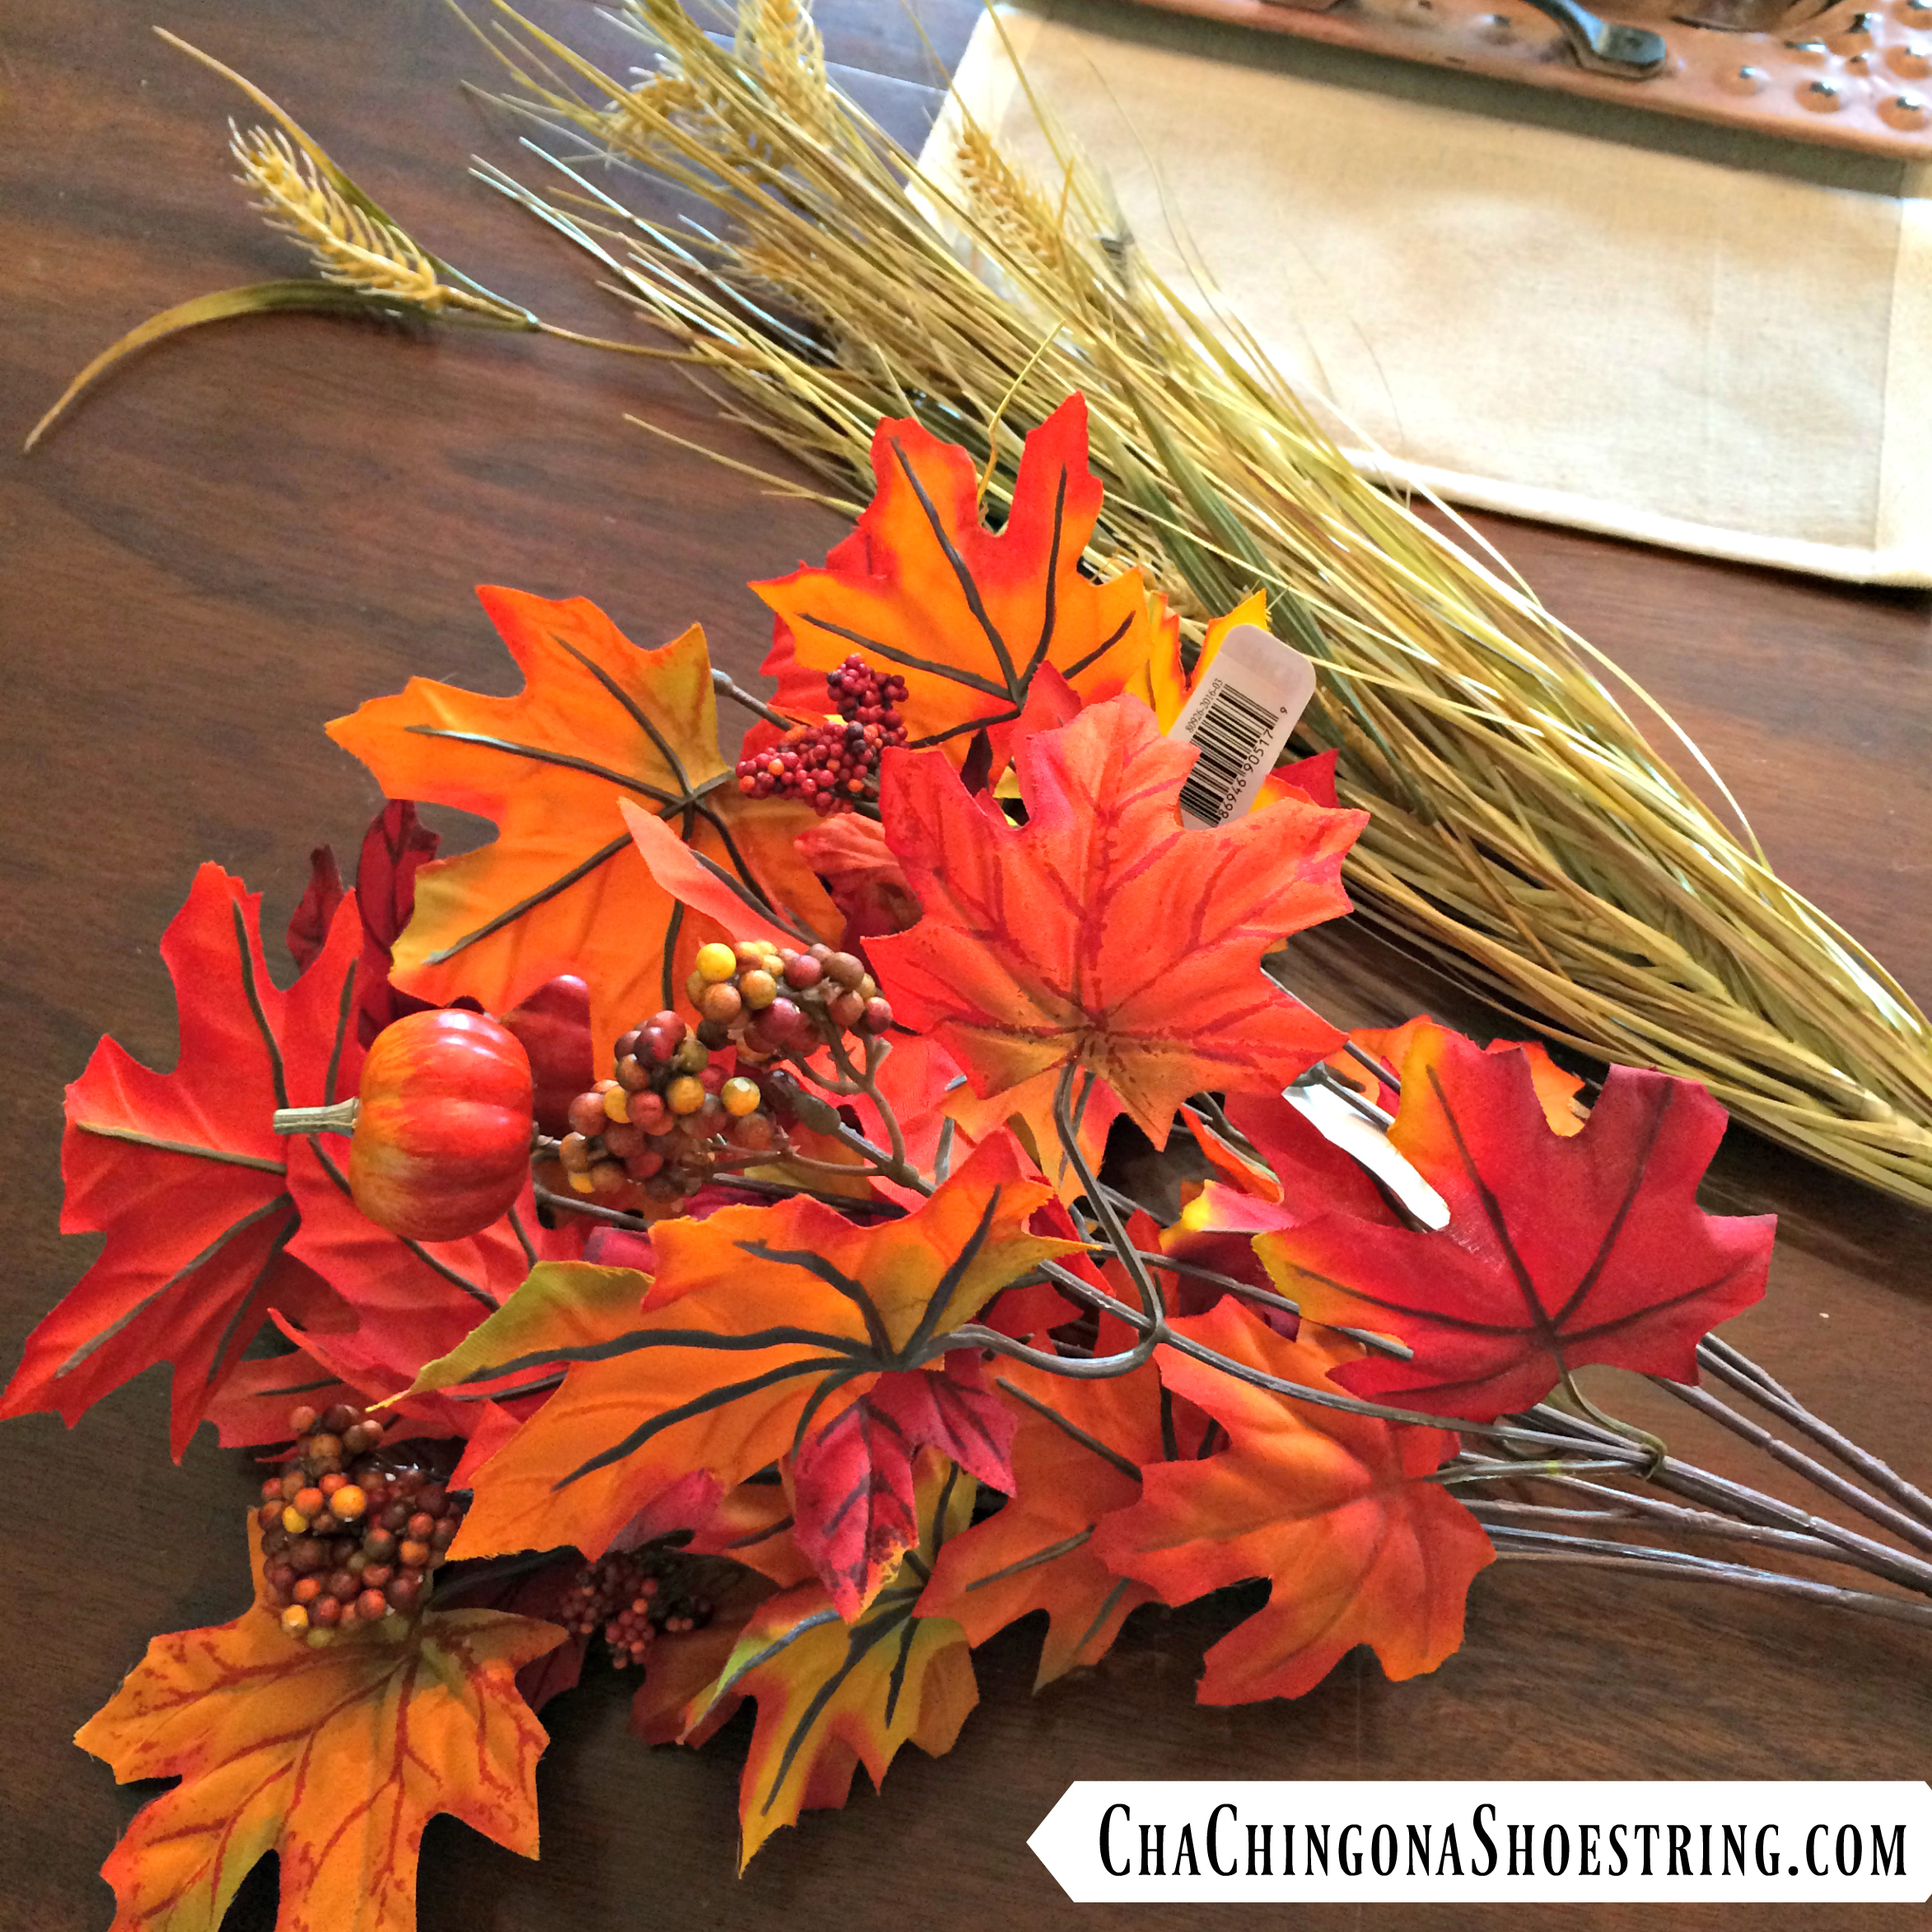
I bought these two items at the craft store (at 40% off of course!) and plan to incorporate them into my wreath to transition it into a fall beauty!
Step 1:
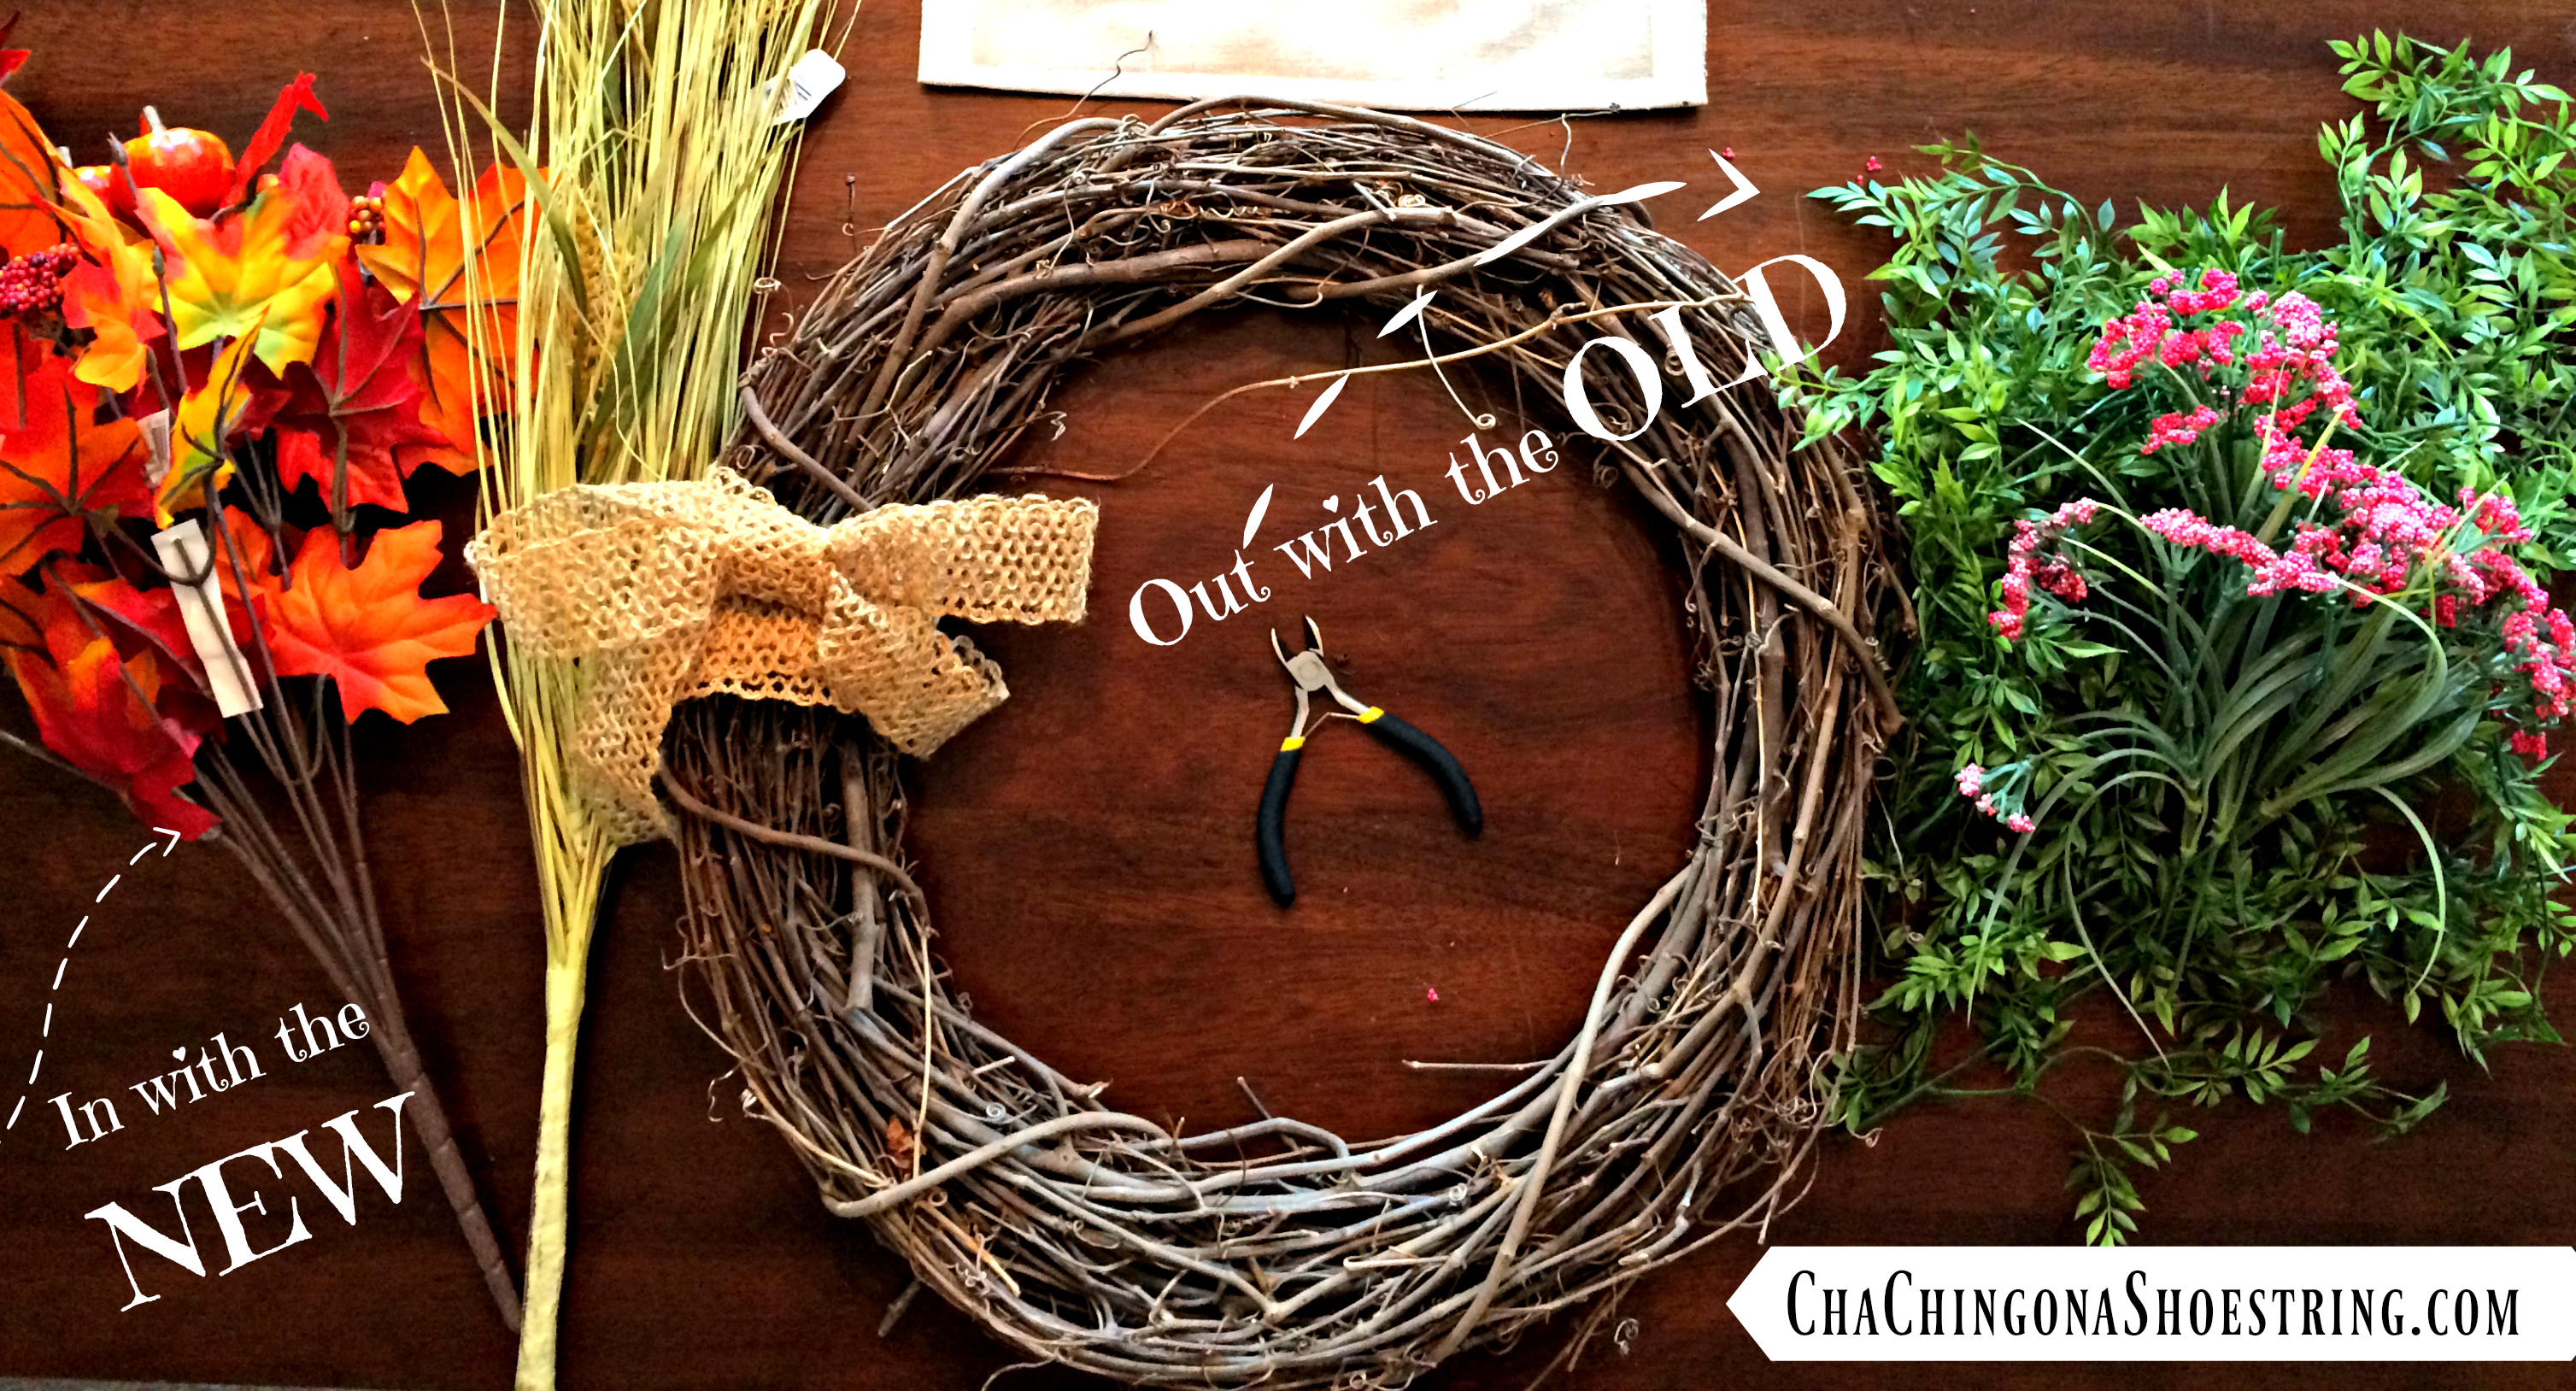
If you remember, I chose not to use hot glue to attach my greenery and flowers to the grapevine wreath back in the spring due to several reasons. This makes my Fall makeover a cinch! All I need to do is unwind or snip the floral wire I used to wrap the greenery around the wreath and simply untuck and remove the old stems.
Step 2:
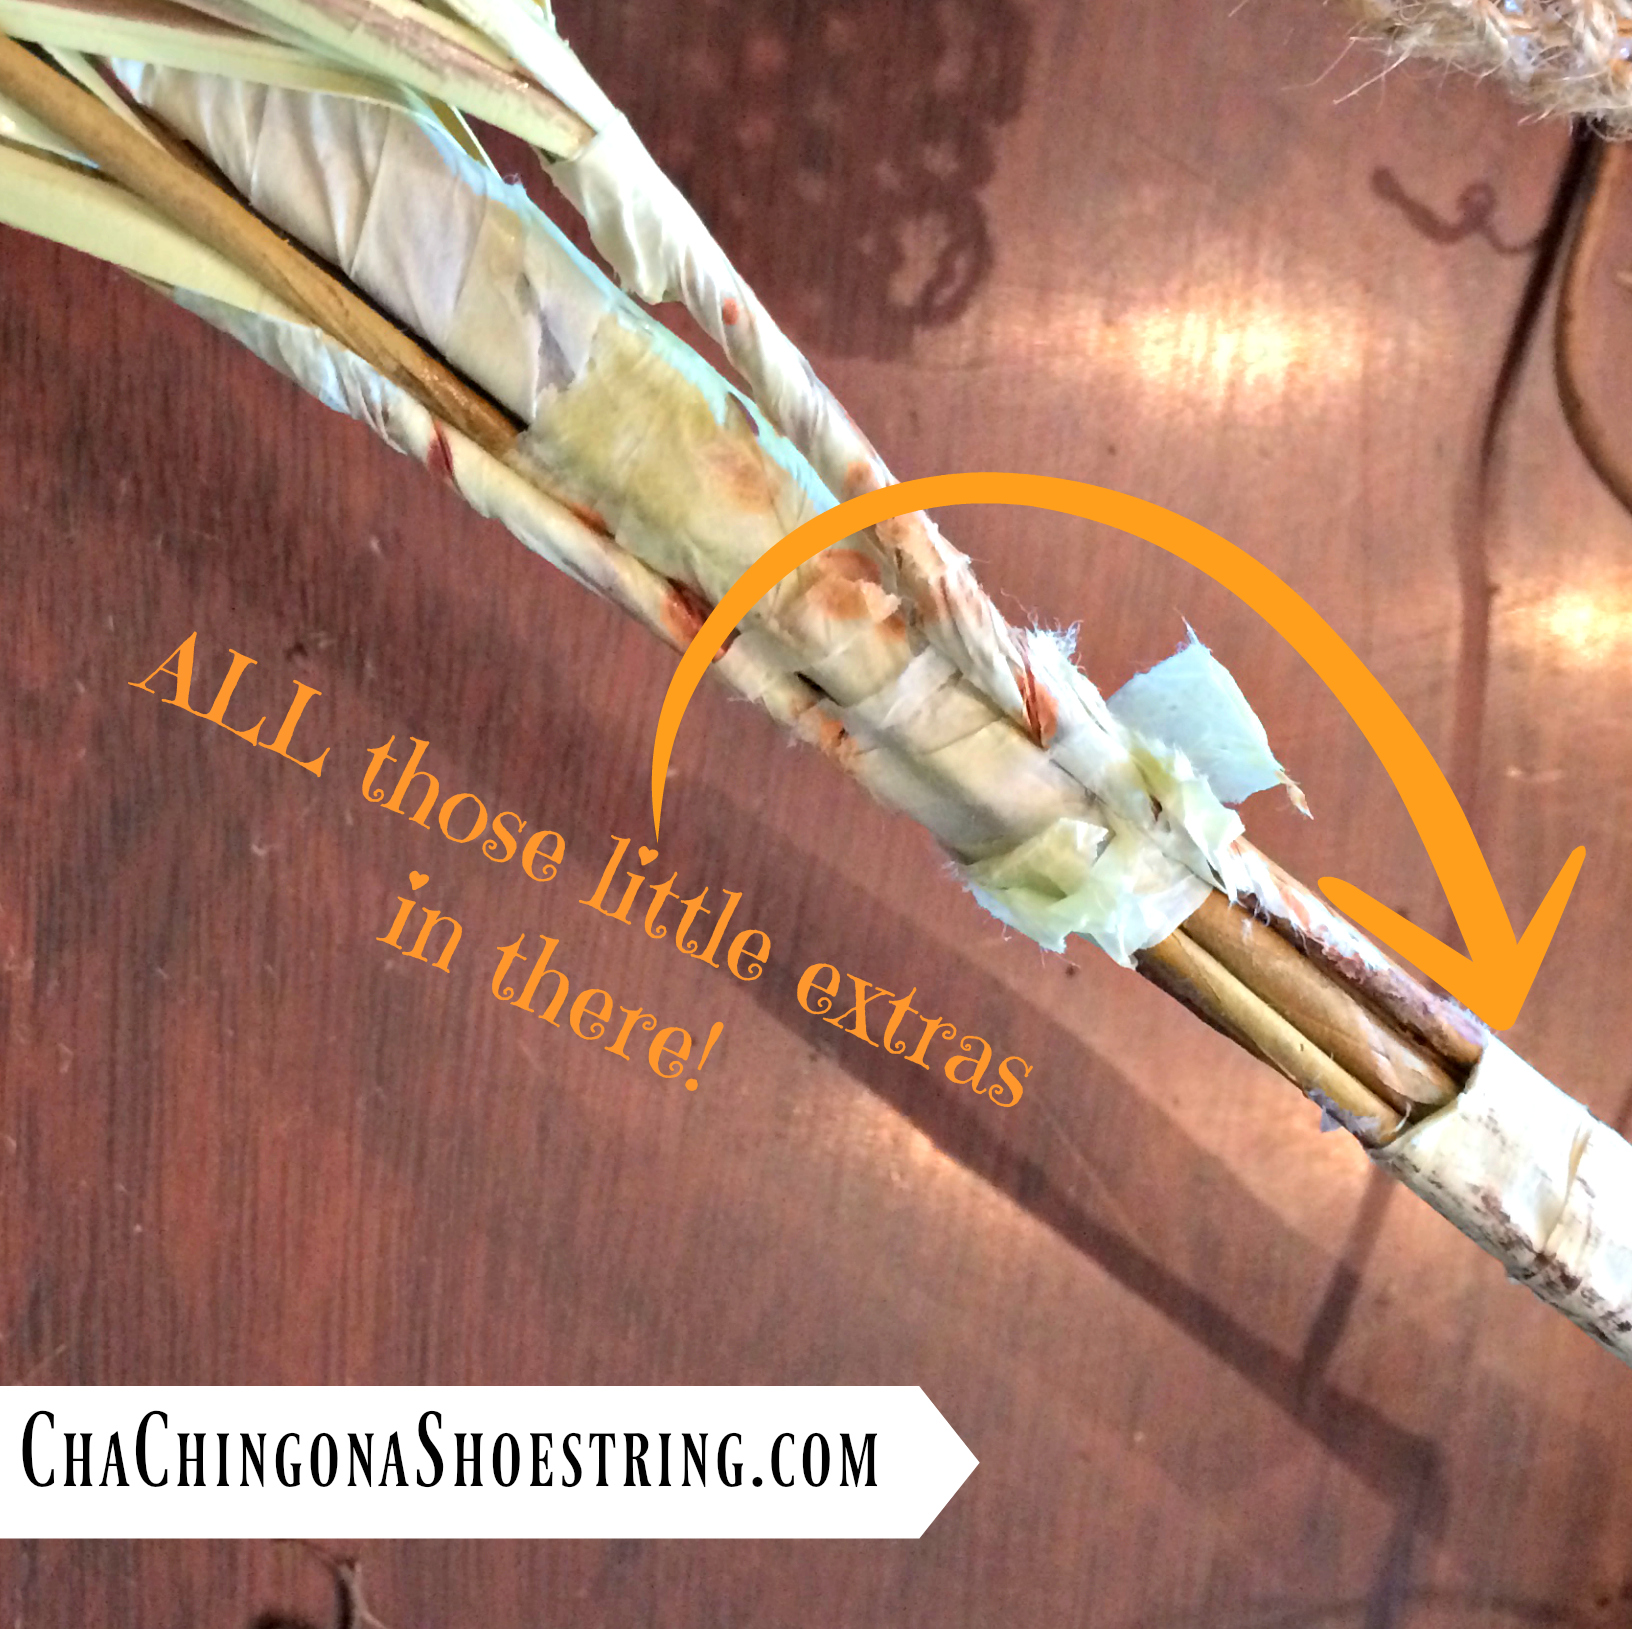
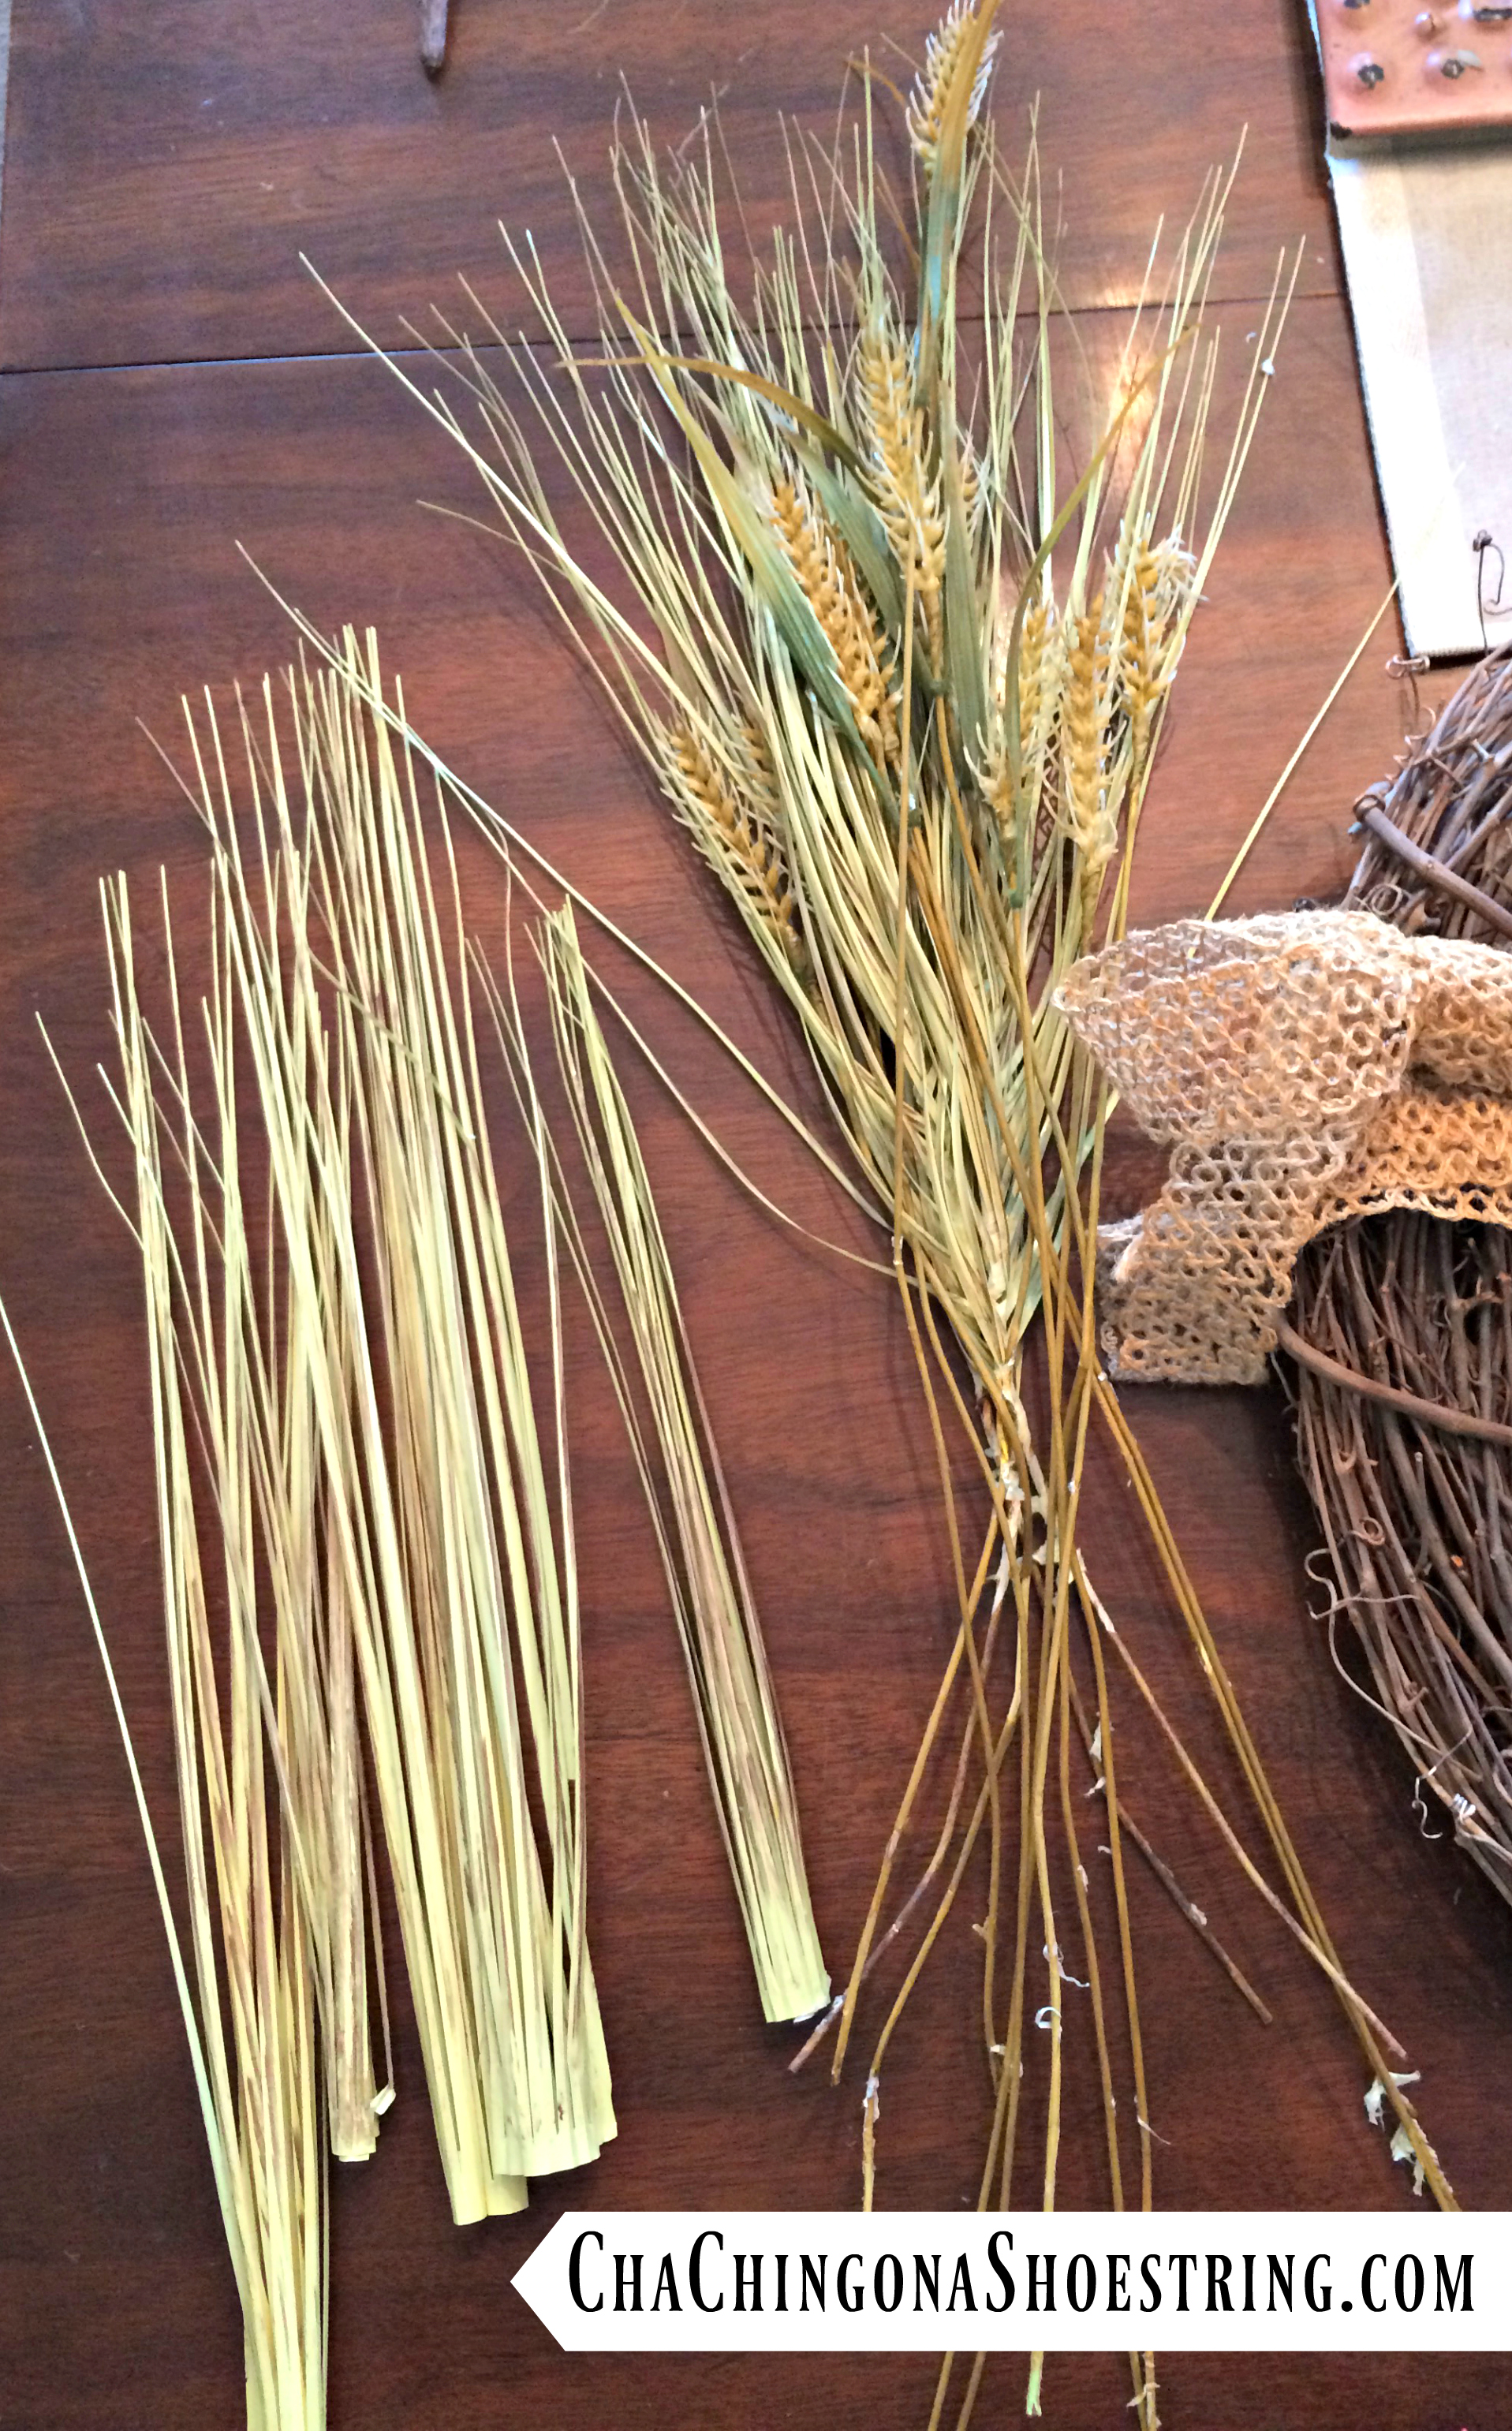
I bought a single wheat bunch but inside that bunch are lots of single stems. They are bound together with glue and tape. I used scissors (and then ultimately a knife and cutting board) to slice through the tape and separate the wheat so I had a bunch of single stems that I could spread around.
Step 3:
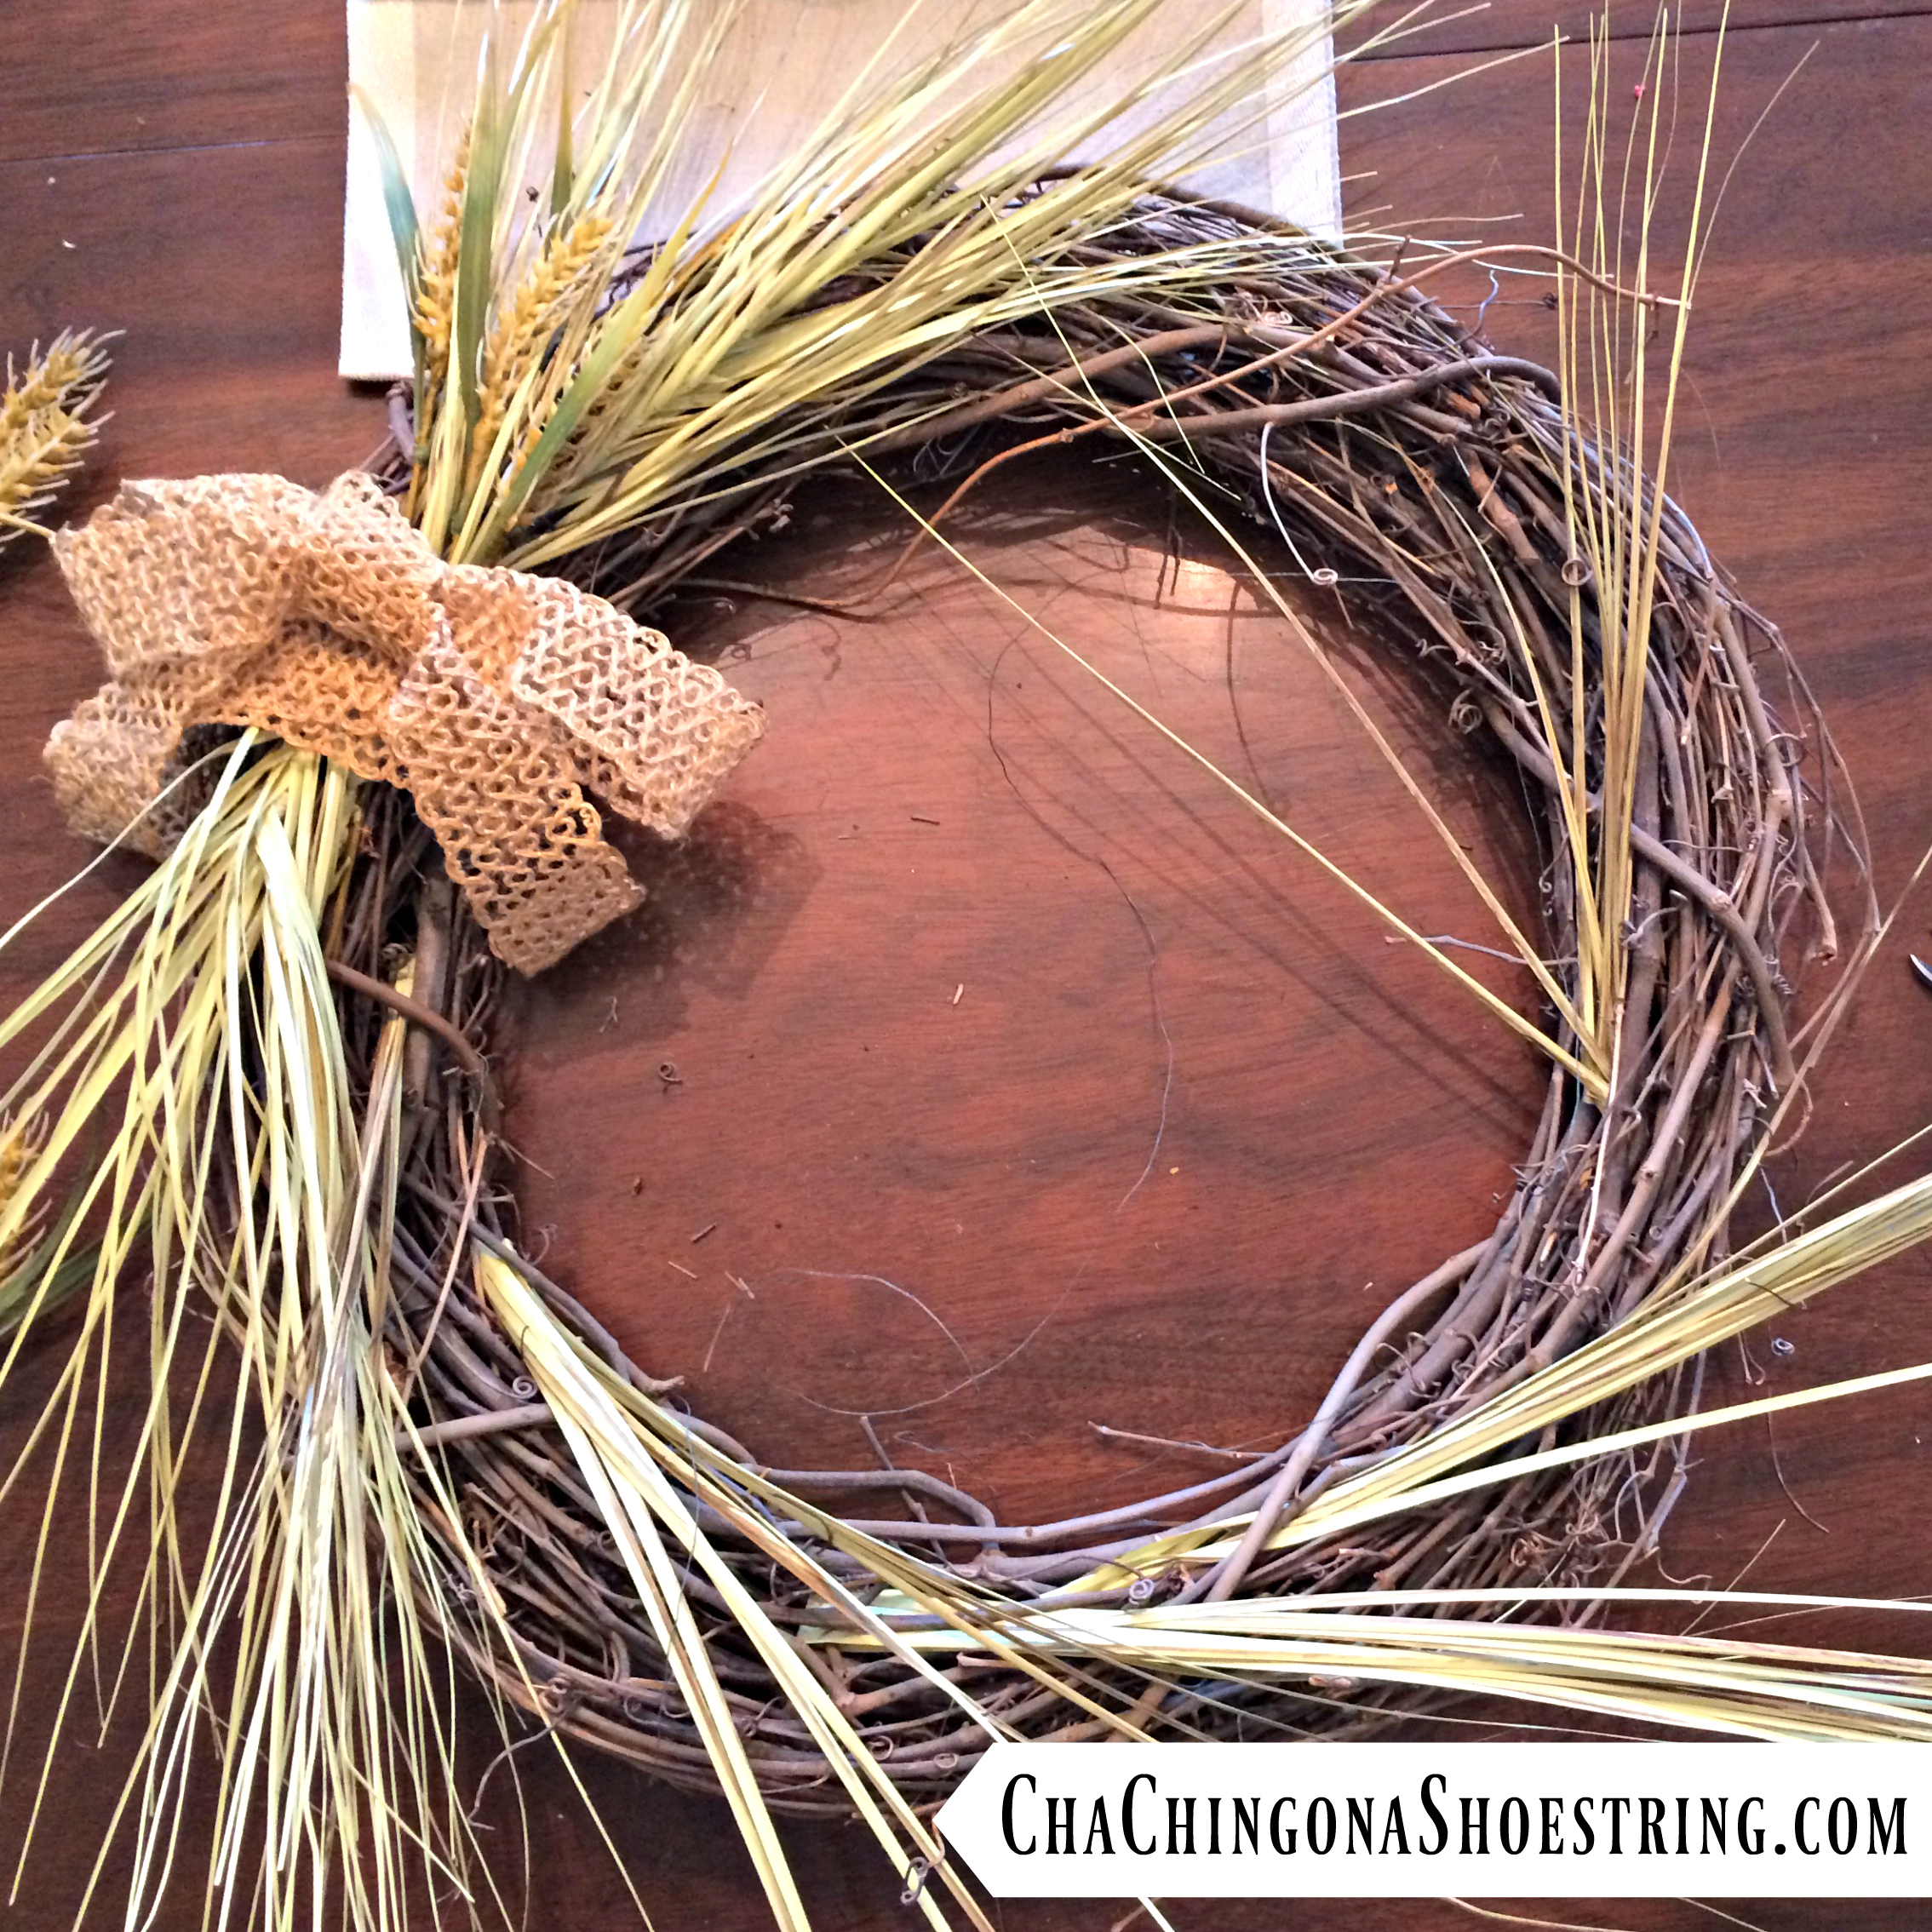
I placed the stems around the wreath and wrapped with floral wire again, tucking the ends in where I needed to.
Step 4:
I took the bushier wheat stems and tucked them into the bow that was already on my wreath from the Spring (you are welcome to change your bow, but because mine is burlap it works great for the Fall too!) and then divided and tucked all the single wheat stems into each side.
Step 5:
I also bought a bushel of fall leaves with berries and mini pumpkins attached. I cut them apart into smaller sections with my wire cutters. To add some color, I tucked the leaves and pumpkins throughout the wreath.
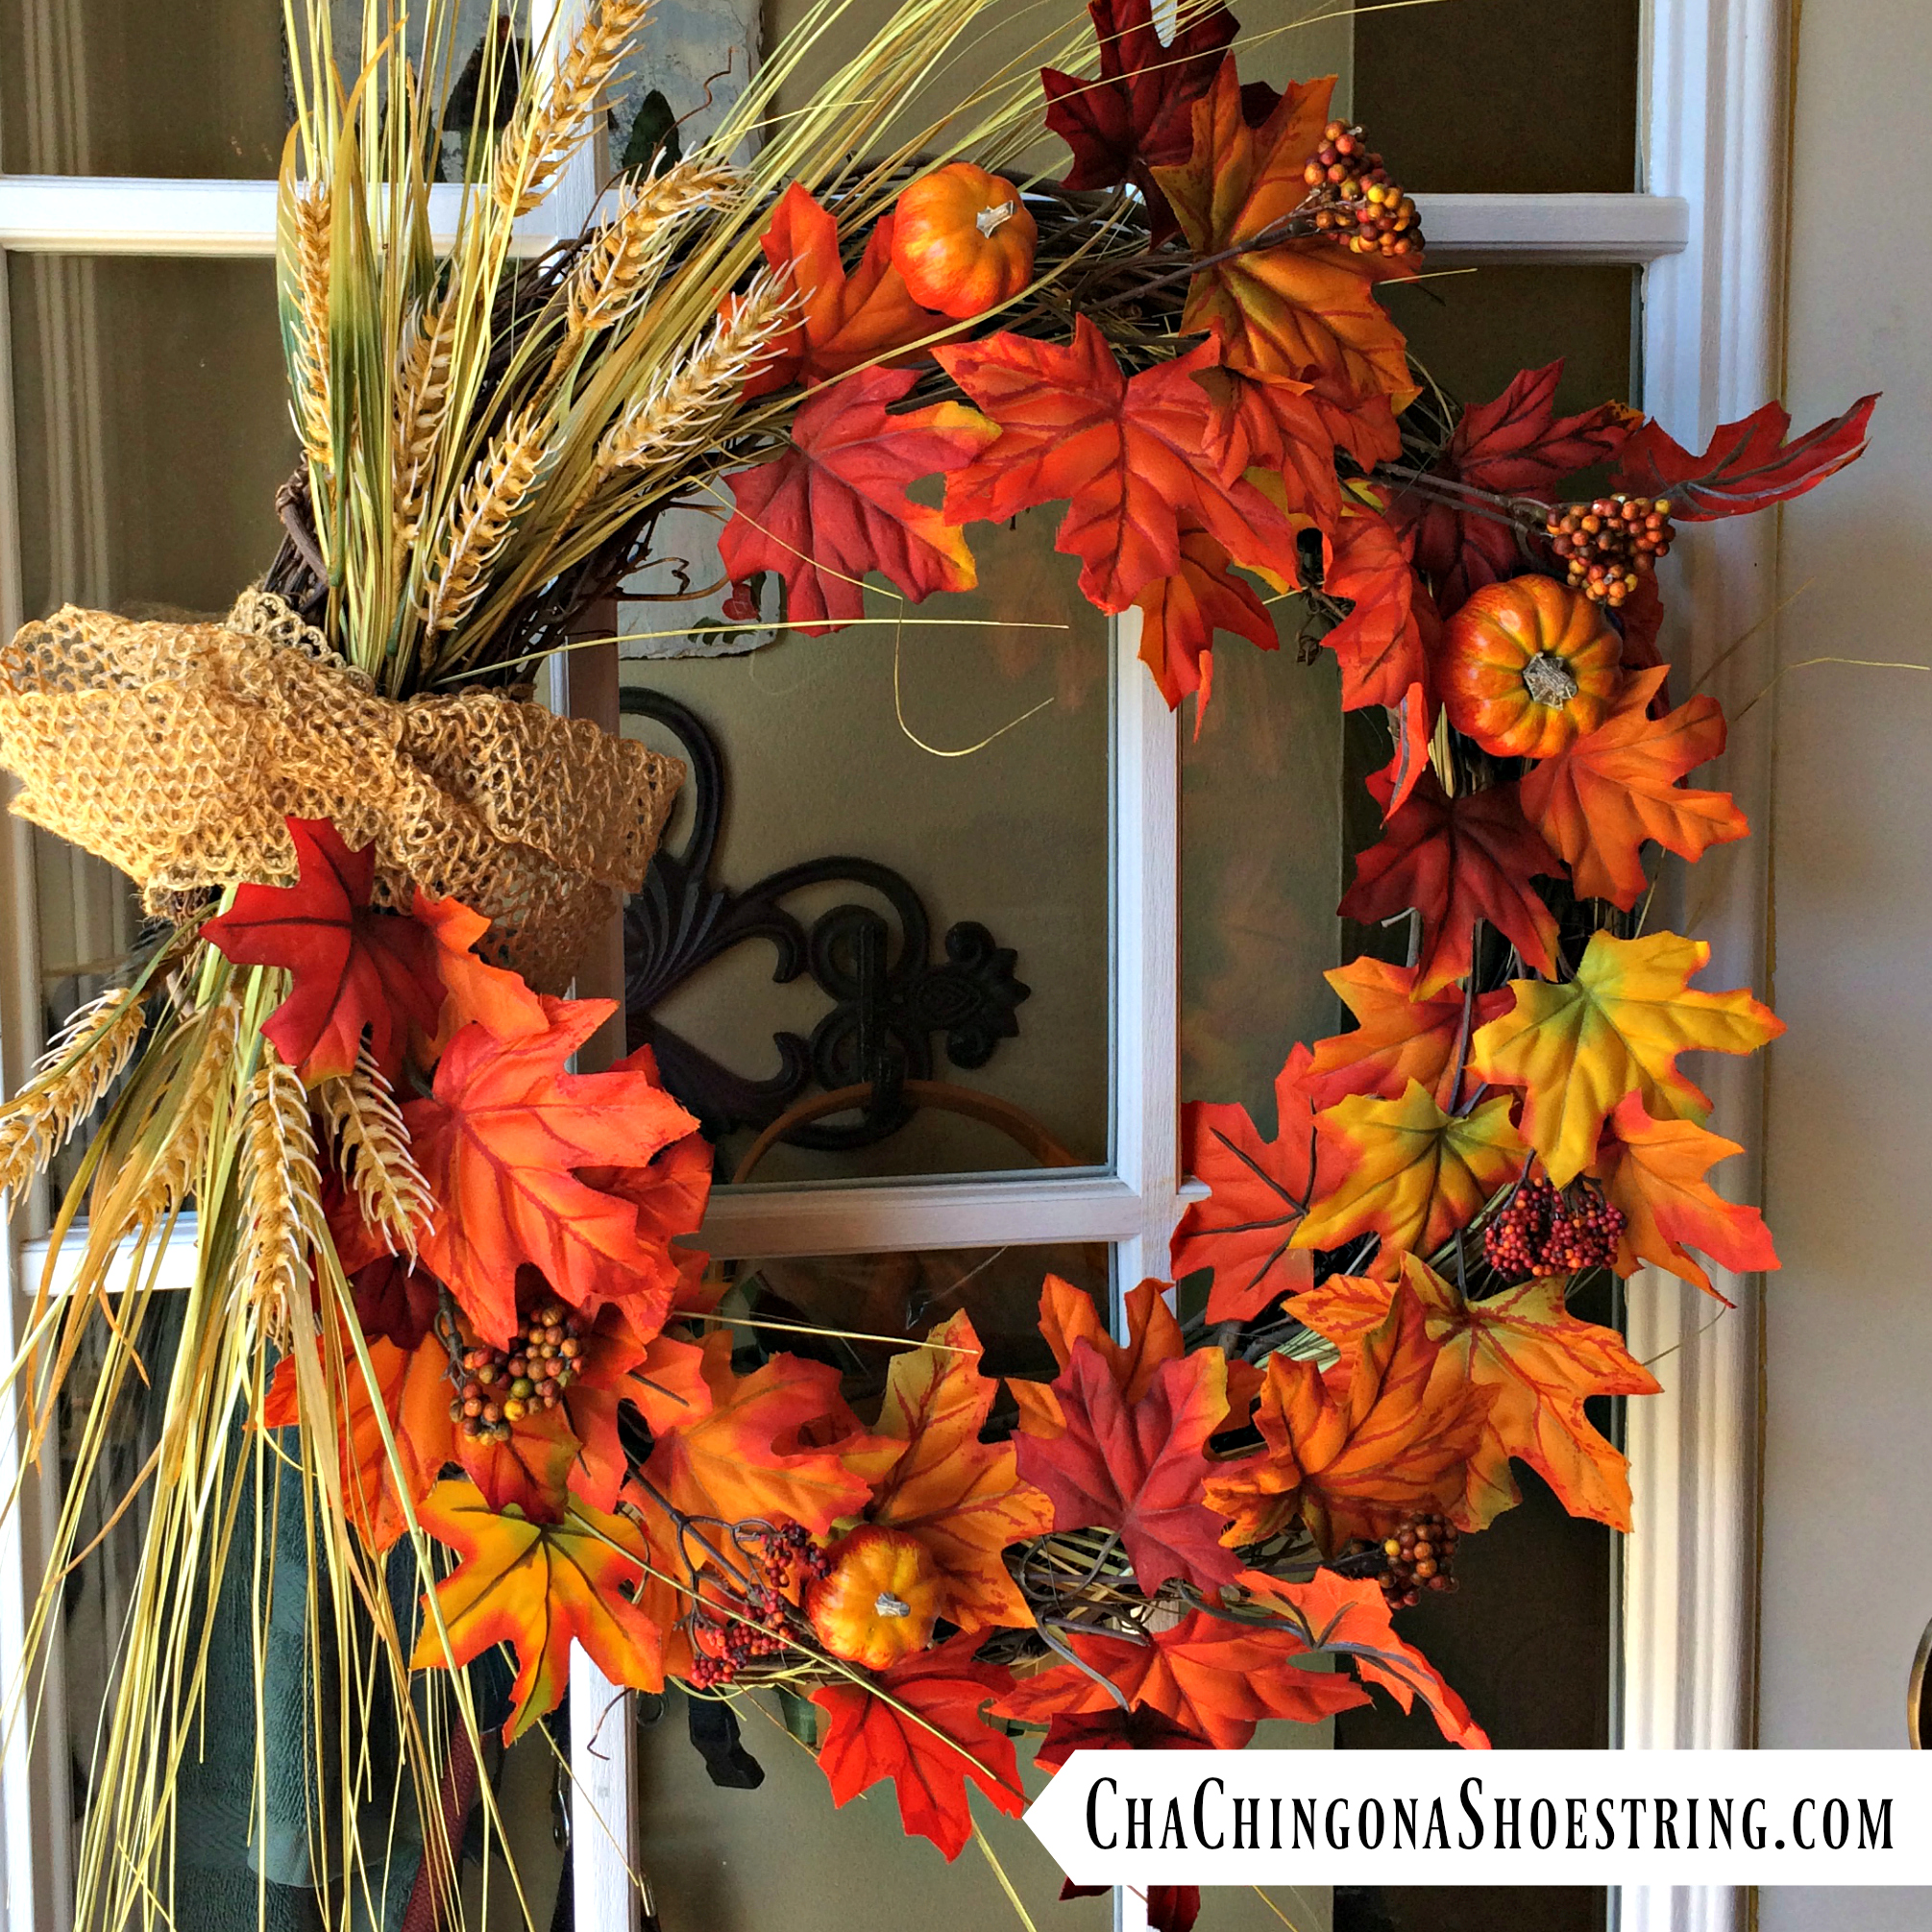
And that’s it!
In less than an hour, and under $12 I’ve easily transitioned my simple Spring wreath right into the Fall!
If you make a wreath please share it with me in the comments! I’d love to see it.
