The final installment from The Dollar Store Diva’s printable stationery series!
***
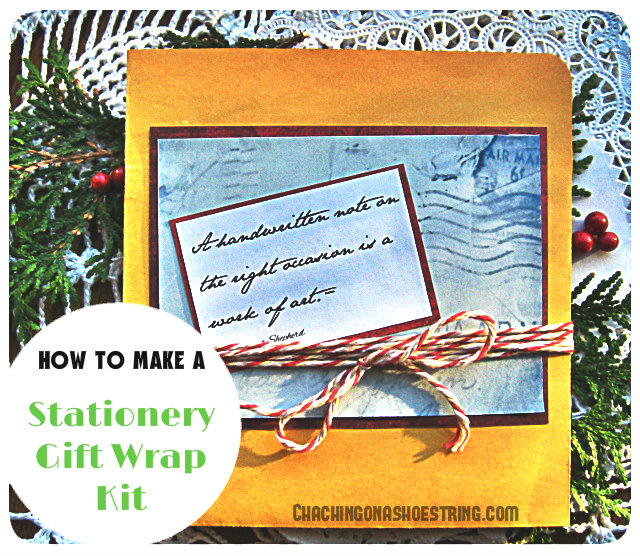
A handwritten note on the right occasion is a work of art.––Margaret Shepherd
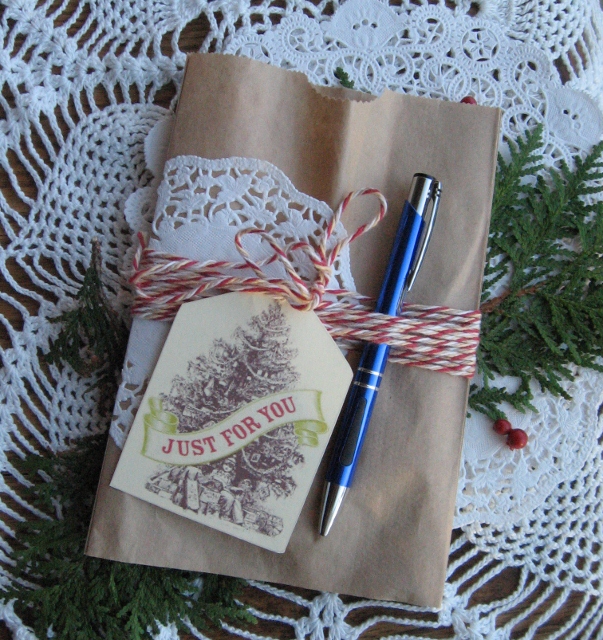
First of all, I decided that I would use only materials that I already had in my house–no trips to the craft store, just a search through my existing supplies.
I discovered that I had: large manila envelopes, brown lunch bags, white lunch bags, doilies, and twine.
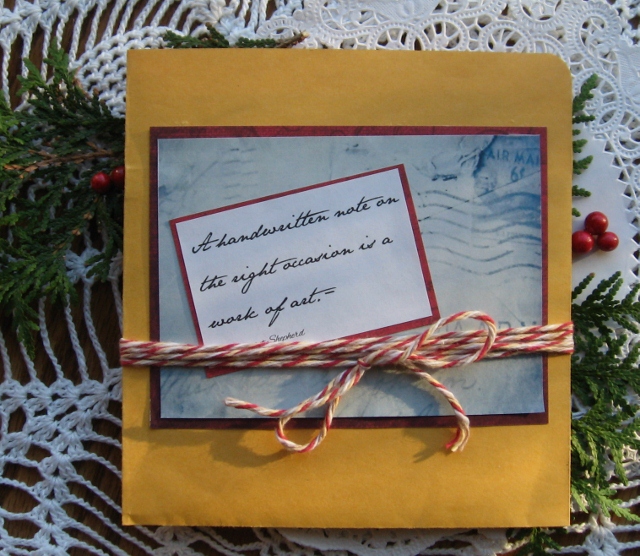
And this is what resulted:
I found this lovely idea here and the printable tags here
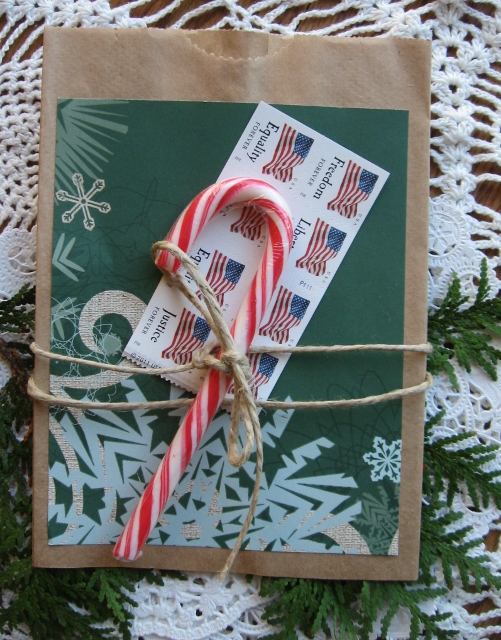
#2
I used scrapbooking paper to add color to this bag. Then I added the final touch: stamps to go along with my gift of stationery.
Now I have the perfect gift [Can I trust you with a secret?] for my mother-in-law!
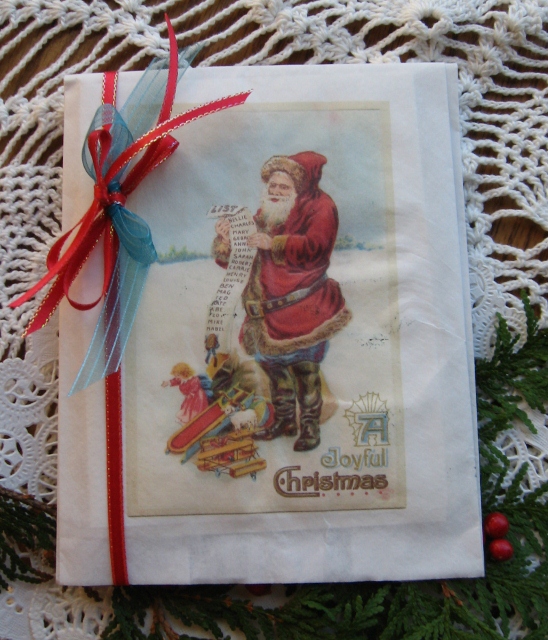
#3
I got this delightful idea and free printable here
AND NOW A TUTORIAL:
So, this is how I did it.
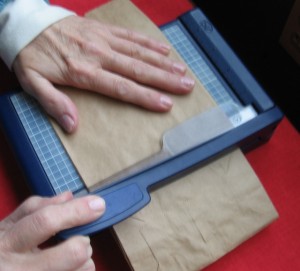
1) I used my trimmer to cut off with the bottom portion of the lunch bags, the part that spreads flat to make the bag stand.
But I didn’t need the bag to stand, so, without a twinge of conscience, I cut the bottom portion off.
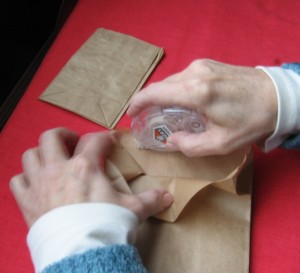
2) I used a tape runner adhesive to seal the bottom of the bag.
(Actually, this is my friend Joanie using the adhesive.)
3) And then I added festive embellishments–as shown in the pictures above–and slipped the note cards and envelopes into the bags.
I am happy, indeed, with the results.
Of course, this wrapping idea can be used for any number of gifts on your list.
Last, but most definitely, not least.
I did a happy dance when I finished my final wrapping idea.
[Good news: A link is included at the end of the tutorial with a kit containing all of the printables.]
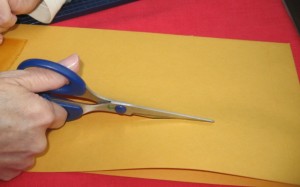
I used a manila envelope to create a “folder” to house the stationery. Please don’t panic if these directions make no sense at all; I feel quite confident that you can create your own folder without me looking over your shoulder, gasping if you snip the paper in the wrong direction.
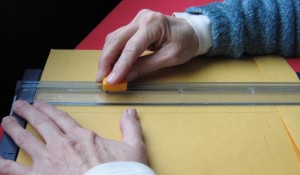
1) On my manila envelopes, the back “seam” was not in the middle. That middle seam was important to my plan, so I used my trimmer to cut the length of the envelope one and three-quarters inches above the higher “seam”, making the folder six inches tall.
Is that as clear as mud? Don’t worry, wherever you cut will be fine, just as long as your folder is about six inches tall.
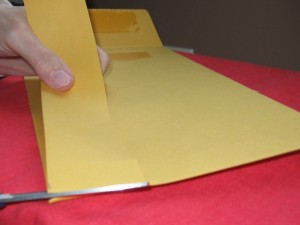
2) This is where that seam comes in handy: I used scissors to cut along the handy-dandy seam, which created about one and three-quarters inches for the cards to poke out of the pockets.
3) I snipped off the ends of the strip I had just cut off, and sealed the flap of the envelope.
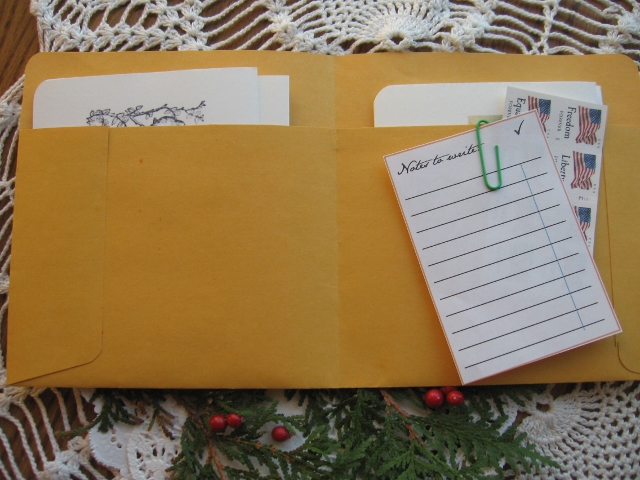
And there you have it:
two nifty pockets for the cards and envelopes
a Notes to Write checklist along with some postage stamps,
both attached with a colorful paper clip.
And here is the promised link for a free Handwritten Note Printables kit
Hope your dance is as happy as mine!
***
For those of you who haven’t met her, the Dollar Store Diva happens to be my Mom who has a special power. She can transform Dollar Store and other inexpensive finds into super fun gifts that would brighten anyone’s day!


Thank you, Cath! I’m fascinated by the fact that you work with a group of midwives. Good work, indeed!
Thank you Kaley and Dollar Store Diva.
This is just perfect. I work with a group of 4 other midwives and this will make a lovely gift.
Blessings to you and yours.