Recently I discovered a two-ingredient recipe for hot fudge sauce. Yup, a two ingredient recipe for hot fudge sauce. I decided to try a “make-your-own-hot-fudge-sundae” when my family came to visit, and the super easy two-ingredient recipe was a hit.
There was a considerable amount of the chocolate goodness left over in my fridge, so from time to time I would make a little sundae for myself. 🙂 One afternoon I decided–for a change of pace–to add raspberry jam to the chocolate. Ah, yes! That was such a success that I started experimenting by adding different flavors with items I had in my cupboards. Yummy. Yummy.
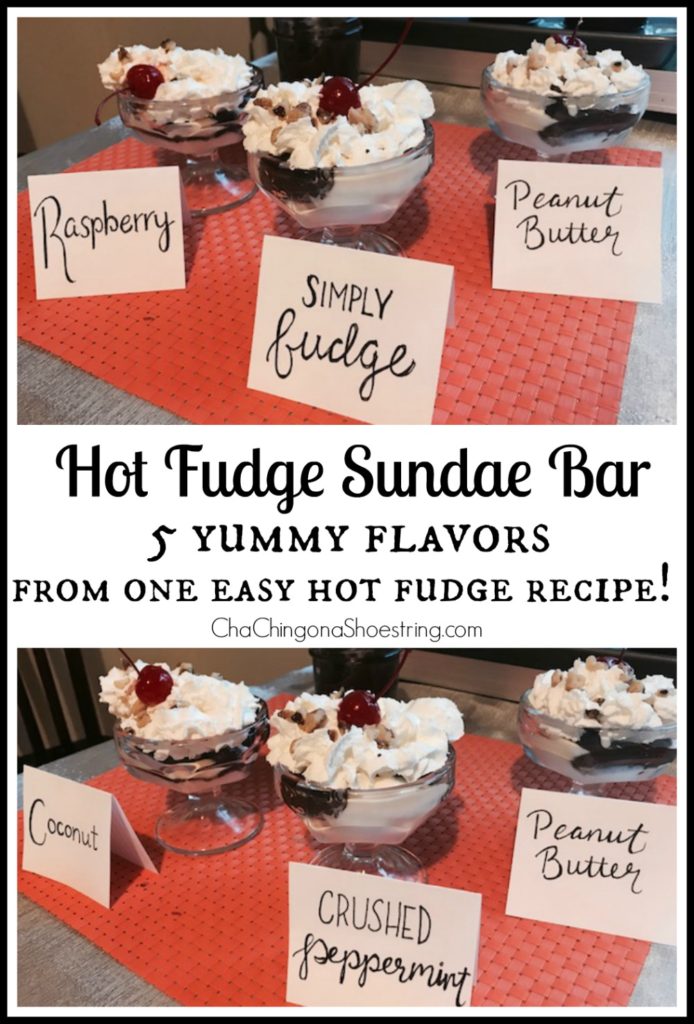
Then last week I was asked to provide dessert for a get-together with three friends and their children; they accepted my challenge of an interactive, hands-on Hot Fudge Sundae Bar. [I think there is nothing much more fun than working and laughing together with friends on a project.] And, indeed, what fun we had!
This is how it went–
I gathered the TWO ingredients for the homemade sauce…
1 1/2 cups semi-sweet chocolate chips
14-ounce can of sweetened condensed milk
…and the flavoring ingredients:
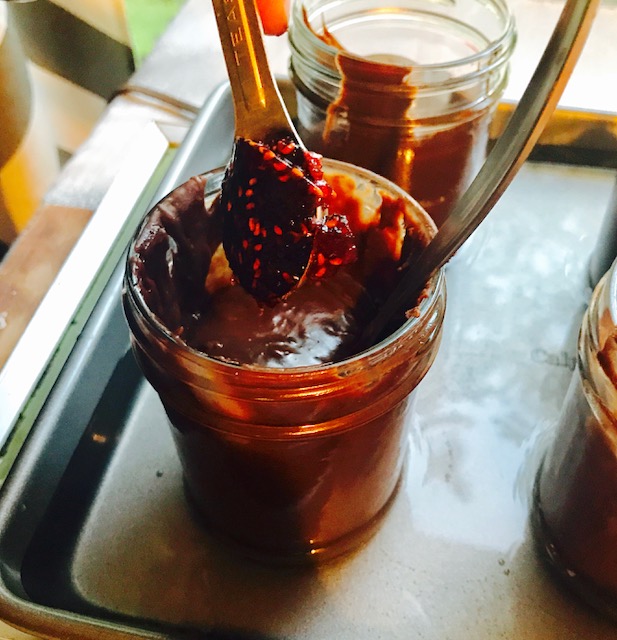
raspberry jam
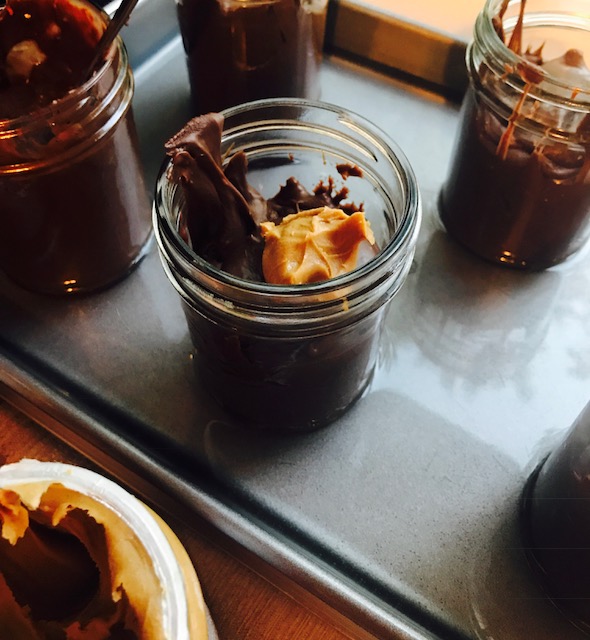
peanut butter
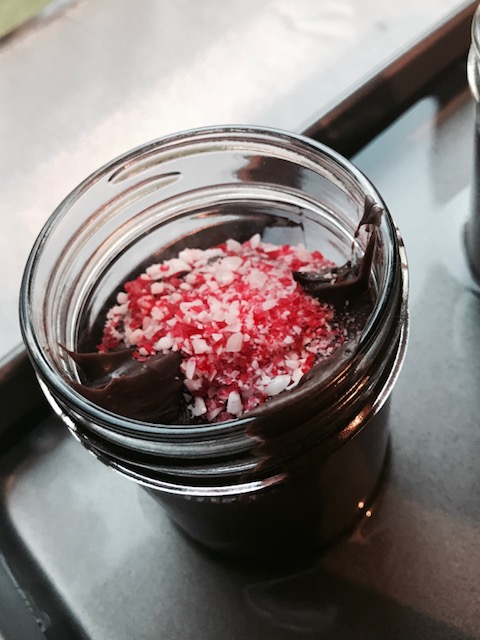
crushed peppermint
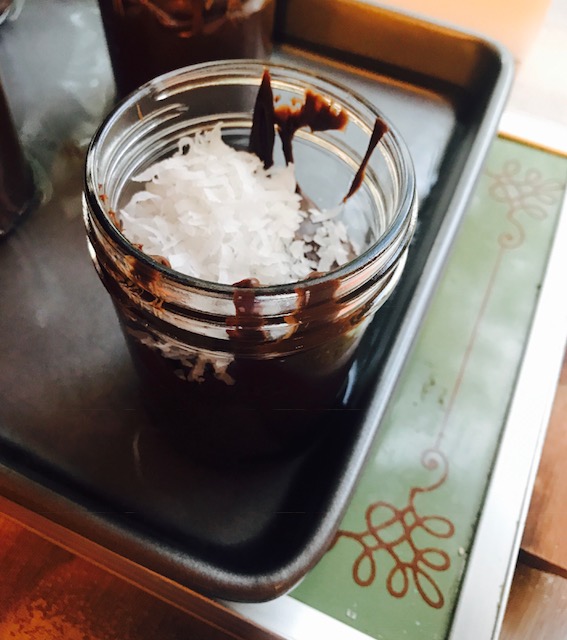
shredded coconut
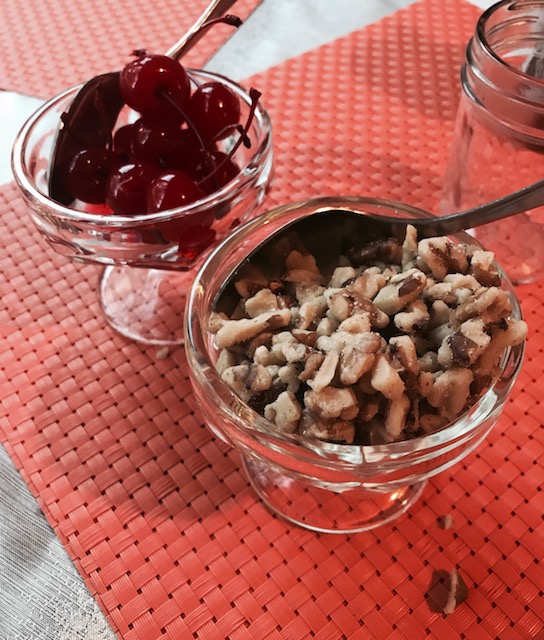
And, of course, we couldn’t have a Sundae Bar without:
chopped walnuts
maraschino cherries
whipped cream
Here’s the way it went:
We thoroughly mixed 1 1/2 cups semi-sweet chocolate chips and one 14-ounce can of sweetened condensed milk. (We actually doubled this amount, but there was a lot left over.)
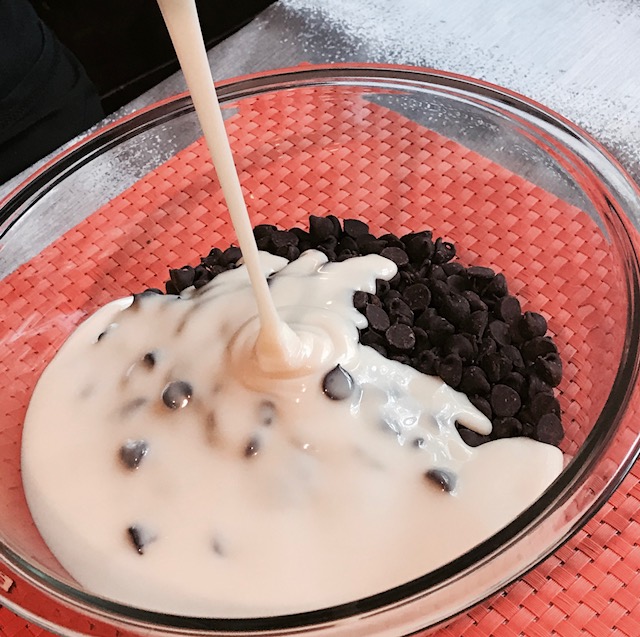
Then we put the mixture in the microwave for 1-2 minutes and stirred it until the lumps were gone. (We microwaved it again just for a bit–didn’t want to over-microwave–to eliminate some pesky remaining lumps.)
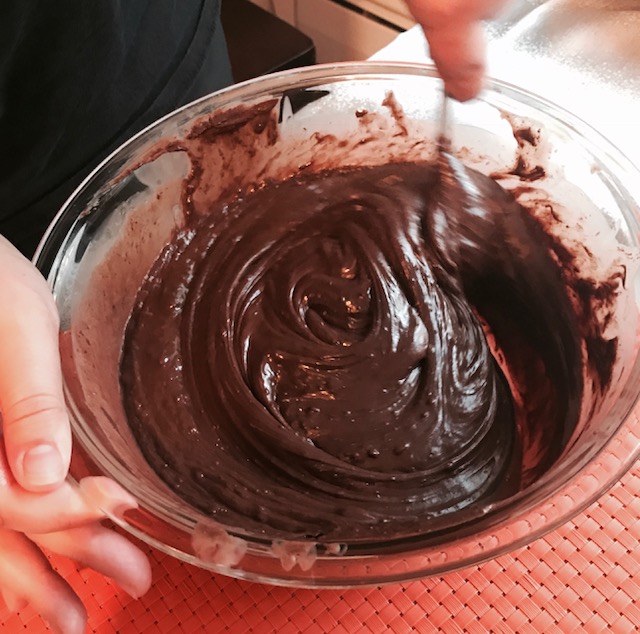
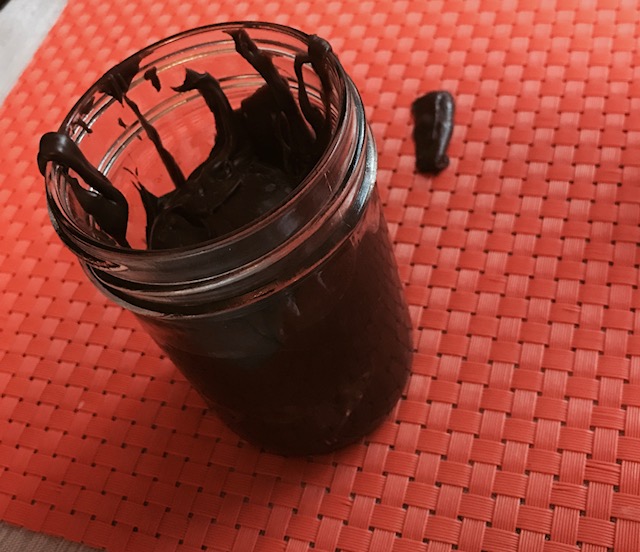
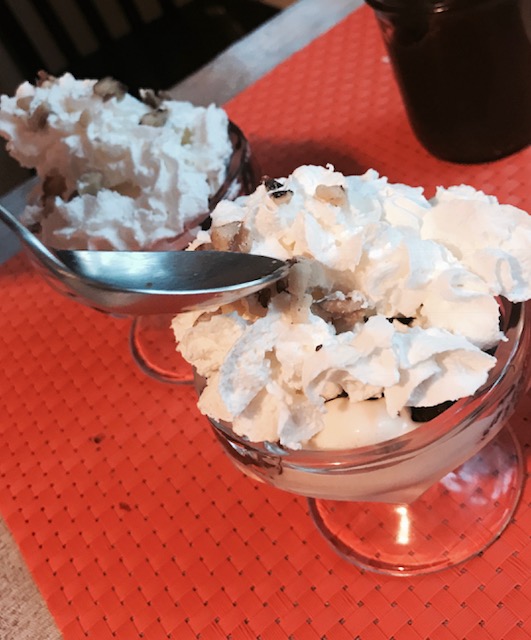
We immediately spooned the lovely sauce into five small jars. Isn’t it beautiful?

And then the creative fun began. We left one just plain ol’ hot fudge.
Then we worked quickly and stirred crushed peppermint into one jar of the fudge.
Next on the list was shredded coconut.
Peanut butter and chocolate–a match made in heaven. (Next time I think I will soften the peanut butter in the microwave first so it doesn’t thicken the sauce.)
My original lip-smacking raspberry jam hot fudge. The jam can be softened in the microwave before stirring into the fudge sauce.
And the final “can’t be a sundae without” yummies:
The big moment finally arrived. Get ready…get set…go!
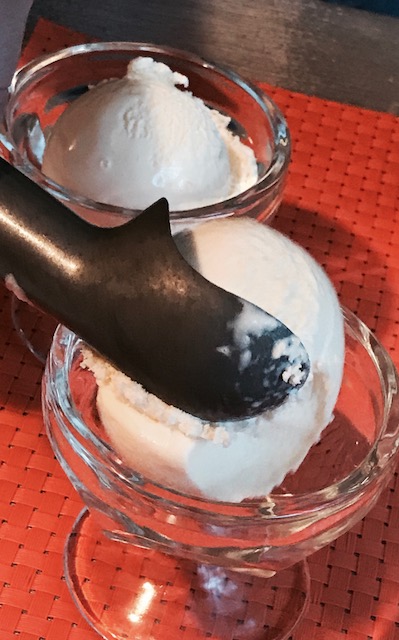
And the fun began.
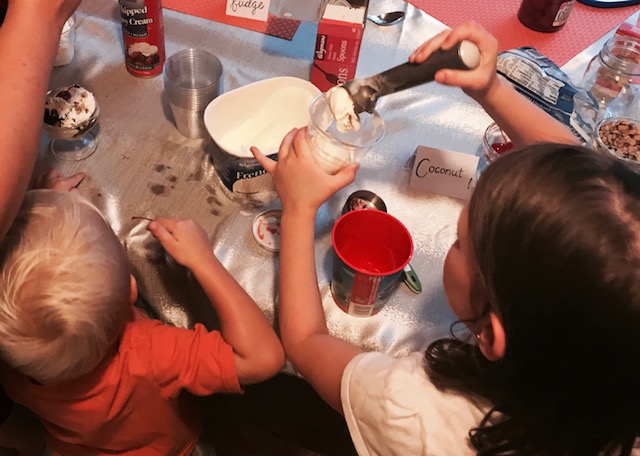
You can almost see the anticipation in this little girl’s hands:
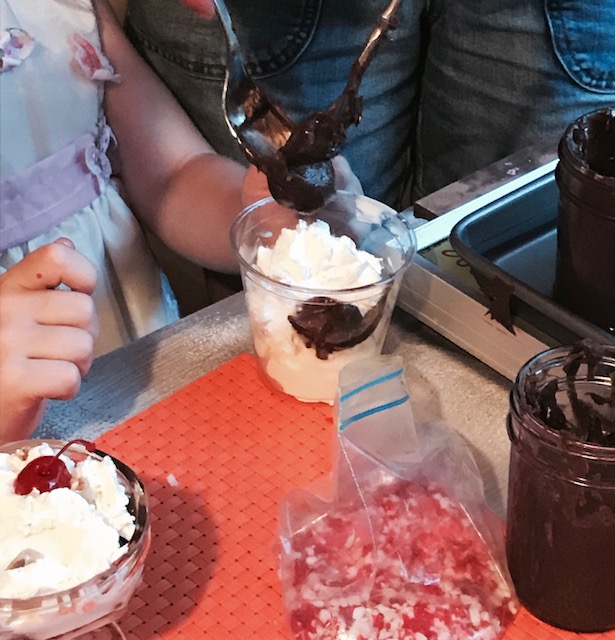
Whipped cream for the grand finale:
And there you have it…
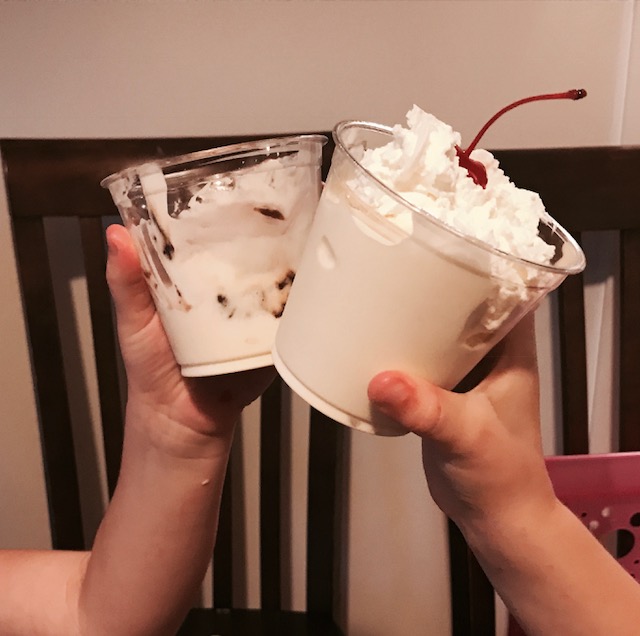
CHEERS!
PS:
–We added about two teaspoons of flavoring (peanut butter, coconut, jam, etc.) into the sauce but that really depends on the amount of chocolate in the jars. So just add to taste.
–Because this is a two-ingredient recipe it does clump a bit when it hits the ice cream. This isn’t an issue for me–I’m all about two ingredients–but if you prefer a flowing syrup, you can find many other recipes online.
–The beauty of this event for me was working together with some really good friends. However you can do this on your own by having it prepped and ready to go when you have your own Hot Fudge Sundae Bar extravaganza..
–To keep the syrups warm, I filled a 9×13 “brownie pan” with hot water, placed it on a warmer, and stood the jars in the pan. [You can see the pan and warmer in the photos.] I have also seen the idea to stand the jars in a crockpot to keep the fudge warm. Not necessary–just a little tip.
— If you refrigerate the leftovers, the chocolate will solidify in the jar. It tastes like fudge, so I have no reservations about grabbing a spoonful now and then for a sweet treat. But if I want it on ice cream I warm it in the microwave, stir it a bit, and warm it a few more seconds. And there you go.
Many thanks to my fun-loving helpers:
Jess Himmelberger; Delphine Dewing; Joellyn Dewing
Photos–Chelsea Stenkevich
Hand lettering–Mikayla Dewing
And the little people who enthusiastically savored every last spoonful.
***

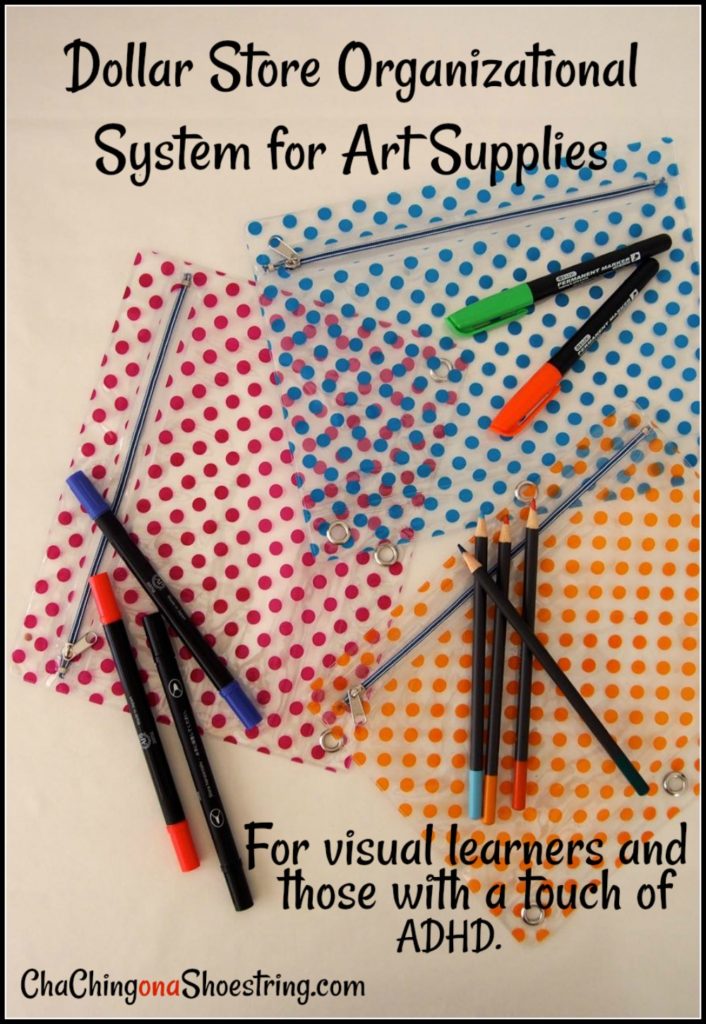
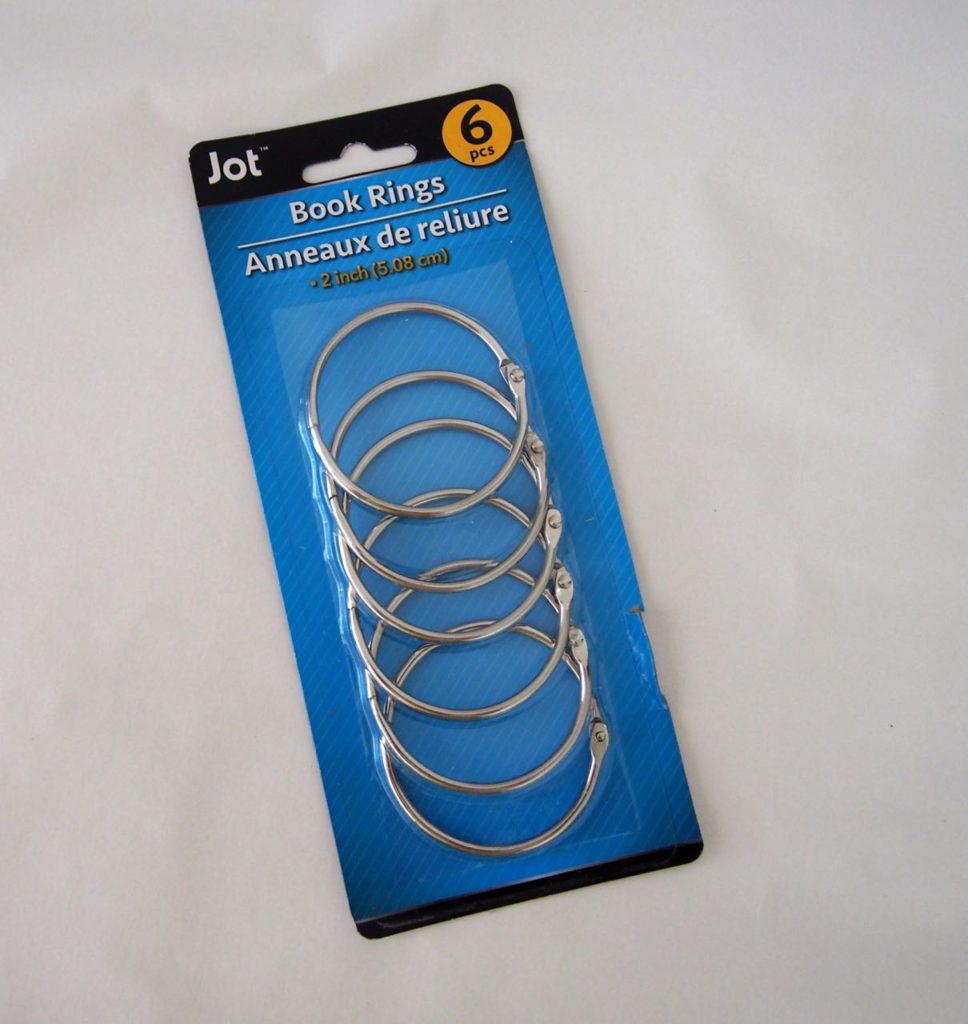
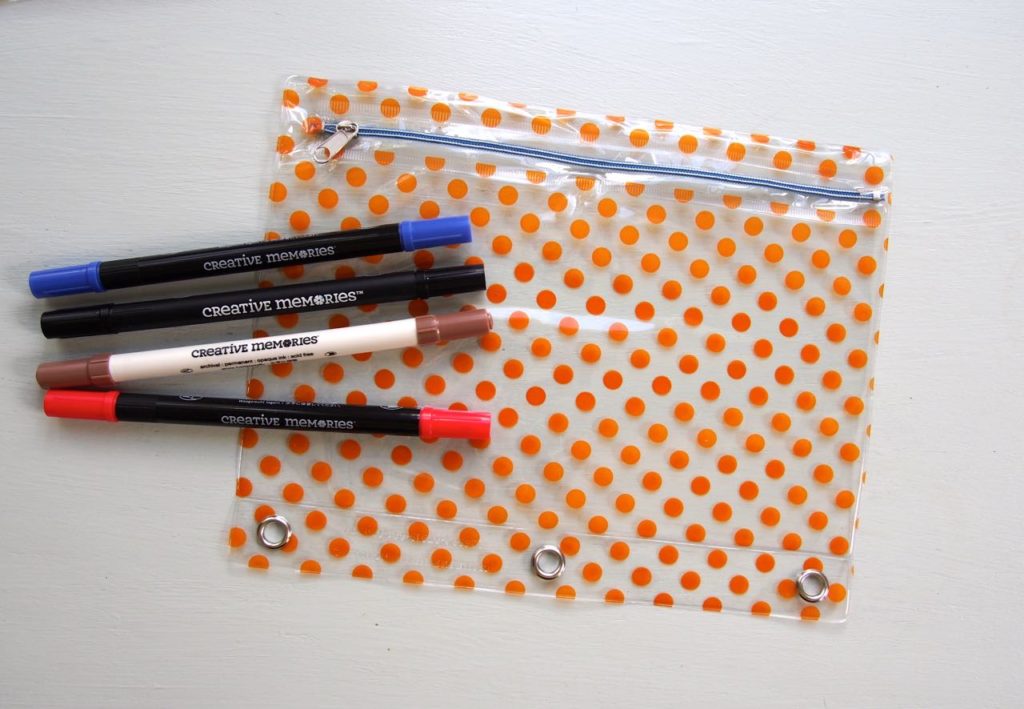
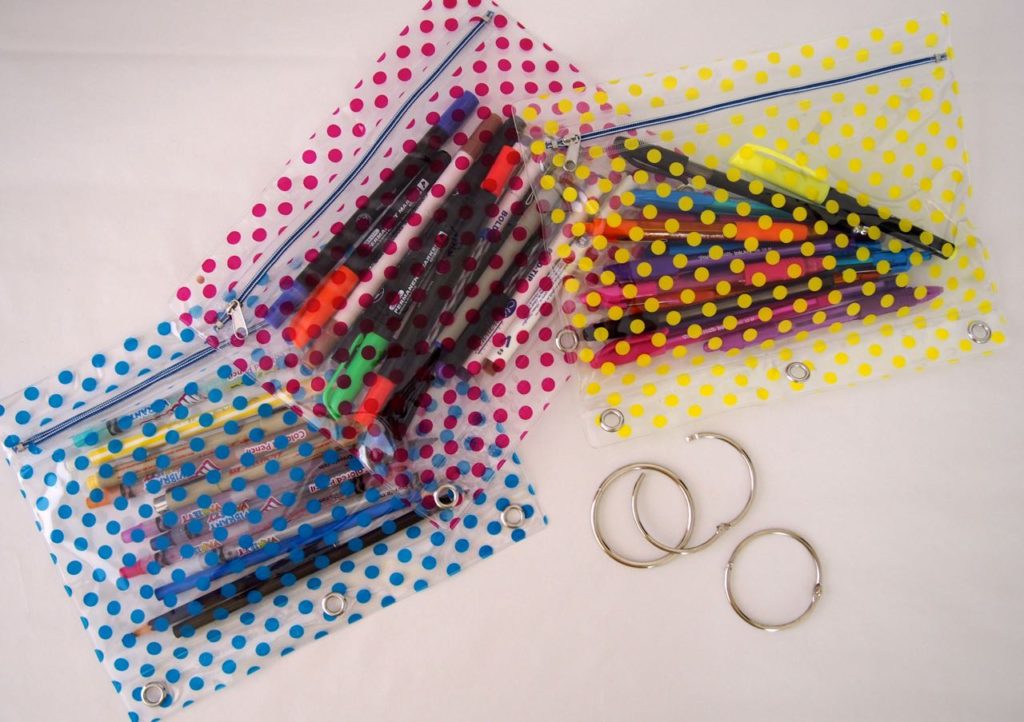
 In addition to using the rings, the inside pockets are perfect for storing miscellaneous flat items.
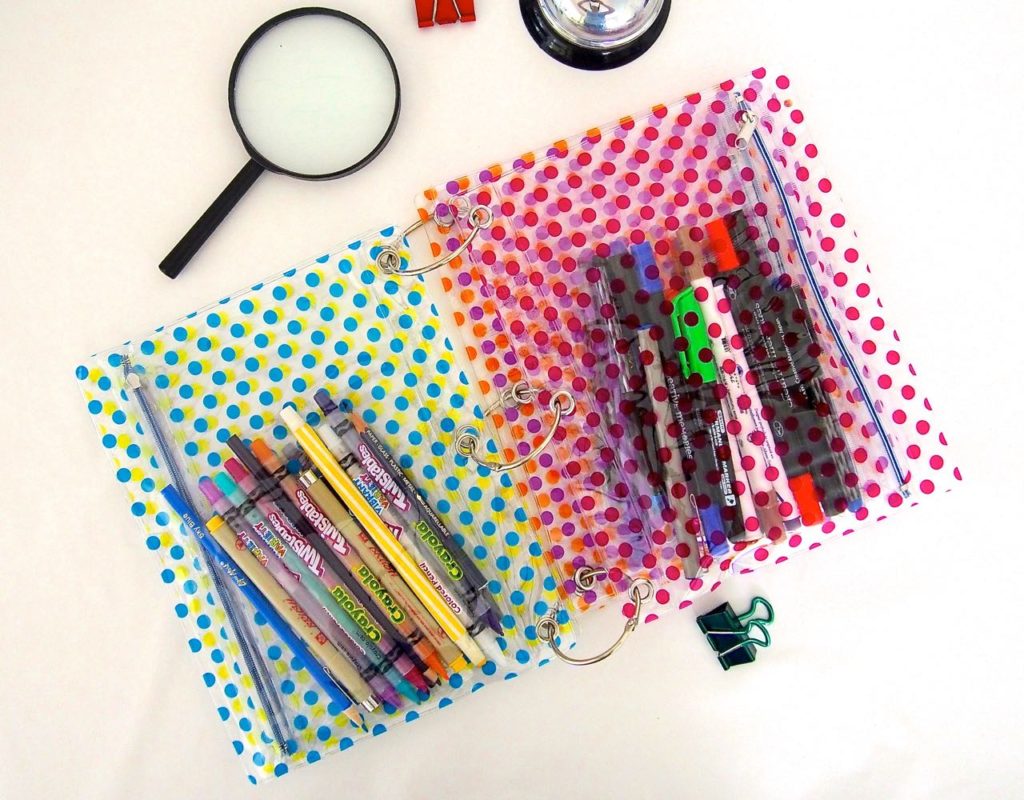


 –Watercolor Pencils. Instead of watercolors, I use watercolor pencils. When I discovered these