Cha-Ching on a Shoestring™

Living Large on a Limited Budget

  • STORES
    • Coupon Database
    • CVS
    • Rite Aid
    • Walgreens
    • Target
    • Walmart
  • Restaurants
  • Online Deals
    • Amazon Deals
    • Amazon Subscribe & Save Deals
  • Freebies
    • Free Kindle Books
    • Free Stuff by Mail
    • Free Birthday Stuff
    • Free Stuff Online

Kids’ Snack Idea: Simple & Easy Fruit Smoothies in Minutes

February 15th, 2017 By Heidi
This post may contain affiliate links, which means I will make a small commission if you click and make a purchase.

There are a million recipes for smoothies floating around out there in Pinterest-land. But sometimes you just need a good, basic recipe. I love this one for it’s simplicity and the fact that you can change it up with a few small adjustments. We regularly make smoothies for breakfast but these can be lunch, after school snacks or a meal replacement when there isn’t quite enough time to eat dinner before sports practice or games.

The list of ingredients is short and hopefully things you have on hand – we usually do!

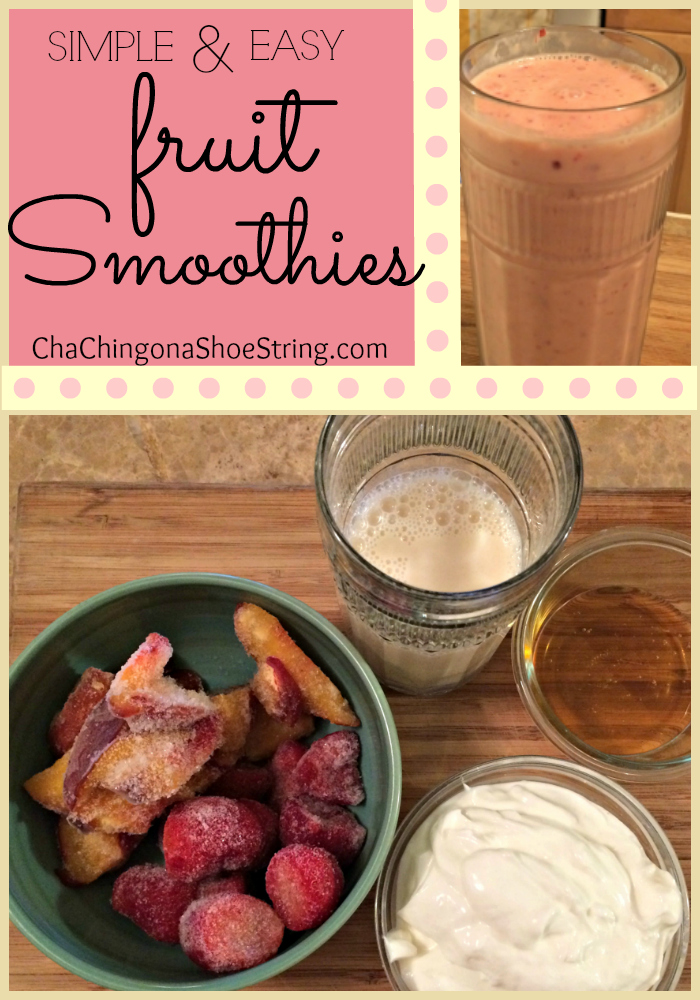
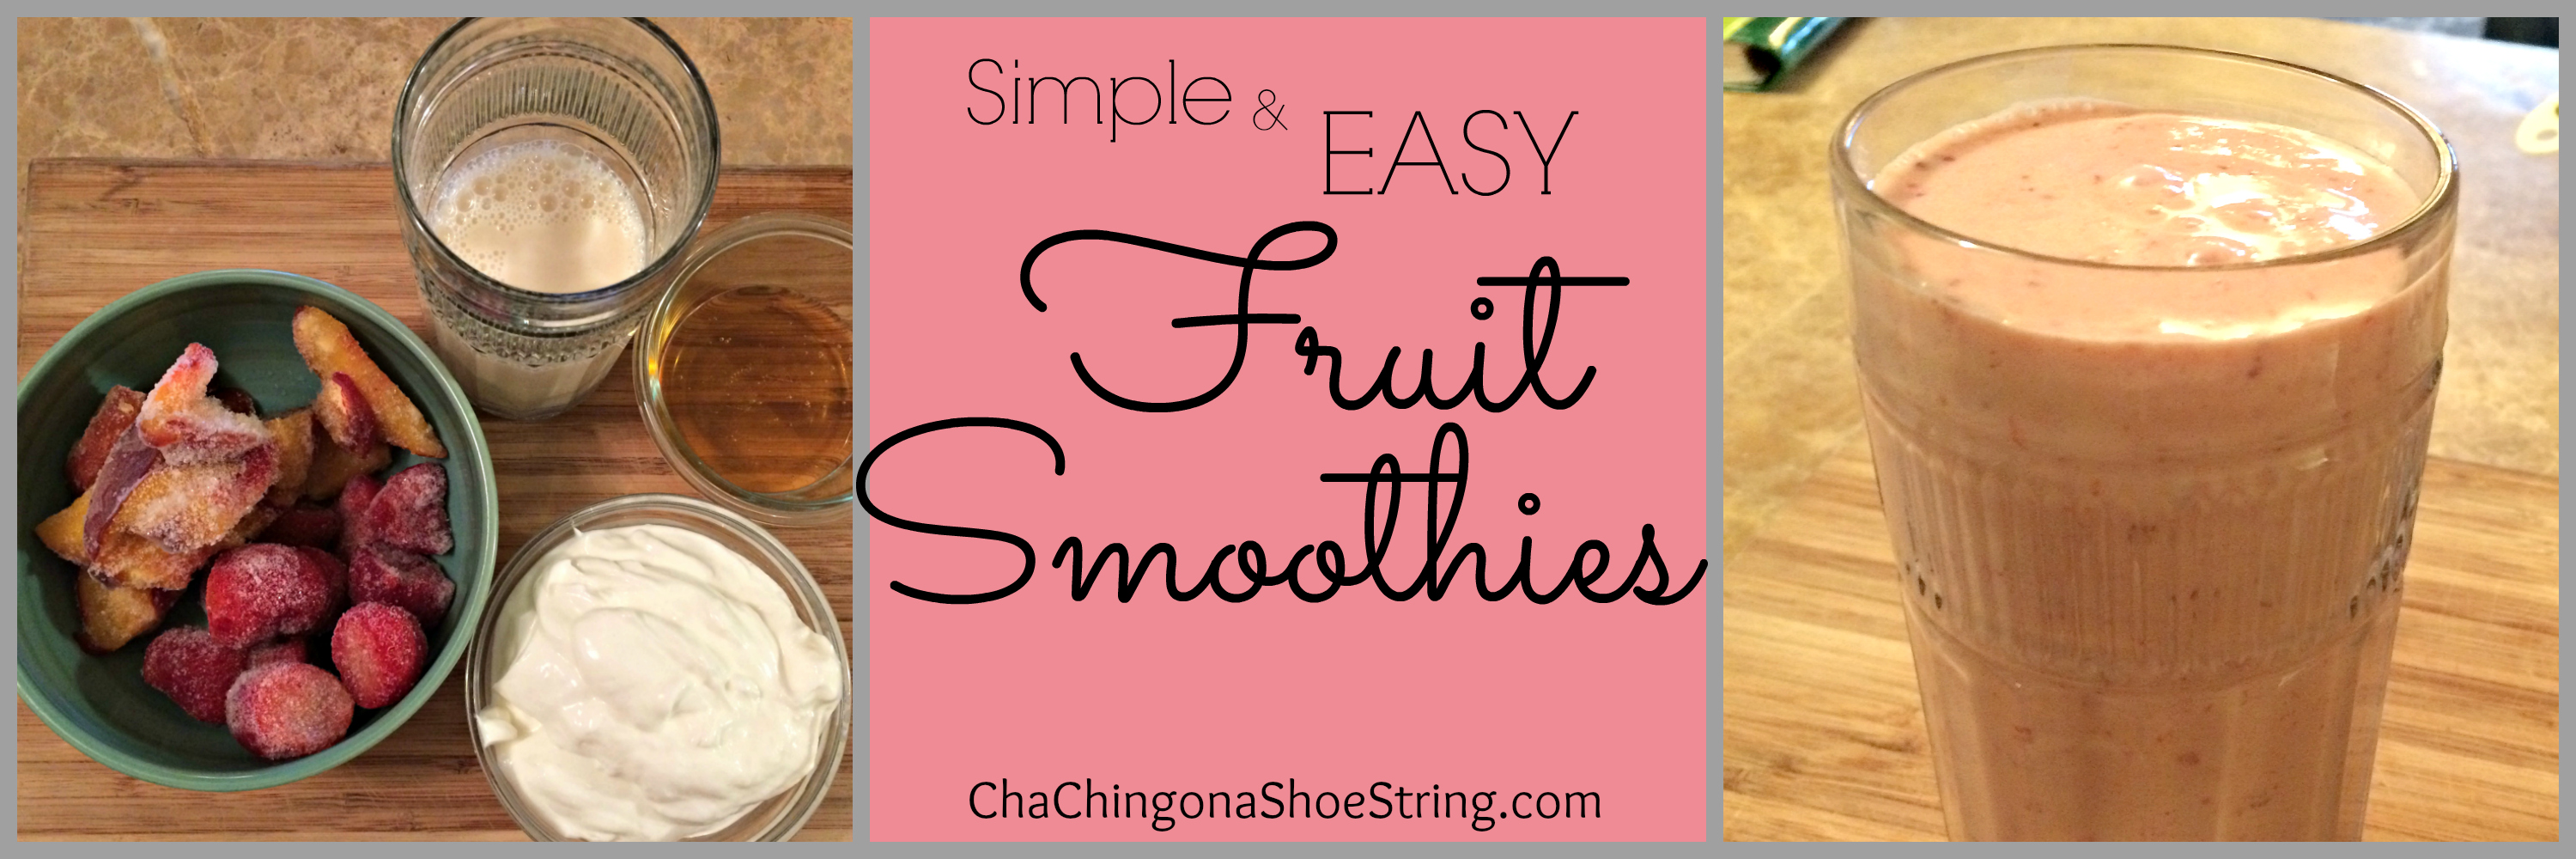
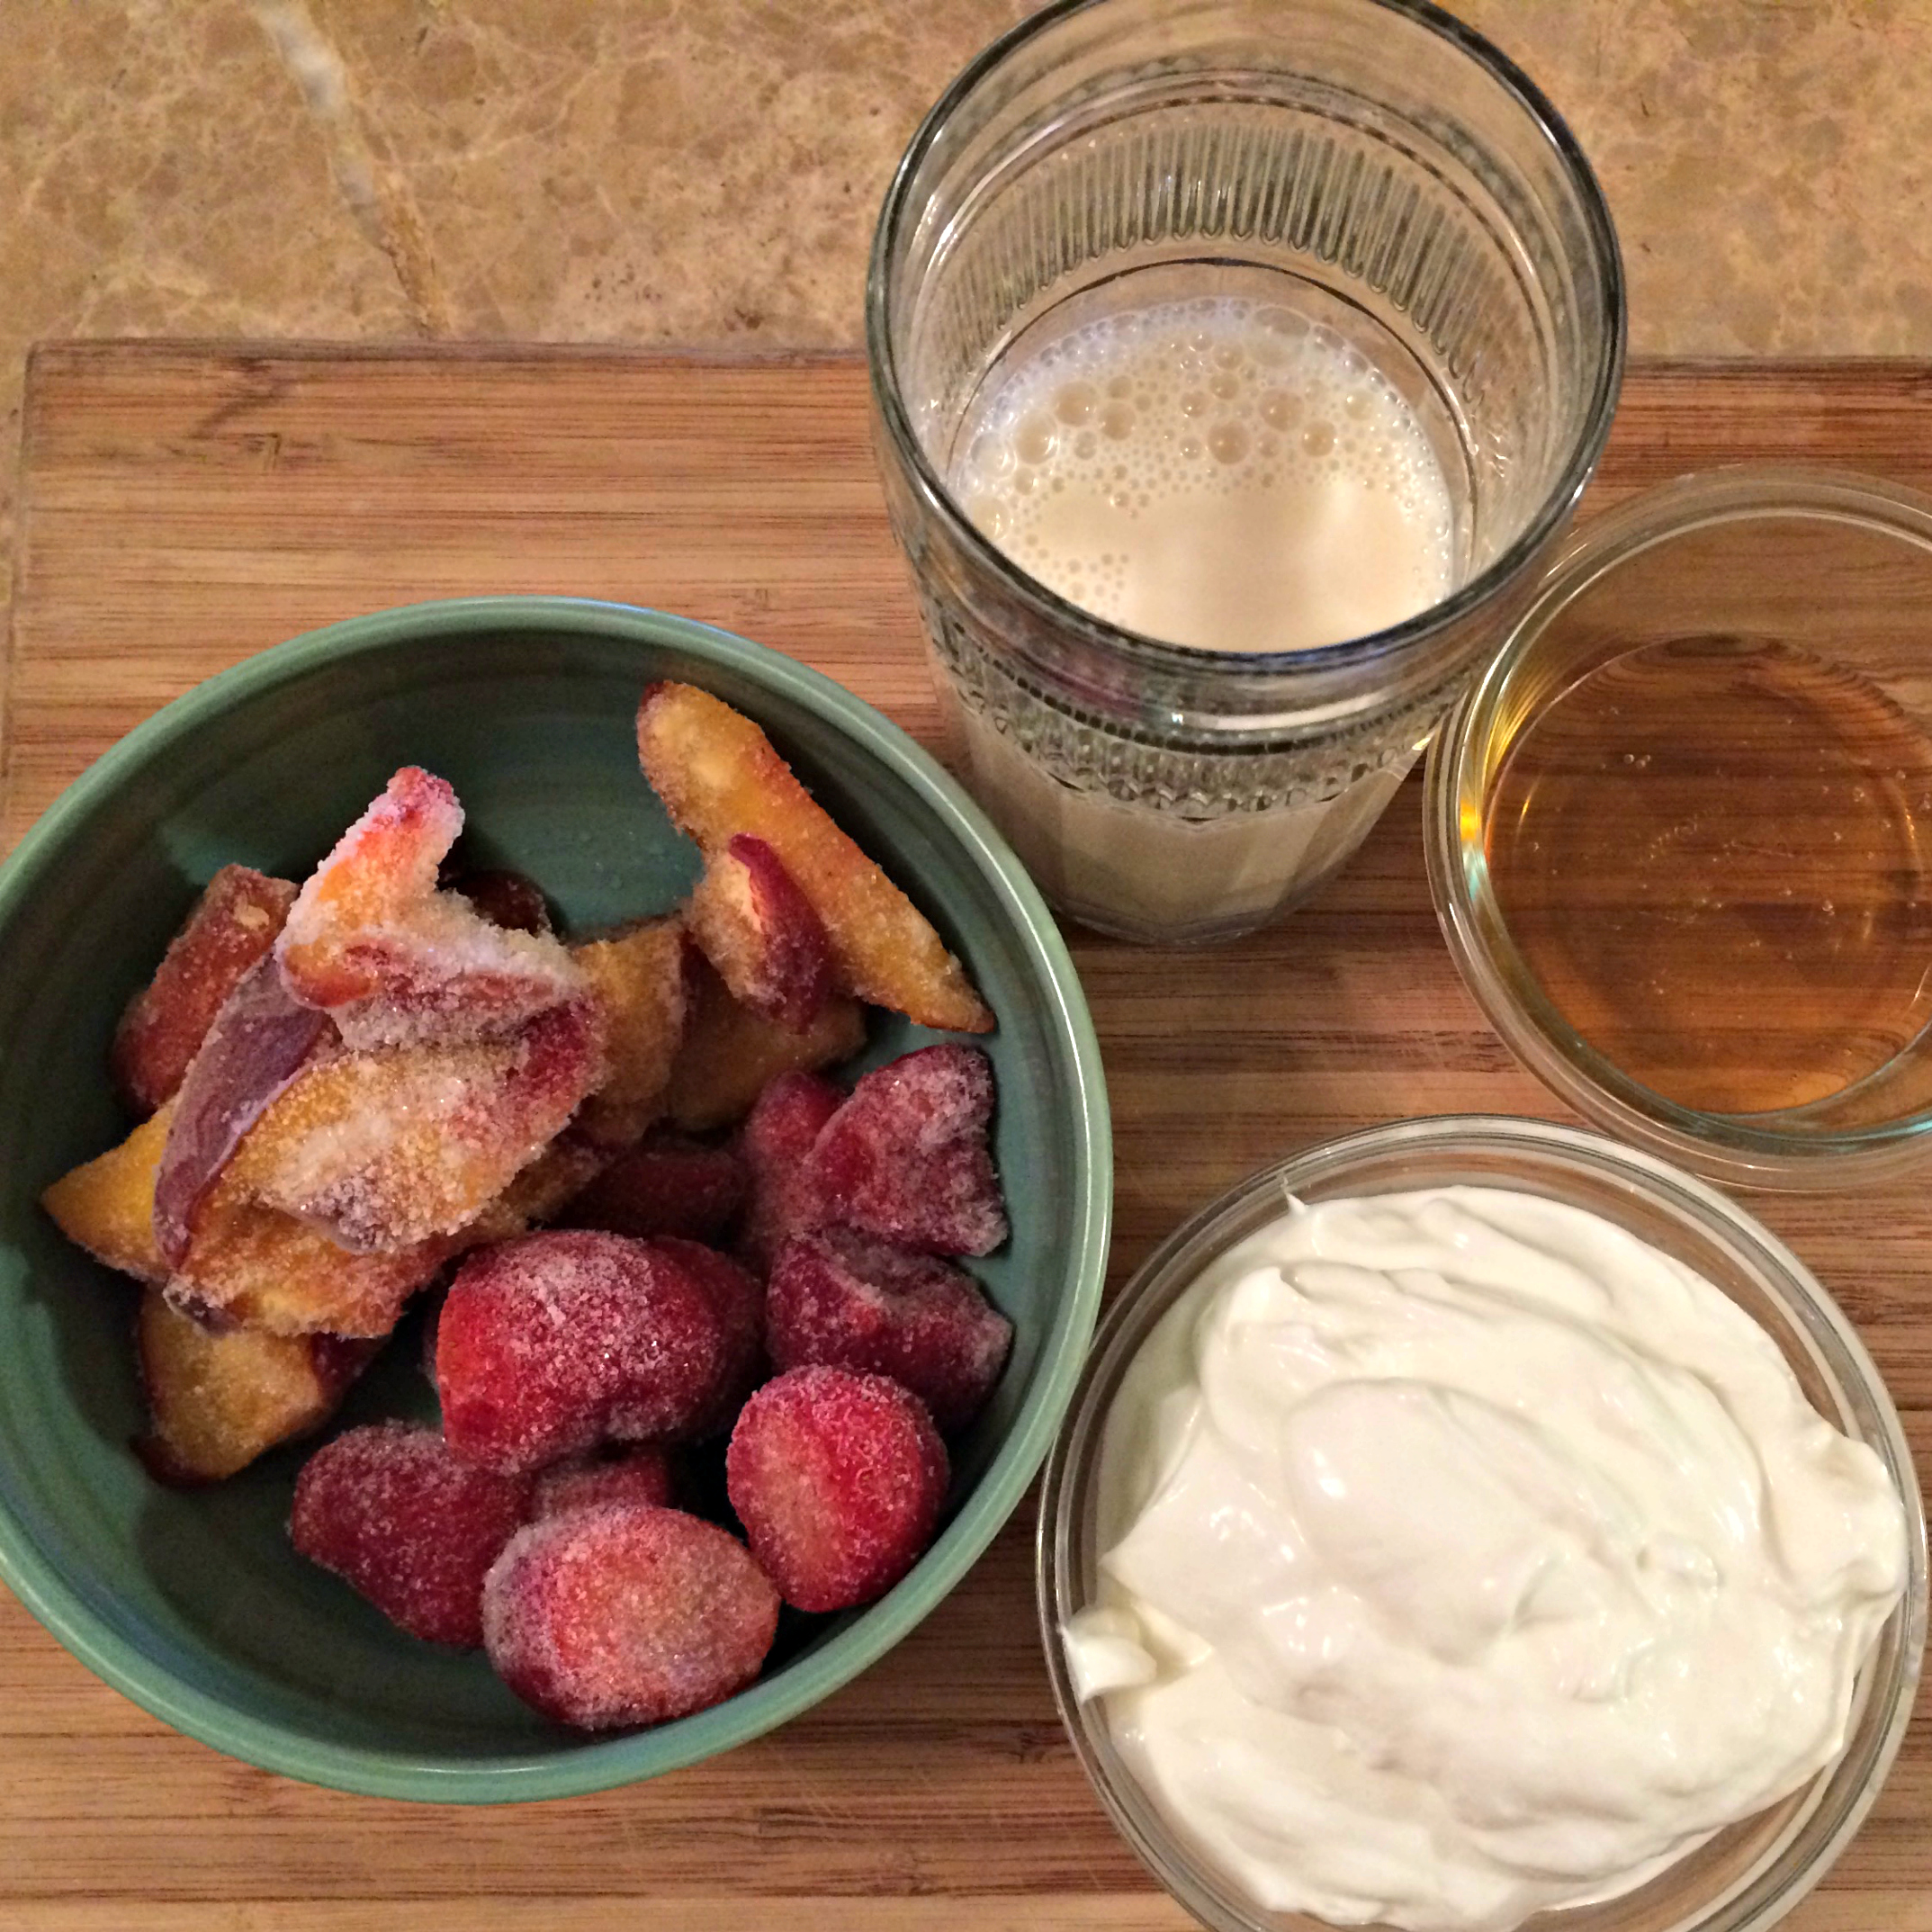
Start with 2 cups of fruit (I used frozen peaches and strawberries), yogurt (I used plain Greek), milk (I used unsweetened vanilla almond milk) and honey or sugar.

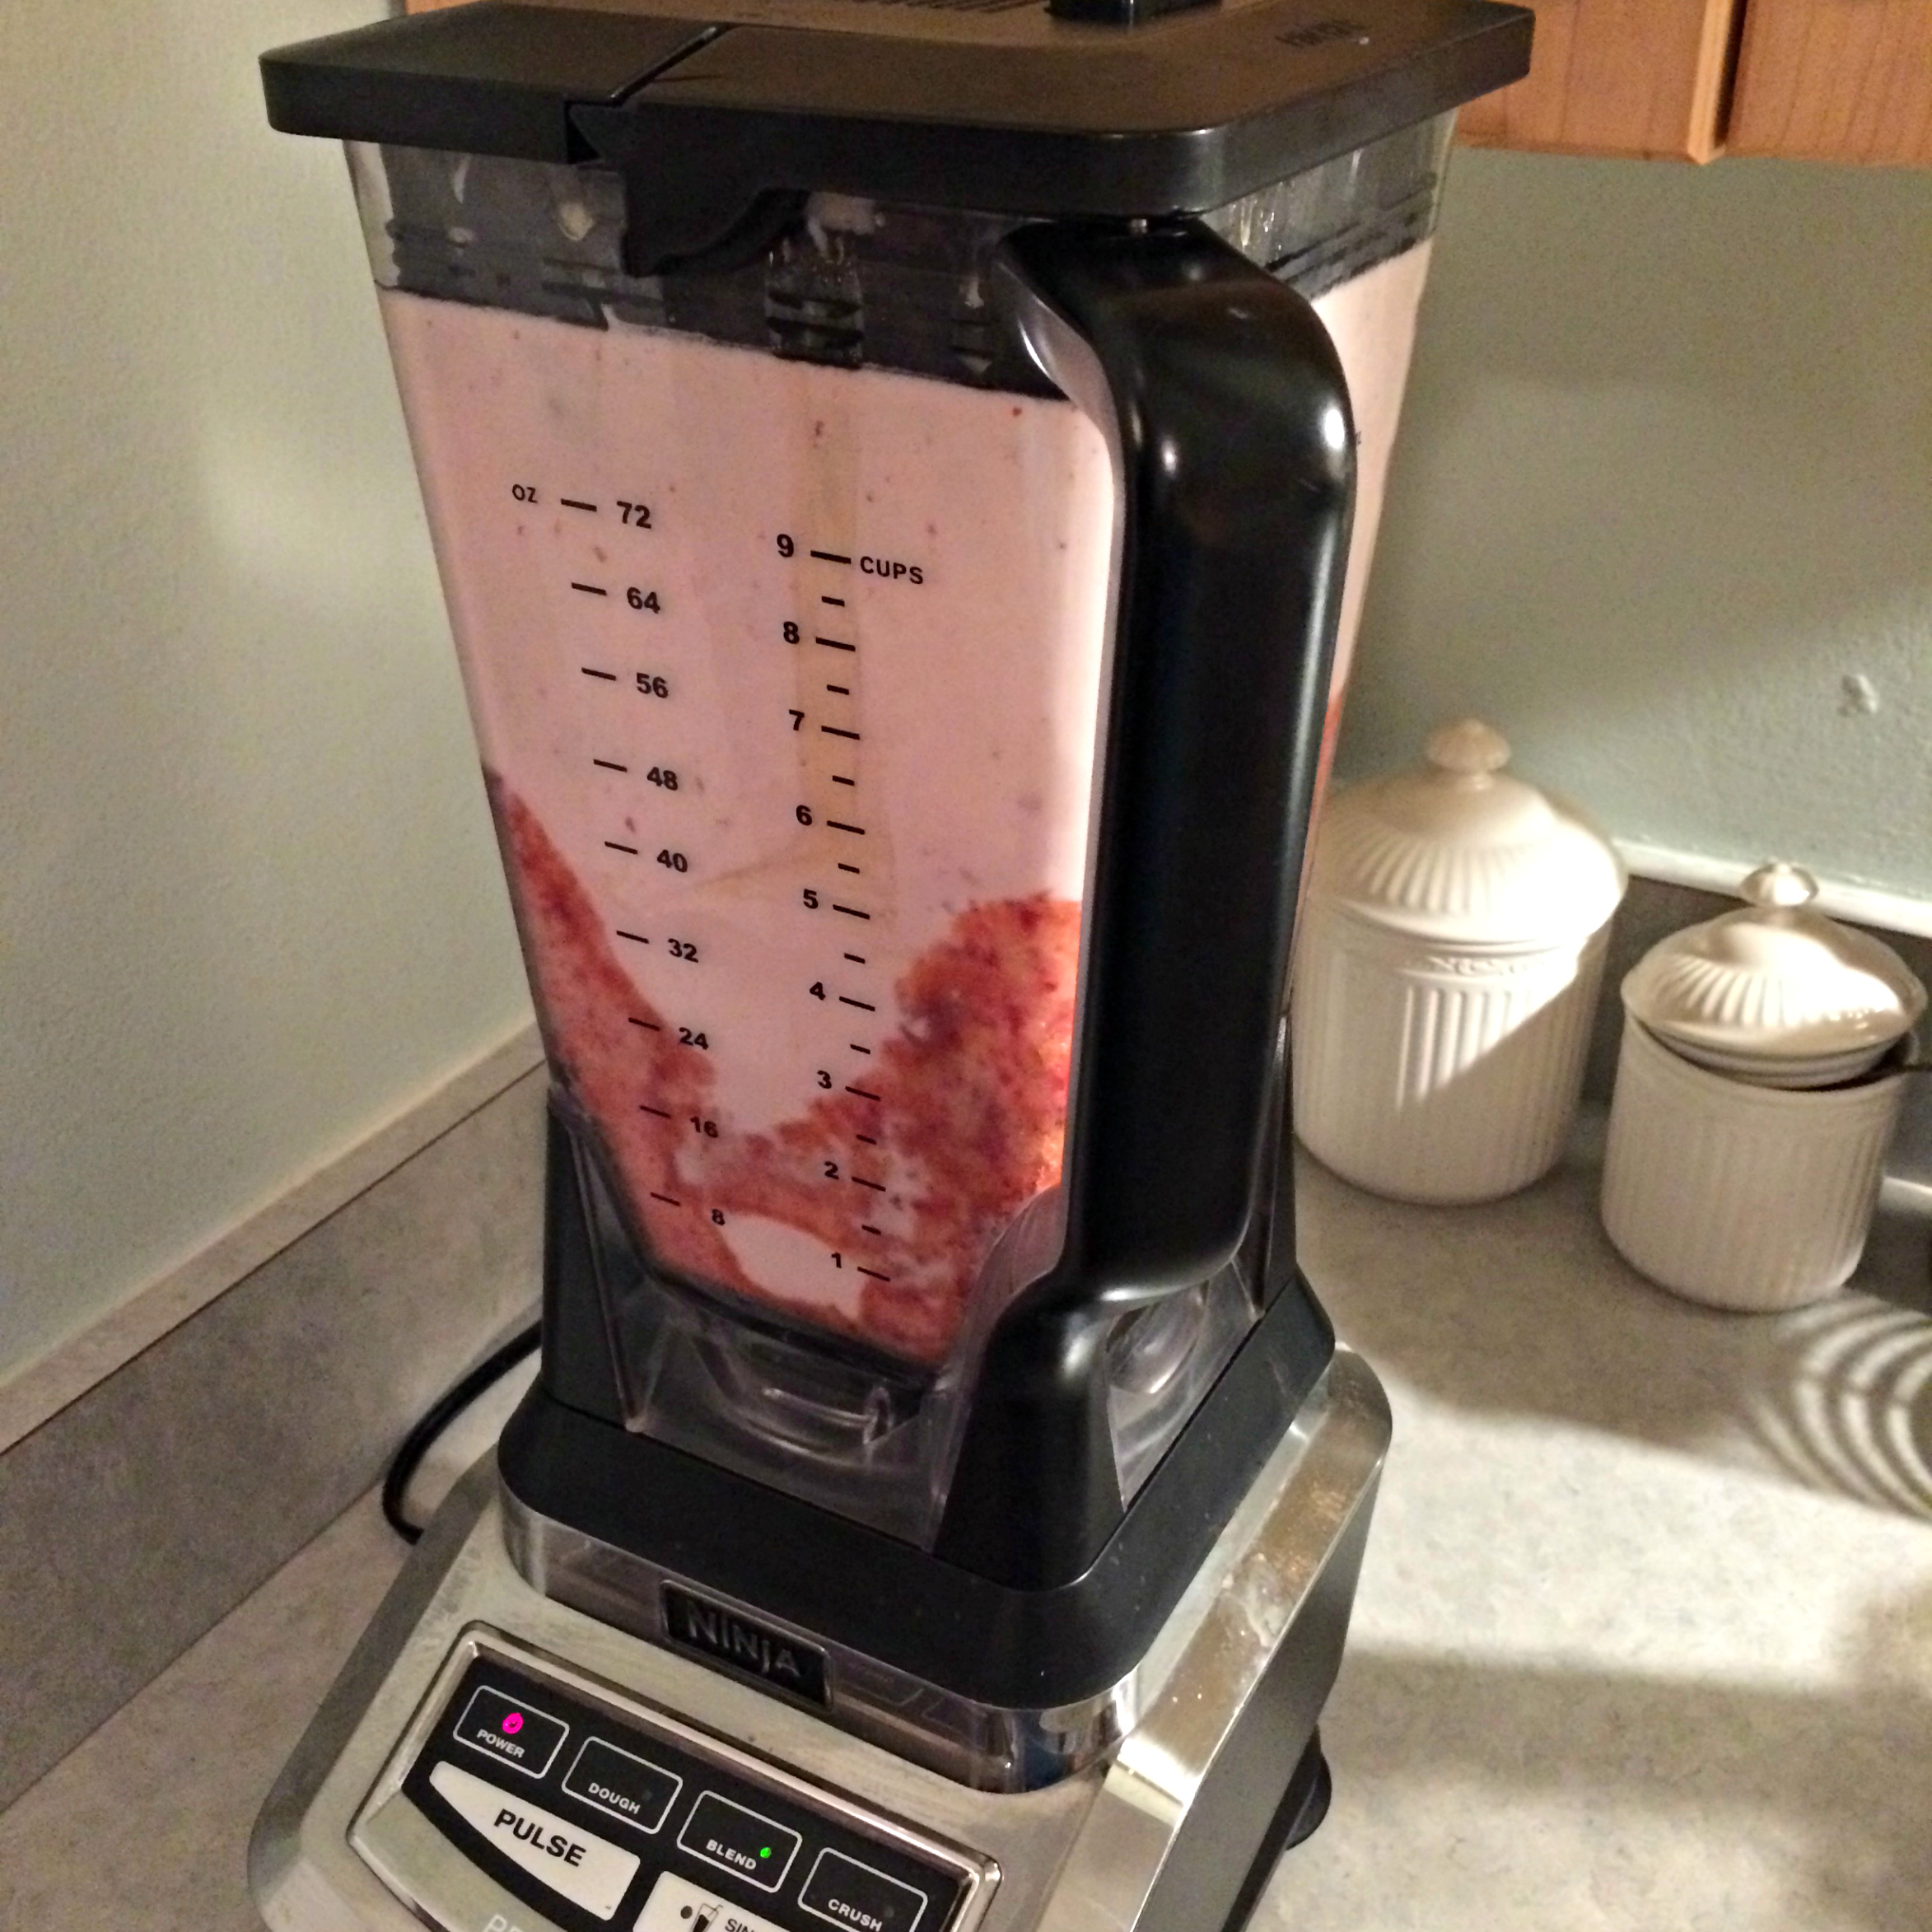
Throw your fruit in the blender and puree (if using frozen fruit like I did, skip this step and blend all the ingredients together instead). Once the fruit is smooth, add in the rest of your ingredients and blend to your desired consistency.

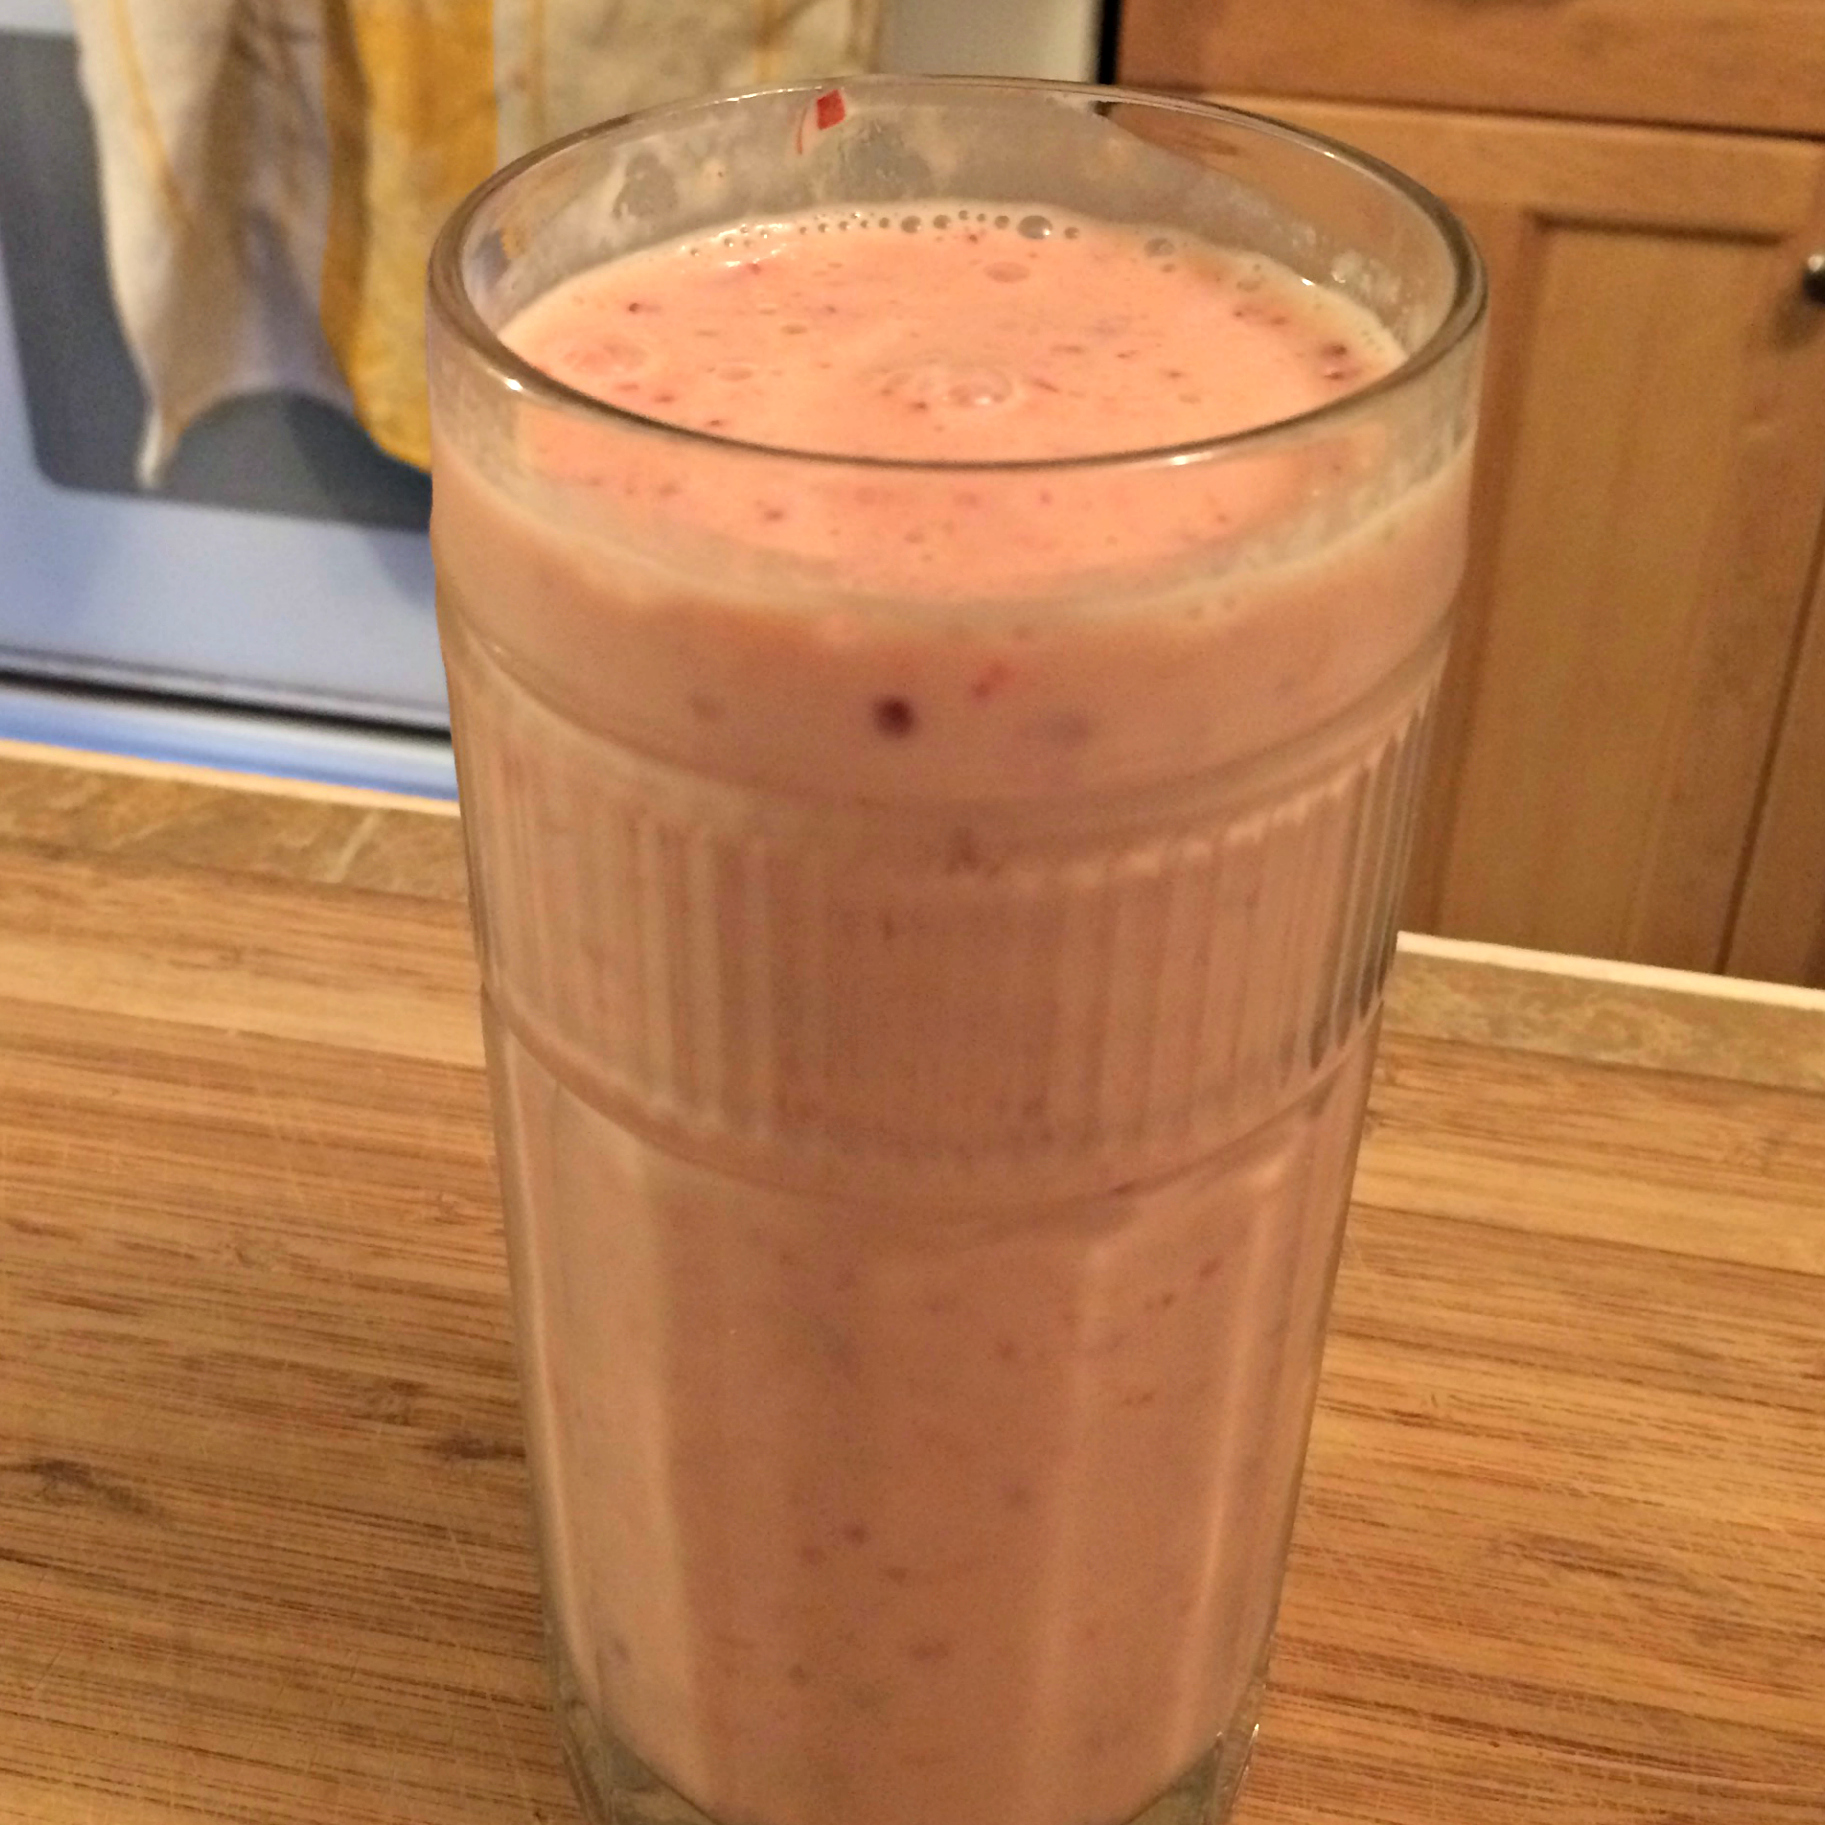
That’s it! So simple and let me tell you – this smoothie was DELISH!

This does produce a rather thick smoothie so if you’d like yours to be thinner, replace some of the yogurt with more milk.


Print
Fruit Smoothie

Ingredients

  • 2 cups fruit (berries, melon, peaches, banana)
  • 1 1/2 cups plain yogurt
  • 1 cup milk
  • 2 - 4 Tablespoons honey or sugar to taste

Instructions

  1. Puree fruit in blender
  2. Add yogurt, milk and sweetener and blend until smooth.
  3. Yield: 4 10 oz smoothies
  4. Enjoy!
  5. Feel free to sub greek yogurt for plain yogurt or almond milk for milk
3.1
https://chachingonashoestring.com/2017/02/15/kids-snack-idea-simple-easy-fruit-smoothies-minutes/

Filed Under: Recipes

Frozen Chocolate Peanut Butter Banana Bites

February 7th, 2017 By Heidi
This post may contain affiliate links, which means I will make a small commission if you click and make a purchase.

This is the perfect thing to whip up when you find a good deal on bananas! It only requires a few ingredients and little prep but in the end is a delicious snack for the kiddos.

The only requirements for these goodies are: bananas, peanut butter, chocolate chips, a cookie sheet & parchment paper.


Begin by slicing the bananas into 1/4 – 1/2 inch slices.

Spread peanut butter between two slices of banana and place on a cookie sheet lined with parchment paper. I used three bananas per sheet.

Place the cookie sheet in the freezer for about an hour or until bananas are firm.

In a double boiler over medium heat, melt chocolate chips until smooth. I also added a teaspoon of coconut oil to help the melted chocolate chips spread more effectively.

Dip the frozen banana bites in chocolate and remove with two forks or a pair of tongs.

Return chocolate dipped bites to the same cookie sheet lined with parchment and return to the freezer for another hour.

Once firm they are ready to eat or place in an air tight container to be stored in the freezer for 1-2 weeks.


Filed Under: Recipes

Homemade Cinnamon Granola Bars Recipe (Nut Free!)

January 17th, 2017 By Heidi
This post may contain affiliate links, which means I will make a small commission if you click and make a purchase.

If your child’s classroom is “nut-free” it can be difficult to find healthy snacks to pack in their lunches. This recipe is simple, easy to double or even triple and my kids love them!

Here is your cast of characters: butter, brown sugar, egg, ground flaxseed, honey, oats, flour, cinnamon, baking soda, sea salt and dried cranberries. I also add a few mini chocolate chips to the top – every kid loves chocolate!

In a large mixing bowl, beat butter and brown sugar until crumbly, about 2 minutes.

Add the egg and beat well, then stir the flaxseed and honey into your creamed mixture.

In a separate small bowl combine the oats, flour, cinnamon and baking soda. Stir dry ingredients into creamed mixture just until blended.

This next step isn’t necessary but I have one kid in particular who is a bit texture sensitive so I take the time to chop the cranberries into smaller bits. This ensures I get “yum”s instead of “ewww”s!

At this point I remove the mixing bowl from the stand and use a spoon to gently stir in the dried cranberries.

Press mixture into a buttered pan with the back of a measuring cup (8×8 square pan for THICK bars or 11×7 for slightly thinner bars).

Sprinkle chocolate chips on top and gently press in.

Bake in a 350 degree oven for 14 – 18 minutes or until edges are lightly browned.

Cool on a wire rack and cut into bars. Yield: approximately 1 dozen bars

Print
Cinnamon Granola Bars (Nut Free!)

Ingredients

  • 1/4 cup butter, softened
  • 1 cup brown sugar, packed
  • 1 egg
  • 2 Tablespoons ground flaxseed
  • 2 Tablespoons honey
  • 2 cups oats
  • 1 cup flour
  • 1 teaspoon ground cinnamon
  • 1/2 teaspoon baking soda
  • 1/4 teaspoon sea salt
  • 1/2 cup dried cranberries
  • 2 Tablespoons mini chocolate chips

Instructions

  1. In a large mixing bowl beat butter and brown sugar until crumbly, approximately 2 minutes.
  2. Add egg; beat well.
  3. Stir in flax and honey.
  4. In a small bowl combine oats, flour, cinnamon, baking soda & salt.
  5. Mix dry ingredients into creamed mixture just until blended.
  6. Gently stir in dried cranberries.
  7. Press into a greased 8x8 inch pan (for thick bars) or 11x7 inch pan (slightly thinner bars).
  8. Sprinkle chocolate chips on top and press down gently.
  9. Bake at 350 degrees for 14 - 18 minutes or until set and edges are lightly browned.
  10. Cool on a wire rack; cut into bars.
  11. Yield: approximately 1 dozen bars
3.1
https://chachingonashoestring.com/2017/01/17/homemade-cinnamon-granola-bars-recipe-nut-free/

Filed Under: Recipes

How To Make An EASY Fall Wreath In 5 Simple Steps!

October 26th, 2016 By Heidi
This post may contain affiliate links, which means I will make a small commission if you click and make a purchase.

fall-wreath-fb

Do you remember the easy wreath I made back in the Spring for under $15? Well as you can see in the picture below, it’s hung in there so nicely on my front door all summer long and now I’m ready to give it a beautiful FALL makeover – all on a tiny budget too.

fall-wreath-before

I bought these two items at the craft store (at 40% off of course!) and plan to incorporate them into my wreath to transition it into a fall beauty!

fall-wreath-supplies

Step 1:

If you remember, I chose not to use hot glue to attach my greenery and flowers to the grapevine wreath back in the spring due to several reasons. This makes my Fall makeover a cinch! All I need to do is unwind or snip the floral wire I used to wrap the greenery around the wreath and simply untuck and remove the old stems.

fall-wreath-changeover

Step 2:

I bought a single wheat bunch but inside that bunch are lots of single stems. They are bound together with glue and tape. I used scissors (and then ultimately a knife and cutting board) to slice through the tape and separate the wheat so I had a bunch of single stems that I could spread around.

fall-wreath-wheat

fall-wreath-wheat-2

Step 3:

I placed the stems around the wreath and wrapped with floral wire again, tucking the ends in where I needed to.

Step 4:

I took the bushier wheat stems and tucked them into the bow that was already on my wreath from the Spring (you are welcome to change your bow, but because mine is burlap it works great for the Fall too!) and then divided and tucked all the single wheat stems into each side.

fall-wreath-wheat-3

Step 5:

I also bought a bushel of fall leaves with berries and mini pumpkins attached.  I cut them apart into smaller sections with my wire cutters. To add some color, I tucked the leaves and pumpkins throughout the wreath.

fall-wreath-final

And that’s it!

In less than an hour, and under $12 I’ve easily transitioned my simple Spring wreath right into the Fall!

If you make a wreath please share it with me in the comments! I’d love to see it.

fall-wreath-pin

Filed Under: Simple Living

Get Better Homes & Gardens Magazine for only $4.95 per Year – Today Only (10/20)!

October 20th, 2016 By Heidi
This post may contain affiliate links, which means I will make a small commission if you click and make a purchase.

Better-Homes-and-Gardens-5

Today only, subscribe to Better Homes & Gardens Magazine for only $4.95 per year (88% off)! You can order up to 4 years at this price. Just enter coupon code CHACHING.

This offer ends tonight!

Note: Your subscriptions can be for yourself, a gift or to renew an existing subscription. 

Looking for deals on other magazines? Use coupon code CHACHING to save 20% off of any other magazines that you find at DiscountMags.

Filed Under: Great Deals, Online Deals

Get Rachael Ray Every Day Magazine for only $4.95 per Year – Today Only (10/19)!

October 19th, 2016 By Heidi
This post may contain affiliate links, which means I will make a small commission if you click and make a purchase.

everyday with rachael ray

Today only, subscribe to Rachael Ray Every Day Magazine for only $4.95 per year (87% off)! You can order up to 4 years at this price. Just enter coupon code CHACHING.

This offer ends tonight!

Note: Your subscriptions can be for yourself, a gift or to renew an existing subscription. 

Looking for deals on other magazines? Use coupon code CHACHING to save 20% off of any other magazines that you find at DiscountMags.

Filed Under: Great Deals, Online Deals

Get HGTV Magazine for only $12.99 per Year – Today Only (10/18)!

October 18th, 2016 By Heidi
This post may contain affiliate links, which means I will make a small commission if you click and make a purchase.

hgtv

Today only, subscribe to HGTV Magazine for only $12.99 per year (67% off)! You can order up to 2 years at this price. Just enter coupon code CHACHING.

This offer ends tonight!

Note: Your subscriptions can be for yourself, a gift or to renew an existing subscription. 

Looking for deals on other magazines? Use coupon code CHACHING to save 20% off of any other magazines that you find at DiscountMags.

Filed Under: Great Deals, Online Deals Tagged With: Christmas Deals 2016

Grilled Basil Chicken Recipe

October 16th, 2016 By Heidi
This post may contain affiliate links, which means I will make a small commission if you click and make a purchase.

basil-chicken-fb

Chicken!  So many delicious flavors, marinades, sauces….and just as many ways to prepare and eat it!

This recipe is one of my favorites when it comes to making grilled chicken and you won’t believe how flavorful this chicken turns out with such a short ingredient list.

All you need to add to your chicken is:

  • Lemon Juice
  • Basil (fresh or dried)
  • Garlic cloves
  • Olive Oil
  • Sea Salt & Freshly Ground Pepper 

I generally buy a big bag of individually frozen chicken tenderloins every time I make my monthly trip to Costco. I like to use tenderloins for this recipe because these thin, tender pieces of chicken really soak up the marinade much better than larger breasts. Of course you can use whatever chicken you have on hand or like best: breasts, legs, thighs, bone-in or boneless. It’s all delicious.  

If you like to stock up on chicken when you see a great sale this is also an easy way to prepare it before it goes in the freezer. I will make multiple gallon freezer bags of the marinade all at once, throw in my cheap chicken and then pop it in the freezer. The chicken will freeze in the marinade and when you take it out to defrost it will start to marinate without all the prep! It’s always nice to have several bags in the freezer for unexpected company or a busy night.

To make this delicious recipe simply combine all your ingredients in a gallon zip top bag, throw in your chicken, turn until all pieces are coated and marinate at least 30 minutes or up to 24 hours.

Grill your chicken over medium heat (300 – 350 degrees) with the lid closed for 20 – 30 minutes, depending on the thickness of your chicken pieces.

That’s it! How easy is that?

basil-chicken

Print
Grilled Basil Chicken

Ingredients

  • 1/2 Lemon, juiced (approximately 3 Tablespoons)
  • 2 Tablespoons chopped fresh Basil or 2 teaspoons dried Basil
  • 1 Garlic Clove, minced
  • 1/4 cup Olive Oil
  • 1 teaspoon Sea Salt
  • 1/2 teaspoon freshly ground Black Pepper
  • 4 Chicken Breasts

Instructions

  1. Combine all marinade ingredients in a gallon zip top bag
  2. Add chicken to the bag
  3. Toss to coat chicken completely in the marinade
  4. Marinate for at least 30 minutes or up to 24 hours
  5. Remove chicken from bag and throw away remaining marinade
  6. Grill chicken over medium heat (300-350 degrees) with lid closed for approximately 20-30 minutes depending on the thickness of the chicken
  7. Serve!
3.1
https://chachingonashoestring.com/2016/10/16/grilled-basil-chicken-recipe/

(Recipe adapted from The Ultimate Southern Living Cookbook)

It’s worth the effort to double this recipe and make extra chicken. The leftovers are a delicious addition to chicken salad, sandwiches and salads! YUM.

basil-chicken-pin

Filed Under: Recipes

  • « Previous Page
  • 1
  • …
  • 11
  • 12
  • 13
  • 14
  • 15
  • …
  • 124
  • Next Page »

Welcome

About
Contact

My  name is Kaley. Wife, Mama, and Dreamer, I have a passion for saving money, living simply, and helping others find creative ways to live large on a limited budget.

My Favorite Things

Copyright © 2025 Kaley Ehret · Site Design by Sharon Hujik · Log in
Disclaimer | Disclosure Policy | Privacy Statement