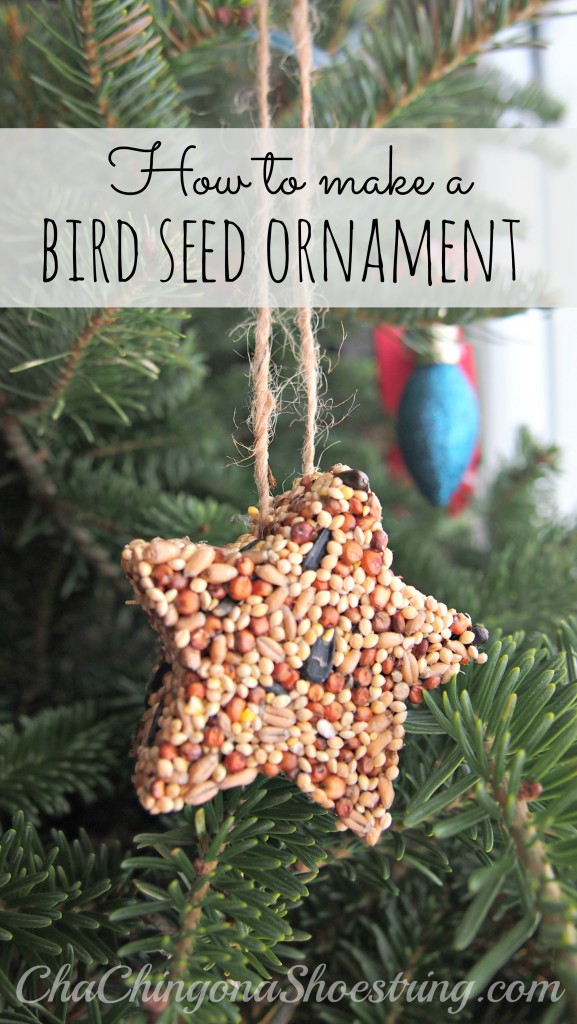
How to Make a Bird Seed Ornament
This gift is for the birds – literally. 🙂
Seriously now, are these bird seed ornaments cute or what? And it really doesn’t get much easier than this. Four little steps are all it takes to create these little beauties and the kids can even help!
We decided to create some as Christmas gifts this year, but I’m guessing the birds would enjoy them any time of the year.
What you’ll need:
- 3/4 cup birdseed (Seed for small birds works great.)
- 1/4 cup water
- 1 small envelope of Knox gelatine
- twine or string
- cookie cutters or mason jar lids
- wax paper
Step 1: Mix together the envelope of gelatine with 1/4 cup of water and bring to a simmer while stirring. Continue stirring until the gelatine is dissolved, then remove from heat and cool for a minute. Stir in the bird seed, adding a little more if there is liquid still in the bottom of the pan.
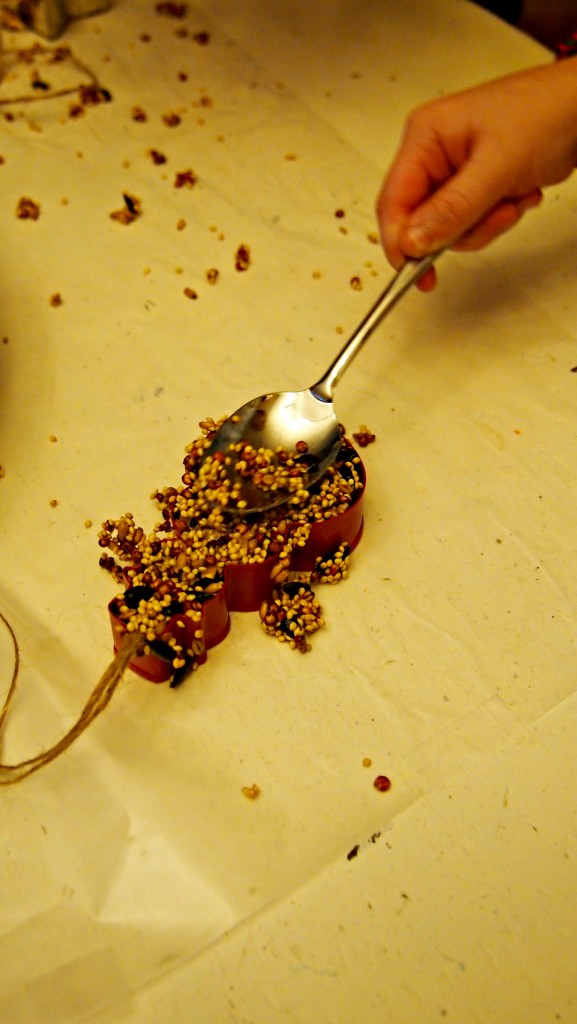
Step 2: Lay the cookie cutter on the wax paper, and fill half way with the bird seed mixture.
Step 3: Cut your twine, knot the end and push the knot down into your birdseed. Then continue filling with bird seed, covering the end of your twine and knot. Push the bird seed evenly into the cookie cutter until it’s full.
Step 4: Let them sit overnight to be sure they set. When it comes time to take the ornaments out of the mold, be careful to push them out slowly so you don’t lose any pieces!
I placed ours in a mason jar and found this lovely Cardinal gift tag from the Graphics Fairy.
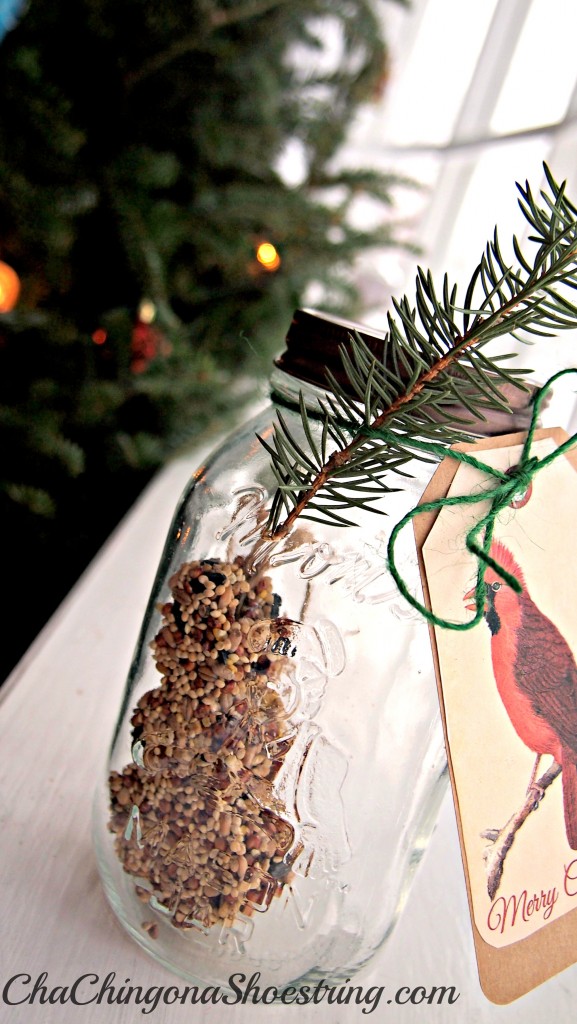
There you have it – so simple and yet so lovely!
Want to transform your Christmas with us? My Book The Merry Little Christmas Project – Five Words that will Transform your Christmas has helped thousands of women do just that. If you have ever wished that Christmas didn’t have to be so stressful, I wrote this book for you. Click here to learn more and begin simplifying and organizing your Christmas with me!
You May Also Like:



freeze them &No MOLD
I am wondering if these can be made ahead and placed in the freezer until christmas? Has anyone tried that?
Loved the idea and they were so cute but they molded sitting on my counter after only threw days.
The room needs to be dry so that all the moisture can be sucked out of them. I left them dry overnight on wax paper lined with cooking spray. The next afternoon i transferred them onto a paper bag and put them in my closet, the dryest room in the center of the house. I’m going to make some more again tonight, and I want to use my blowdryer on them right away and see how that dries them up. Has anyone had experience with that?
how long will these keep if I make them ahead of time as
Christmas gifts? I’ve read elsewhere that these can get
Moldy… But those recipes called for other ingredients such as flour or cornstarch. Will the gelatin cause mold?
Oh dear – I’m not sure if I have the answer to that, Sami. I think I made mine at least a week ahead of giving them to some people – but I can’t remember exactly. Sorry about that!
Thanks Kaley! I’ve read around and have found that if you let them sit out overnight in a dry place, they should become hard and not moist, thus preventing the mold. I can’t wait to make these tonight!
Yes! They get moldy! I made them on a Wesnesday and by the following Monday they were covered with mold :((
Does the recipe just make one ornament?
This should make 2-3 ornaments, Amanda.
What a nice thing to make with the kids this season. Thanks for the inspiration!
Thanks, Jenn! It really is a fun little activity – and much easier than sugar cookies. 😉