Cha-Ching on a Shoestring™

Living Large on a Limited Budget

  • STORES
    • Coupon Database
    • CVS
    • Rite Aid
    • Walgreens
    • Target
    • Walmart
  • Restaurants
  • Online Deals
    • Amazon Deals
    • Amazon Subscribe & Save Deals
  • Freebies
    • Free Kindle Books
    • Free Stuff by Mail
    • Free Birthday Stuff
    • Free Stuff Online

Thank You, Dollar Store Diva! (aka Mom)

January 19th, 2018 By Kaley
This post may contain affiliate links, which means I will make a small commission if you click and make a purchase.

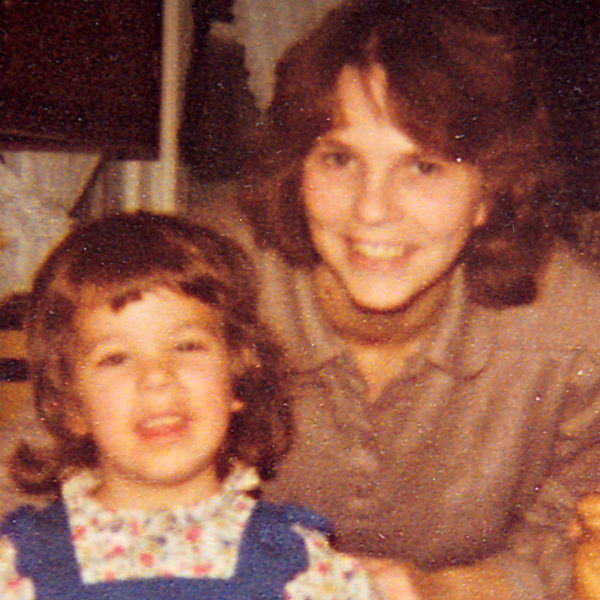
Me and Mom circa 1979

Those of you who have been around for awhile are familiar with the talents of our very own Dollar Store Diva.

She’s also occasionally called “Mom” or “Mama” around these parts.

She wrote her very first post for Cha-Ching on a Shoestring back in December of 2010.

I introduced her in this way:

My Mom carries a special power.  If she were a Super Hero, she would hands down earn the title of Dollar Store Diva.  Which is why I am SO excited to share with you that over the next few weeks, I have asked my Mom to share lots of creative ways to make your Christmas fabulous using Dollar Store finds. I think you are going to be surprised and delighted!

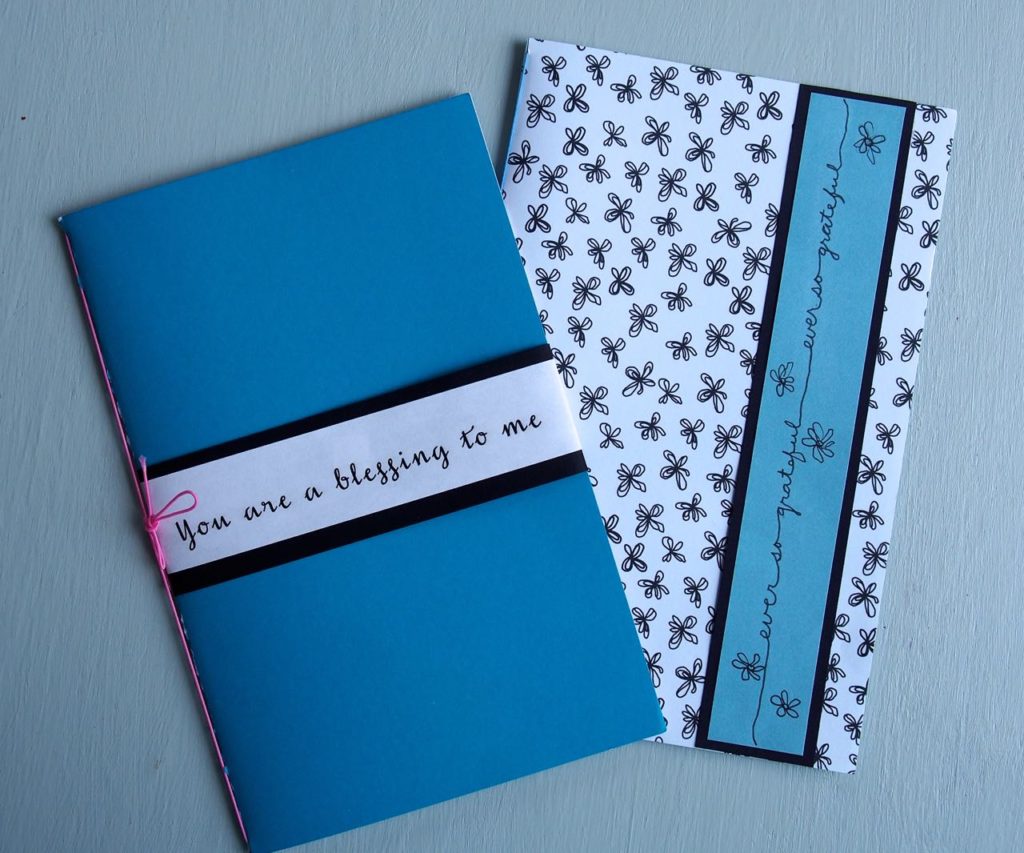
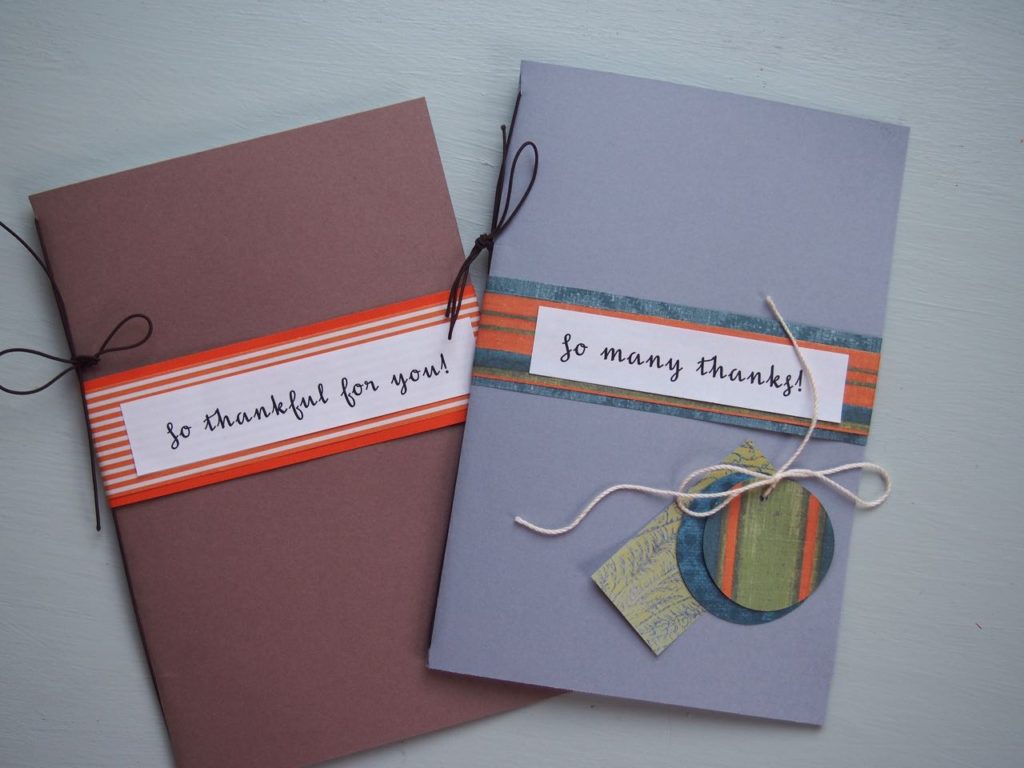
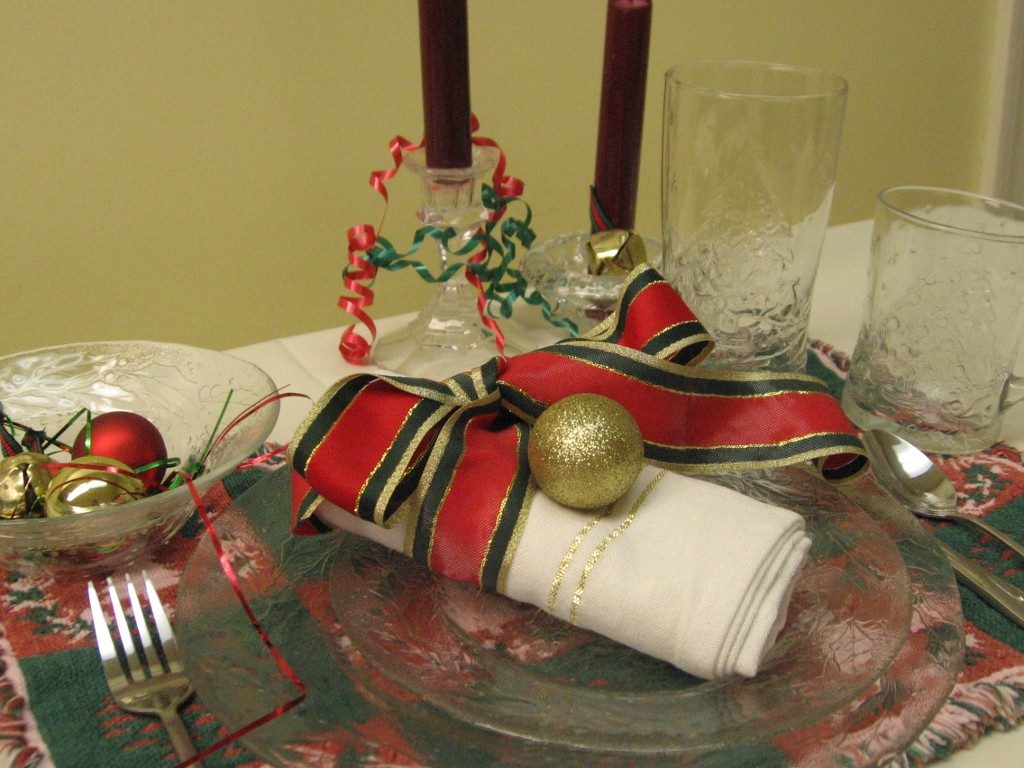
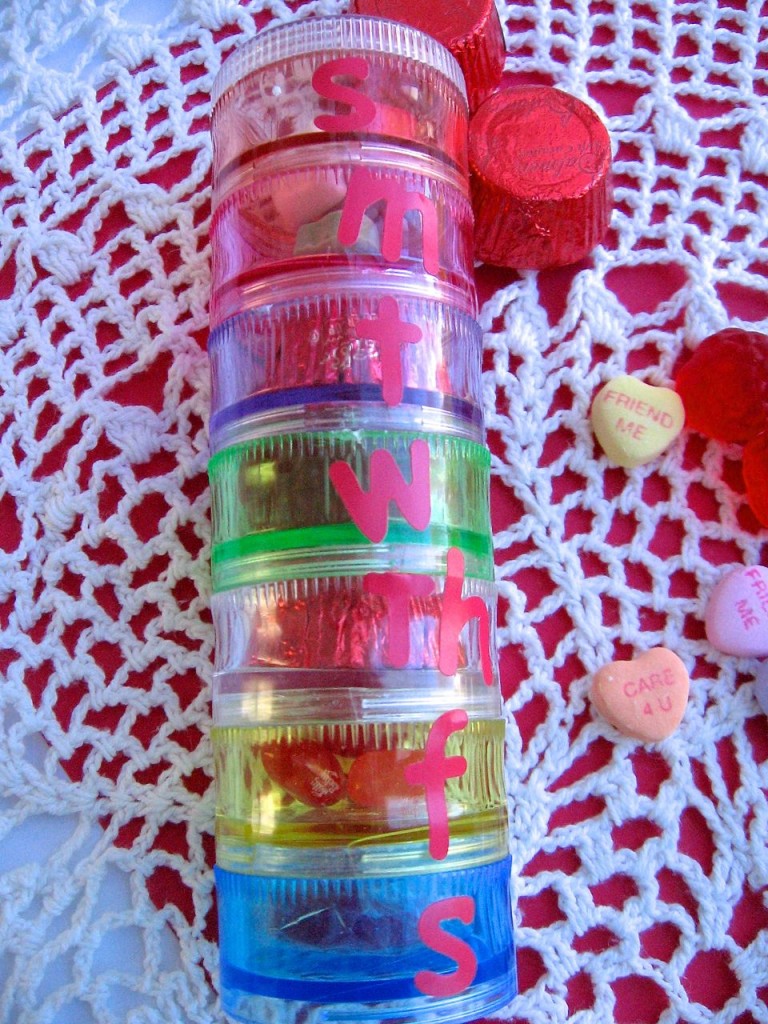
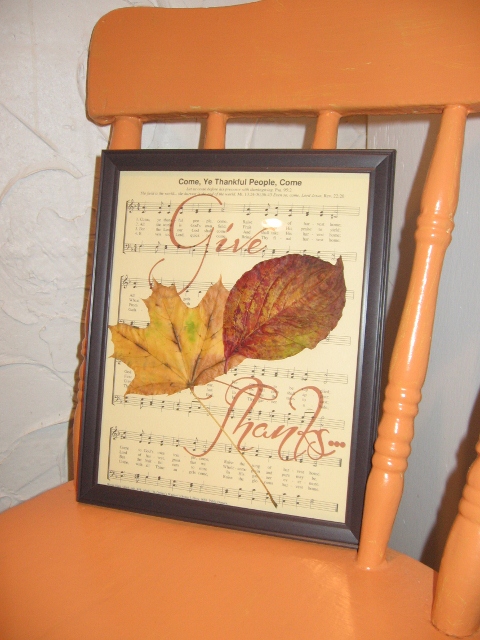
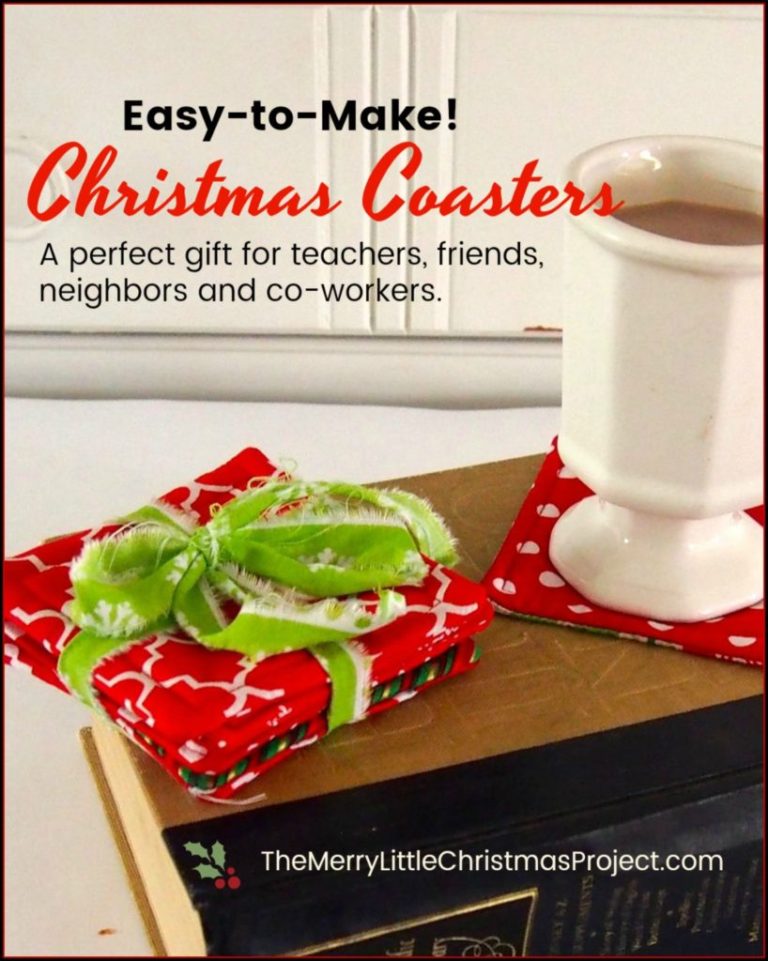
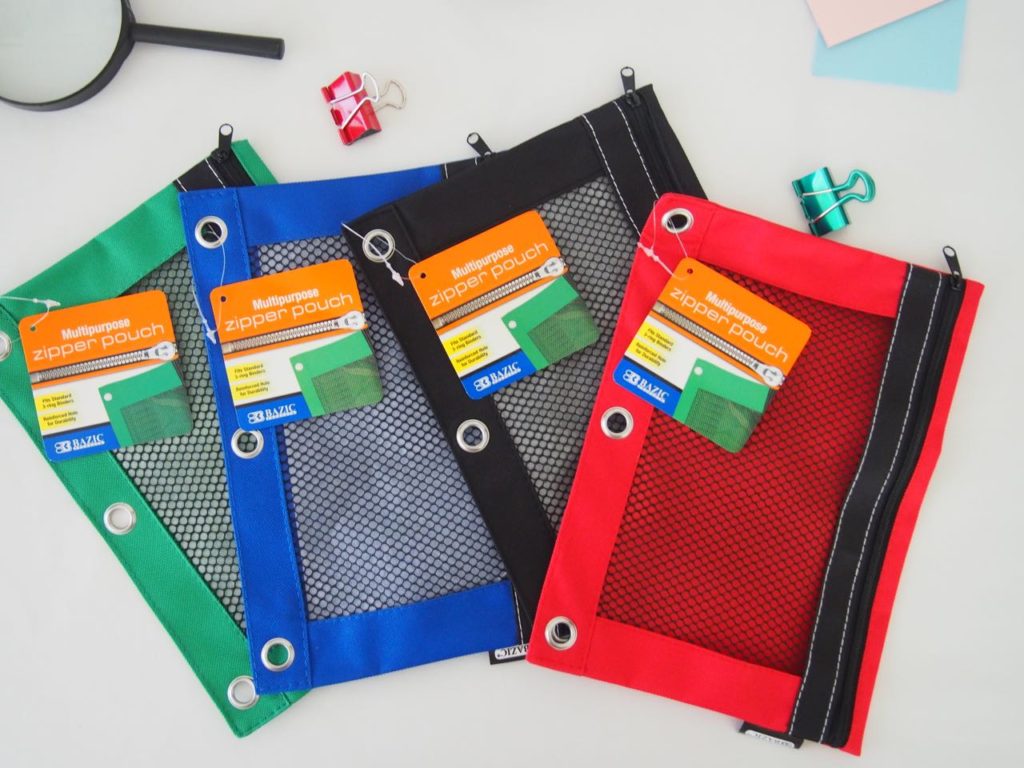
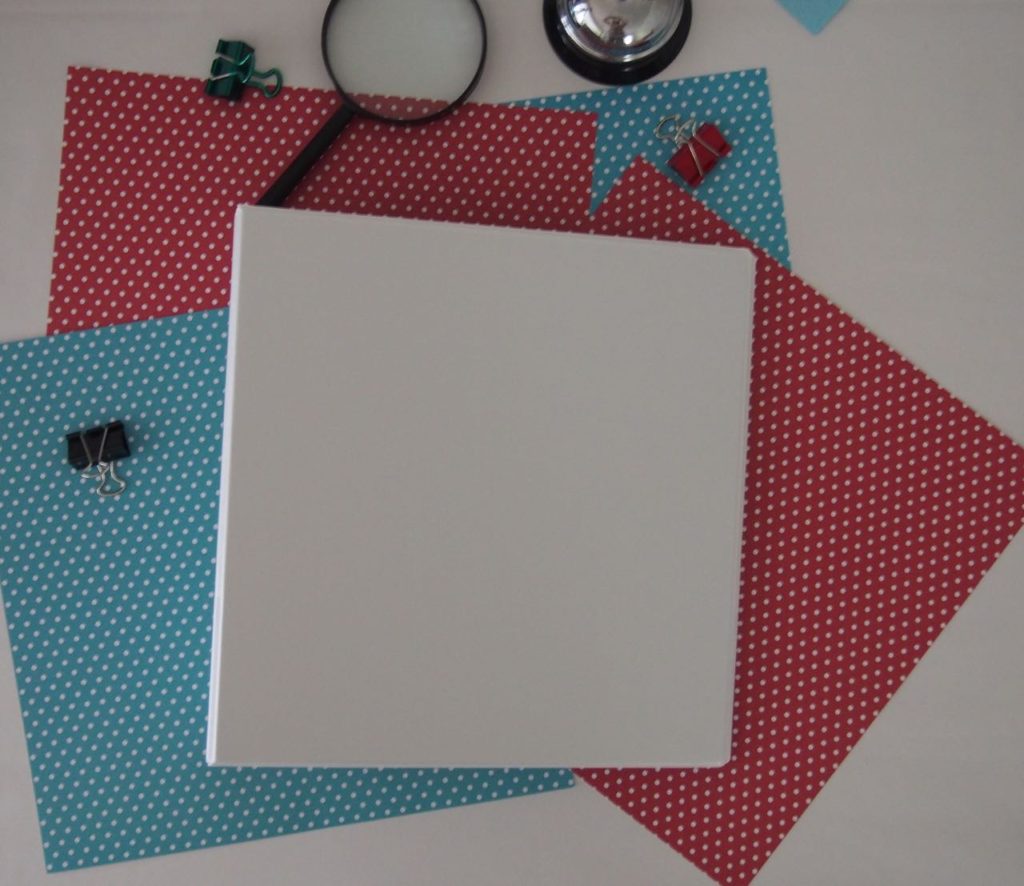
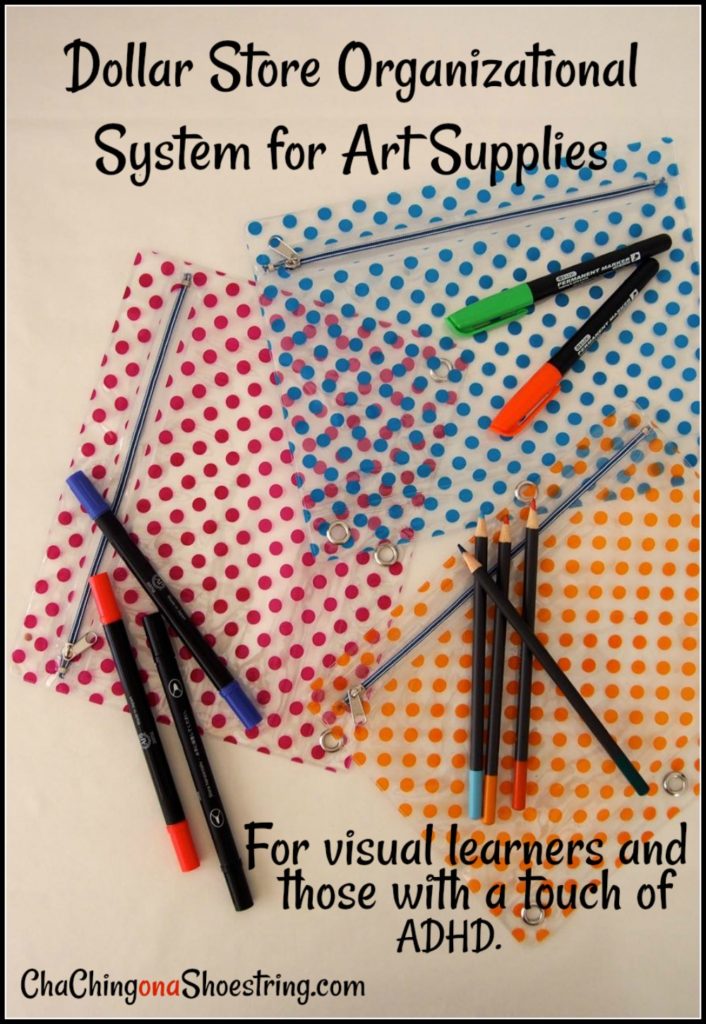
Well, what started out as a three week venture turned into over 7 years of delightful and creative posts. From simple and thoughtful gifts for every season to organizational tips for visual learners to lovely printables, yummy recipes, and gift wrap ideas galore, her creative ideas and tutorials have blessed us time and time again through the years.

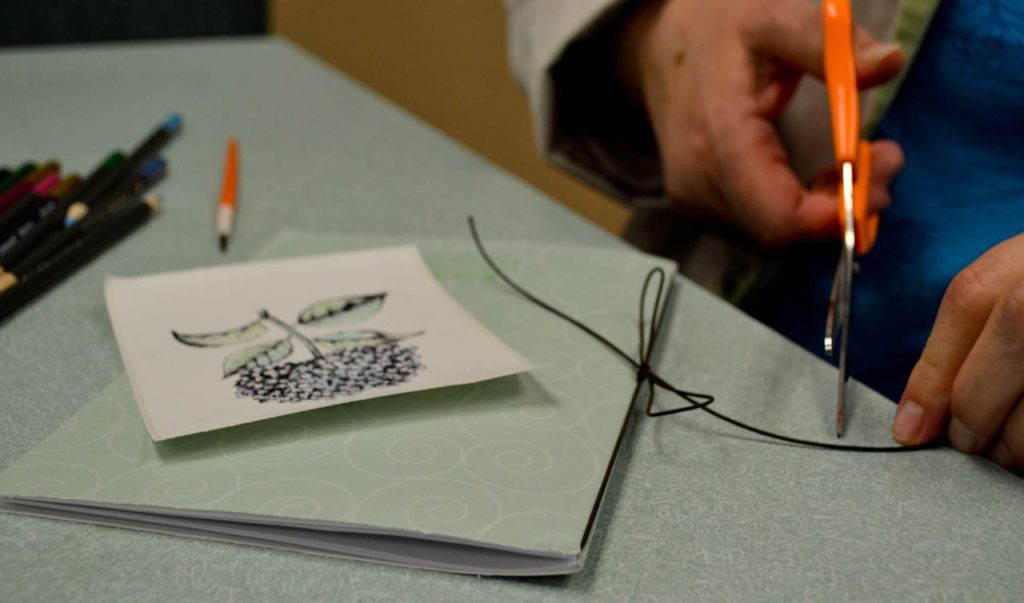
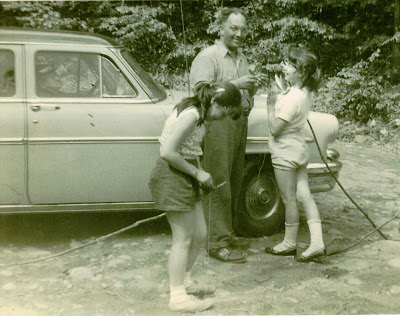
As her daughter, I have to add that I am so proud of the ways she has worked hard to develop her blogging skills through the years. She’s come a long way from snapping pictures with her little digital camera in her basement, during the pre-Pinterest image era. Not only did she learn to develop her picture-taking skills along the way, she learned to edit photos and became a pro at creating videos for her posts (like this one). At one point, she even helped my son create a video for school. How many Grandmas do you know that can boast of that?

I am happy to honor her today as she has decided it’s time to hang up her scissors and her camera and actually make some space to soak up retirement. She assures me that she get a little teary when she thinks about not sharing this space with us any more, but I am going to hold her to it. After raising 6 kids and years of hard work as an ESL teacher, she deserves a little break. I’m guessing she will never stop doodling or crafting or giving creatively, but now she just won’t have to snap pictures and take videos each time she does!

We will sure miss her around here, but the good news is that she is leaving her ideas behind! I took some time to highlight a few of my favorites below. Feel free to click through all of her posts here and I’ll be sure to keep highlighting them over on Facebook from time to time.

Thanks, Mom, for making this space a little brighter!

Now go put your feet up – daughter’s orders. 


Check out more Dollar Store Diva posts here.

Filed Under: Craft Ideas, Simple Living Tagged With: Dollar Store Diva

Super-Easy Art Supplies Organization Idea

July 21st, 2017 By Nancy
This post may contain affiliate links, which means I will make a small commission if you click and make a purchase.

I recently posted an art supplies Dollar Store Organizational System for people like me who are visual learners and also hassle with ADD.  I am ever so happy with this system; you can check it out here:

And then I came up with another super-easy way to store the pouches filled with my overflowing supply of colored pens and pencils:

I fully intend to use the original Dollar Store idea for–like–the rest of my life, but I also love the idea of keeping my tools super accessible by storing them on a shelf.

I made two purchases on Amazon:

#1– pencil pouches [extra-durable] with mesh windows

#2– a binder with 3-inch rings

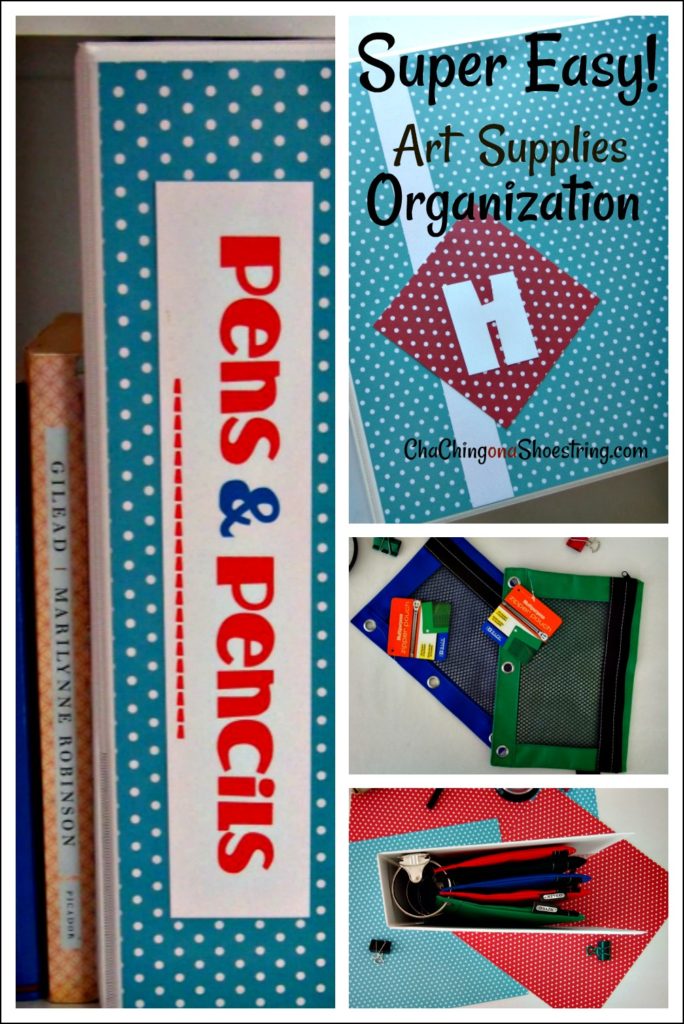
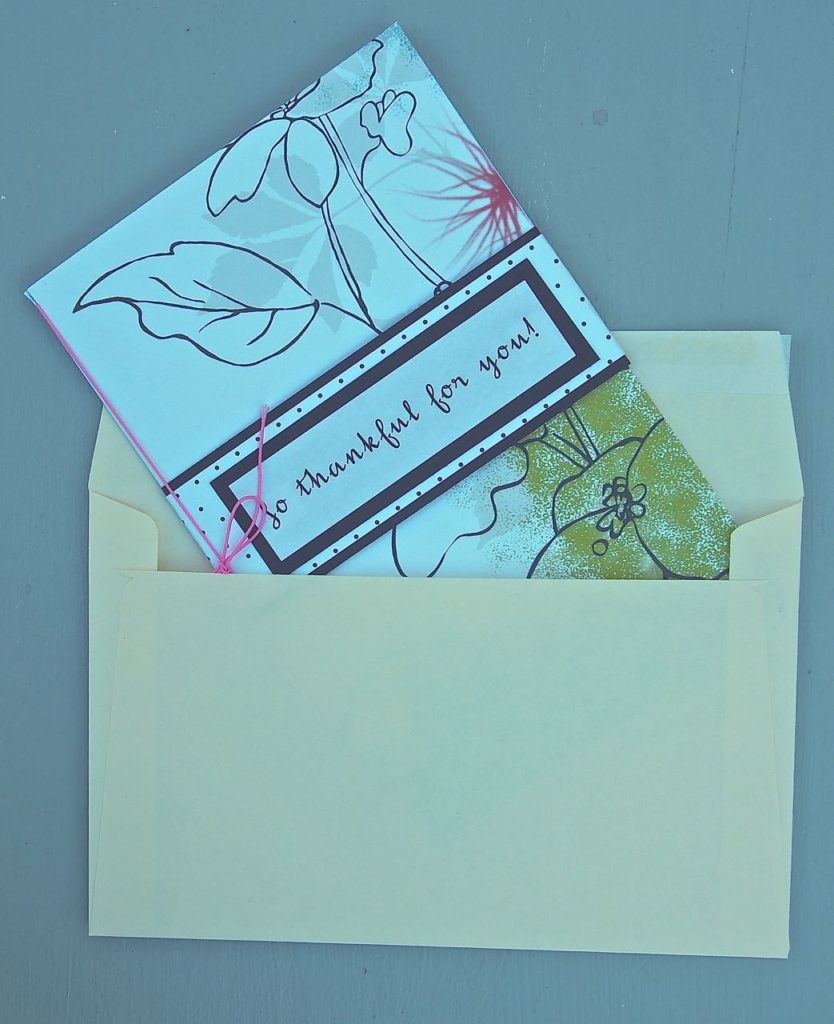
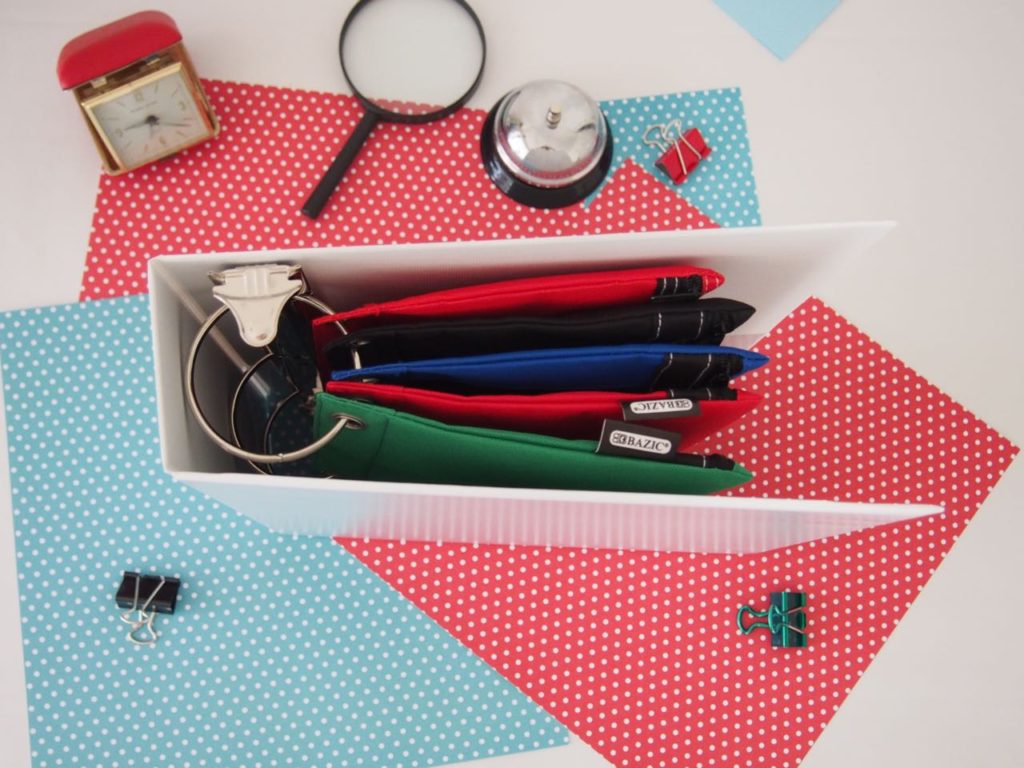
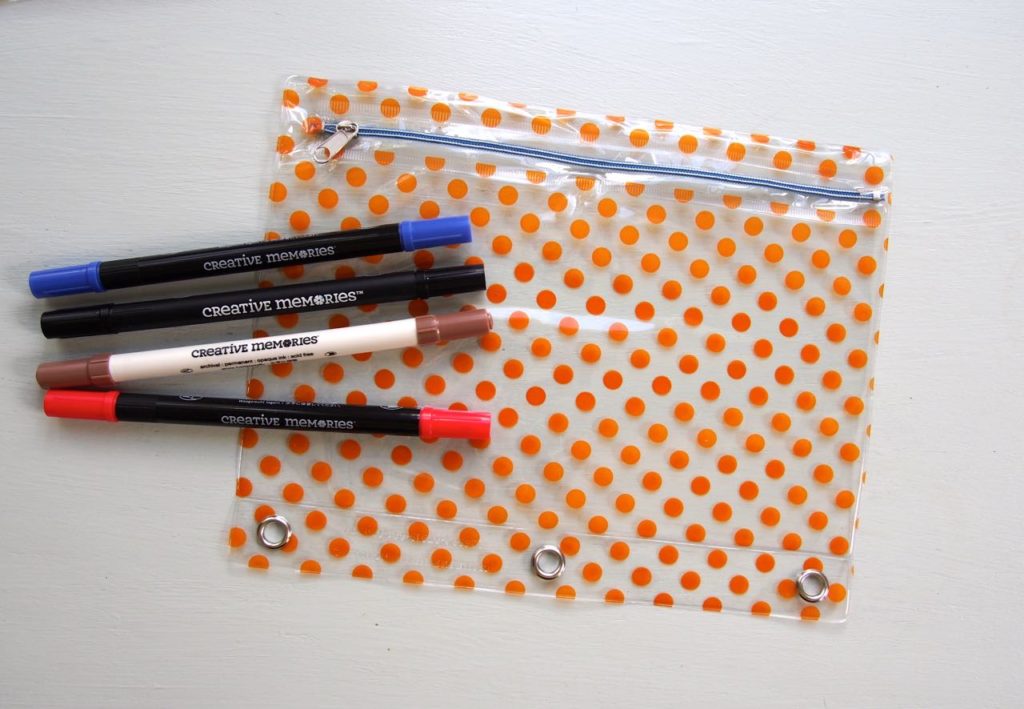
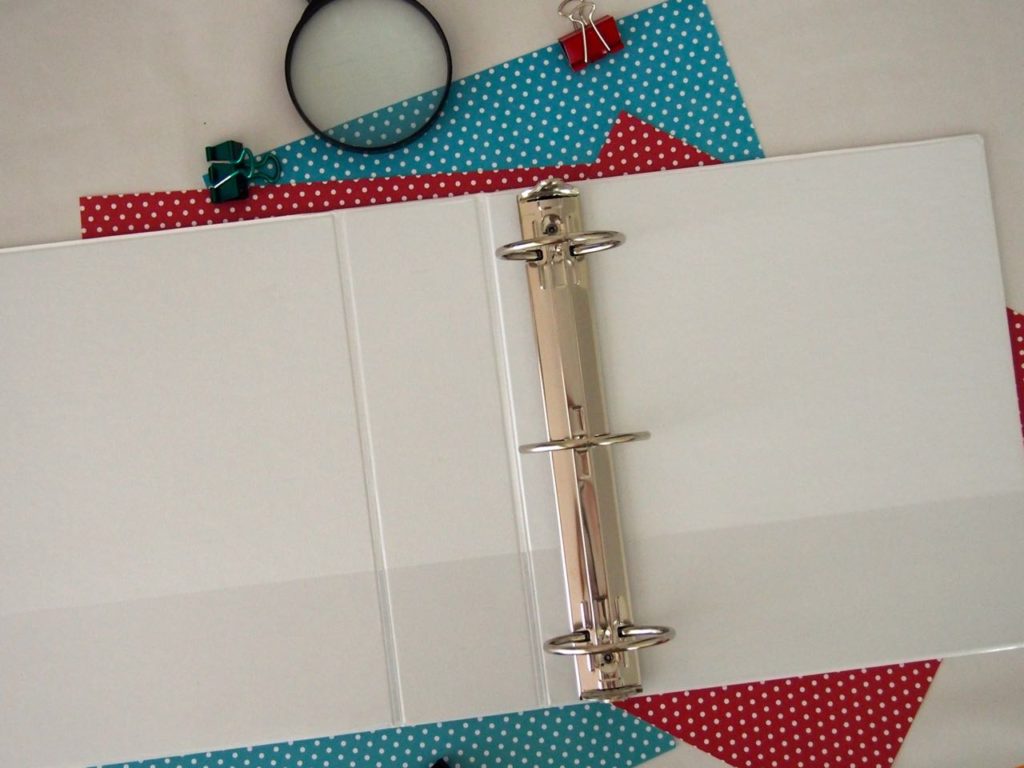
In addition to using the rings, the inside pockets are perfect for storing miscellaneous flat items.

Take a look at that–from chaos to order in no time. And the mesh windows still meet the needs of visual processors.

With 3-inch rings, even more than four pouches can fit in the binder.

In addition, I happened to have a couple of sheets of this fun cardstock, and I couldn’t resist dolling up the cover.

As a final creative touch, I added an H–my monogram.

And there you have it–all neat, organized, and ready to grab off the shelf when the creative urge strikes.

Enjoy!

Filed Under: Craft Ideas, Organization Tagged With: Dollar Store Diva

Dollar Store Organizational System for Art Supplies

July 6th, 2017 By Nancy
This post may contain affiliate links, which means I will make a small commission if you click and make a purchase.

I am creative; I simply can’t not create things. [Yes, that last phrase is grammatically correct. I think.]

The problem is that I am also disorganized. The fact that I am a visual processor with a touch of ADHD has made my creative energies significantly complicate my life. (See my Life- Changing Organizational System for Visual Learners here.)

My most recent creative endeavors have required colored pencils and pens, but for me a limited supply of coloring tools is not sufficient–I have to have a very large supply of them. And they are always a mess. I either leave them spread all over the dining room table or I have to sift through the closets and boxes and bins where I have tried–in vain–to organize them.

Then a light-bulb moment! A breathtaking light-bulb moment. I ran to the Dollar Tree to grab my supplies, rushed back home, and in no time at all I had my coloring supplies organized. For $5.00!

No, I’m not kidding.

So here we go.

Traditional organizational strategies don’t work for me. I have learned over the years that as much money as I might spend and as lovely as they might be, these systems simply won’t work for me. They simply won’t work.

But what can be easier and less expensive than this: a dollar each for clear plastic pencil pouches [clear is the operative word]…

…and a dollar for six binder rings.

I sorted through my endless supply of markers, pens, and colored pencils and organized them by type. [Obviously I couldn’t resist another trip to the Dollar Tree for a couple more pouches.]

Look at those markers–right there in the pouch clear as day!! Exactly what a visual processor needs.

After I filled the pouches, I put three of the rings to use.

And there you have it! Dozens of writing and coloring tools in one neat “booklet”–ready to grab and take wherever my ADHD whim takes me.

***

Filed Under: Craft Ideas, Organization Tagged With: Dollar Store Diva

8 Super-Easy DIY Watercolor Birthday Cards

April 12th, 2017 By Nancy
This post may contain affiliate links, which means I will make a small commission if you click and make a purchase.

I introduced the idea of using watercolors to create super-easy birthday cards, and I included a step-by-step tutorial in my original post: Super Easy Watercolor Birthday Cards. And now–ta dah!–here are eight more ideas to get your creative engines whirring.


So have fun looking at the cards I designed (with the help of Pinterest) to wish my family and friends a happy birthday. [I have created a supply so that I have them ready to put a stamp on and drop in the mailbox throughout the year.] Hopefully these will spark some great ideas of your own! And remember, these cards are not about perfection; they are about made-with-love whimsy.

Six watercolor cards

-1-

The warm birthday wishes are written inside.

-2-

-3-

A postcard, of course!

-4-

-5-

-6-

And, because I couldn’t resist, here are two Gel Pens ideas

-1-

-2-

So there you have it– eight super-easy DIY birthday cards you can create [even if you think you can’t draw].

***

Filed Under: Craft Ideas, Giving Tagged With: Dollar Store Diva

Super Easy DIY Watercolor Birthday Cards

March 24th, 2017 By Nancy
This post may contain affiliate links, which means I will make a small commission if you click and make a purchase.

One of the disappointments of my life is that I can’t draw. I used to dread art class in high school because what came so easily to others was sweat and tears for me. Thanks to Pinterest, however, I have recently learned that I actually can “draw”.  If you don’t believe me, look at the birthday cards I “drew”! Cute as anything, aren’t they?

 Oh, I love the simplicity of this card. And it’s whimsical, so there’s no pressure for perfection.

Knowing that I can make cards like this is especially exciting to me; you see, I have six children, plus their six spouses, along with 18 priceless grandchildren. And it is my pleasure to send birthday cards to all 30 of them.

Supplies Needed:

—Cardstock. I always have a supply of both white and off-white sheets of cardstock on hand

—Envelopes. I always keep an eye out for envelopes on sale or at garage sales or thrift stores. Currently I have a supply of both white and off-white A2 size [4 1/4″ x 5 1/2″] envelopes on hand–just the right size for 8 1/2 x 11″ card stock. [If you are using a different size envelope, just adapt the card measurements.]

—Pen. Since their ink is waterproof, my personal preference is Sakura Pigma Micron 05 pens for drawing the candle and writing the text.

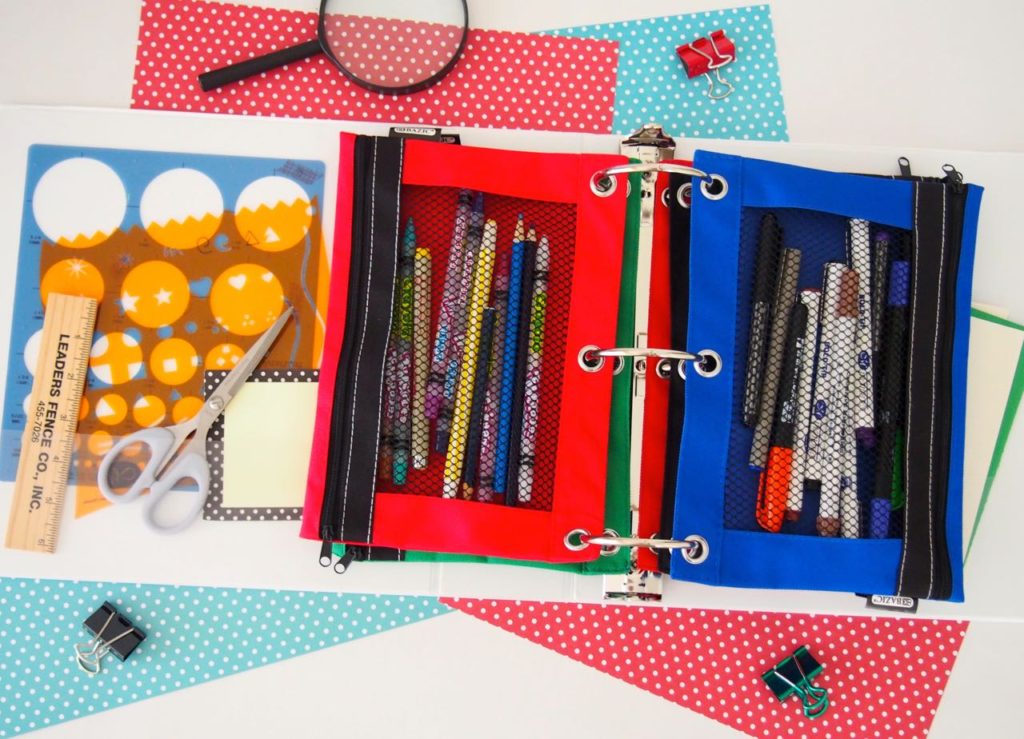
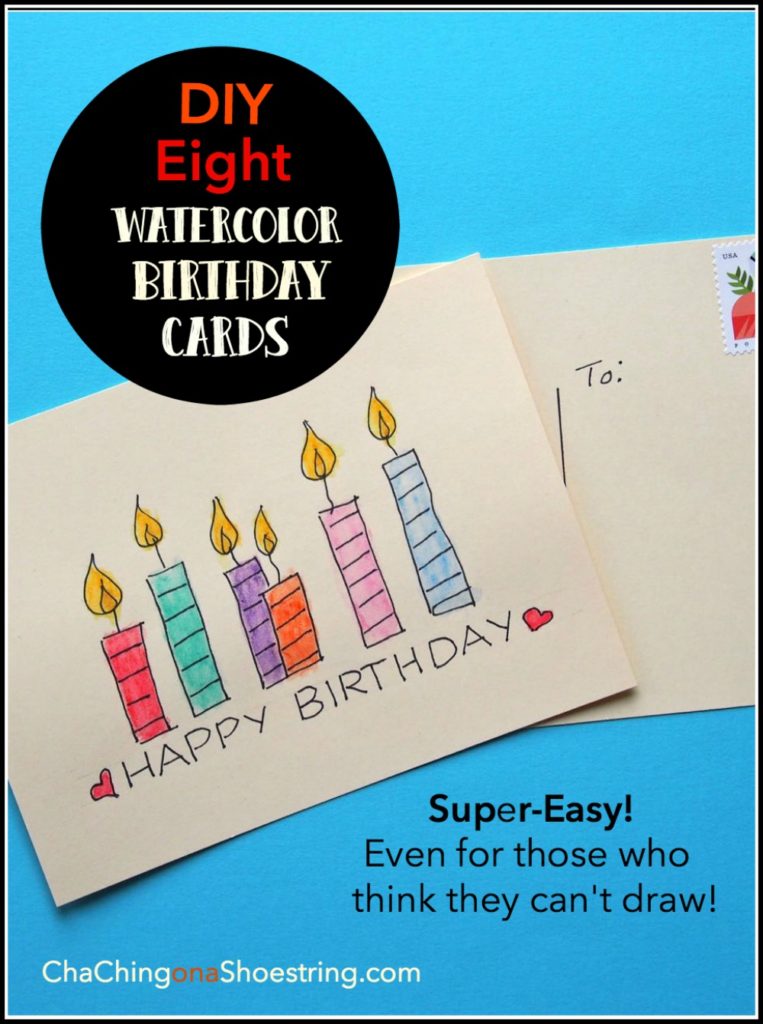
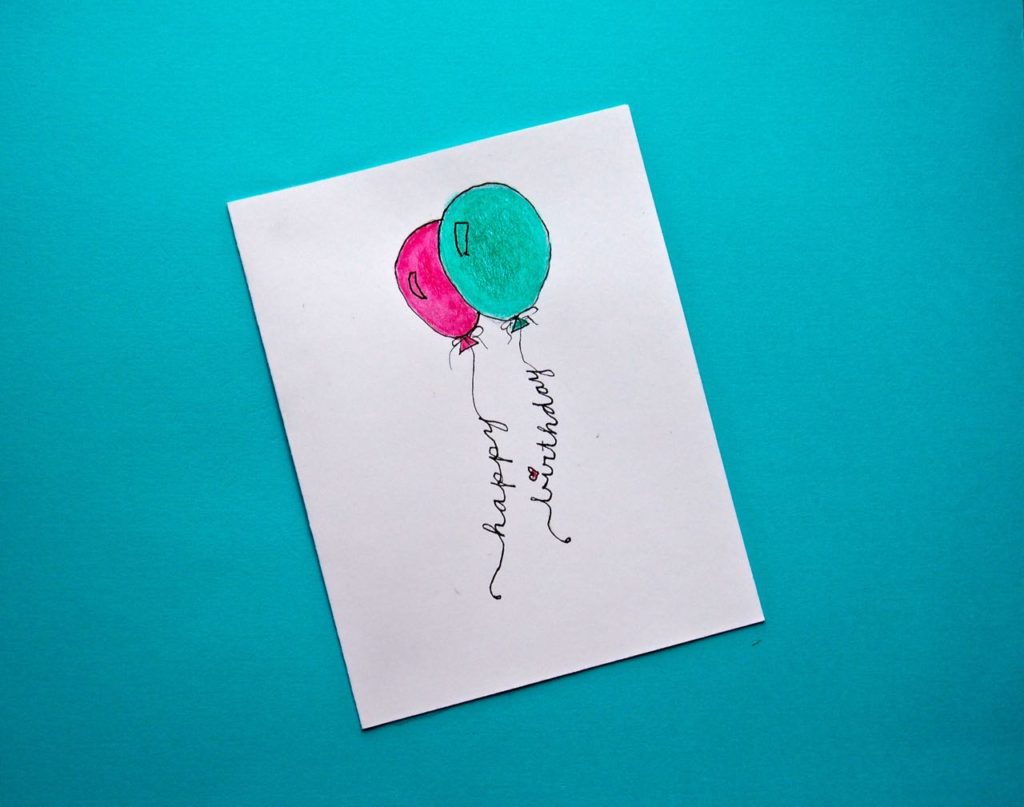
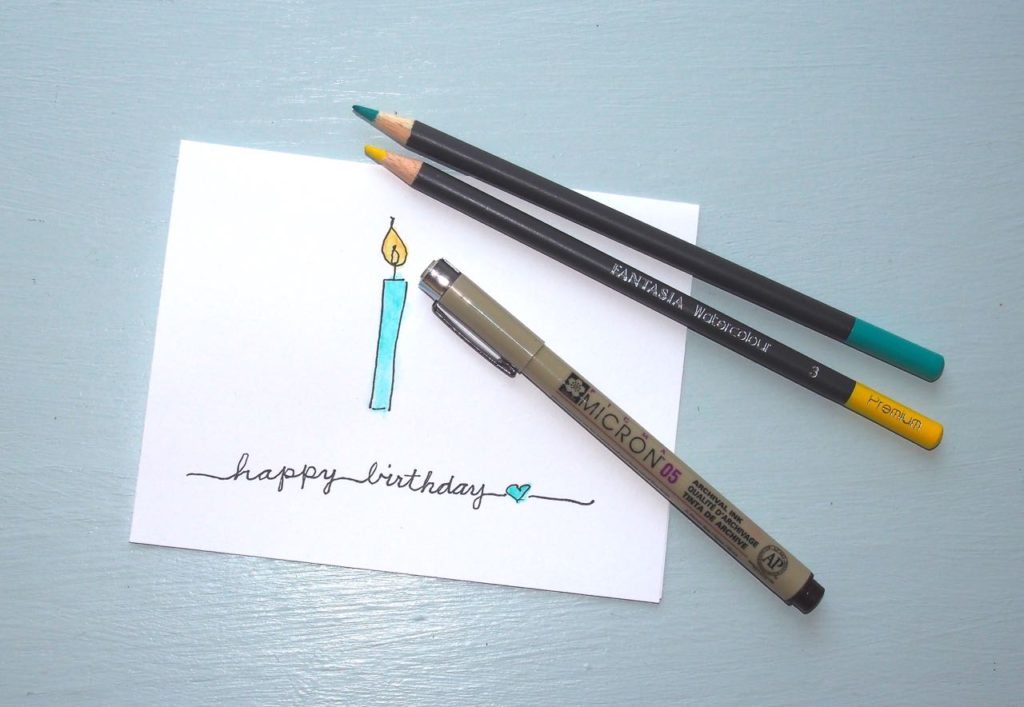
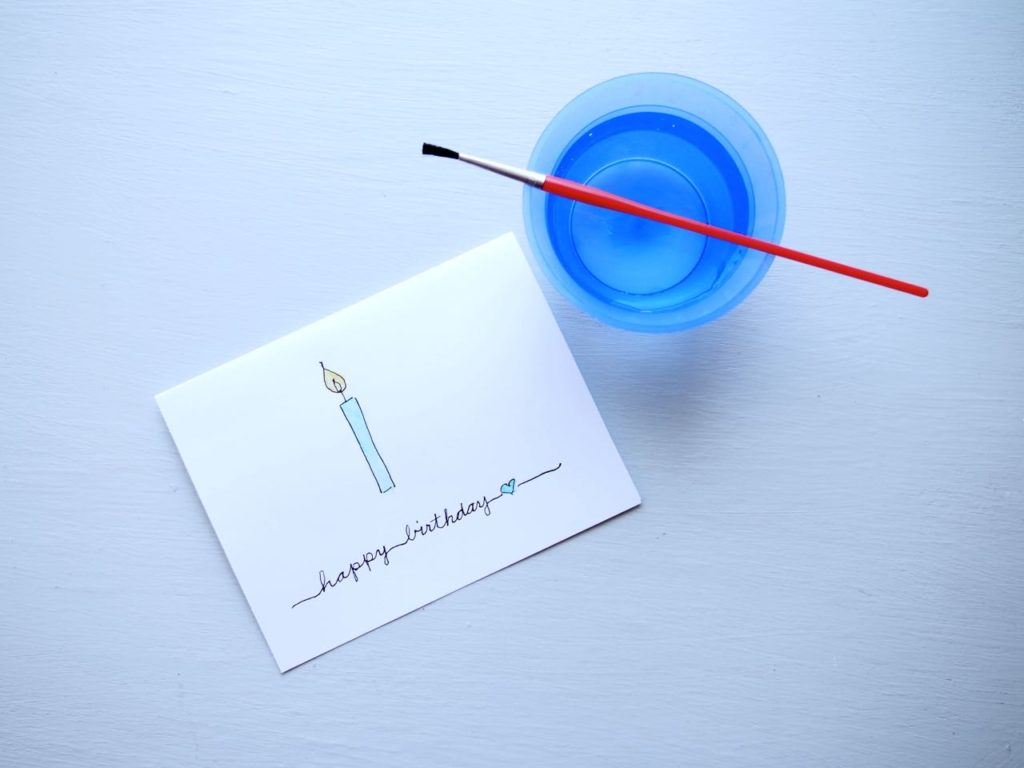
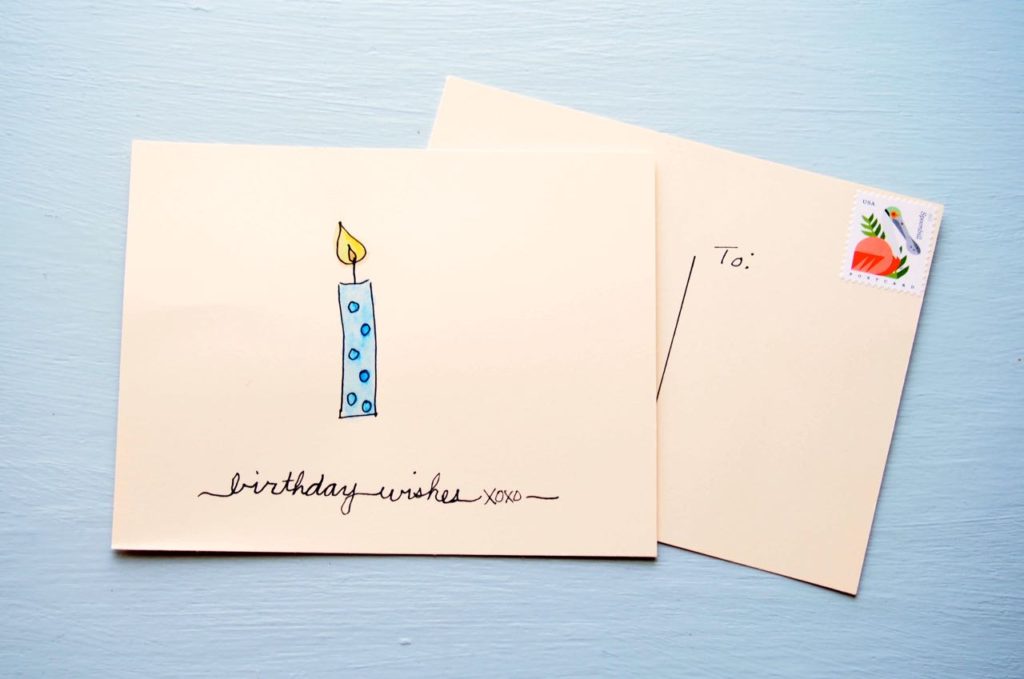
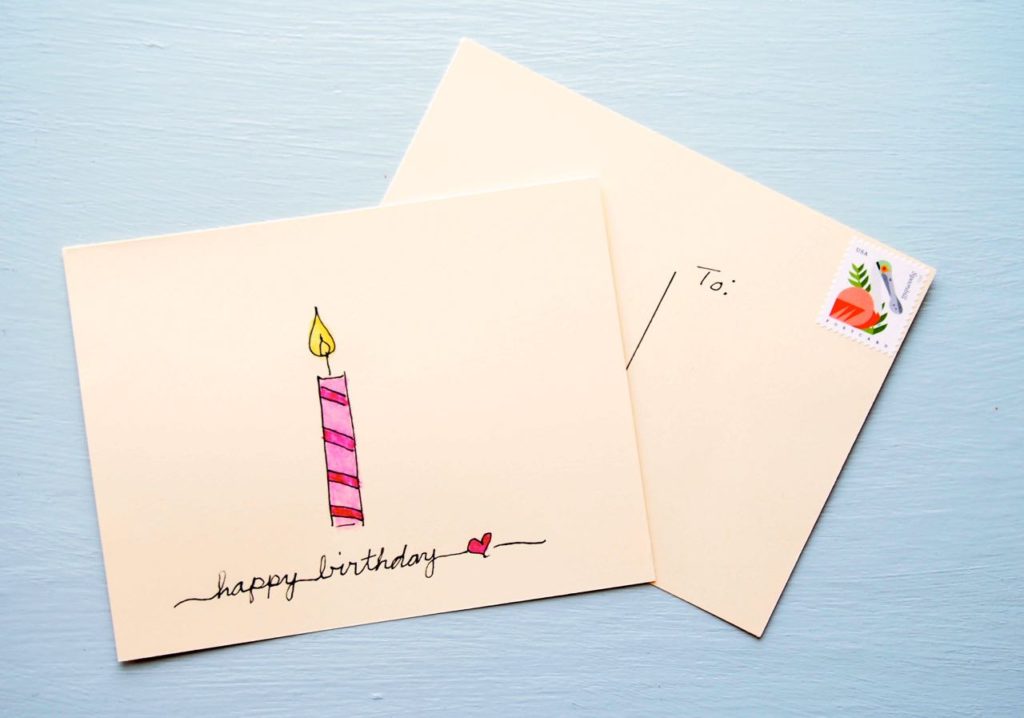
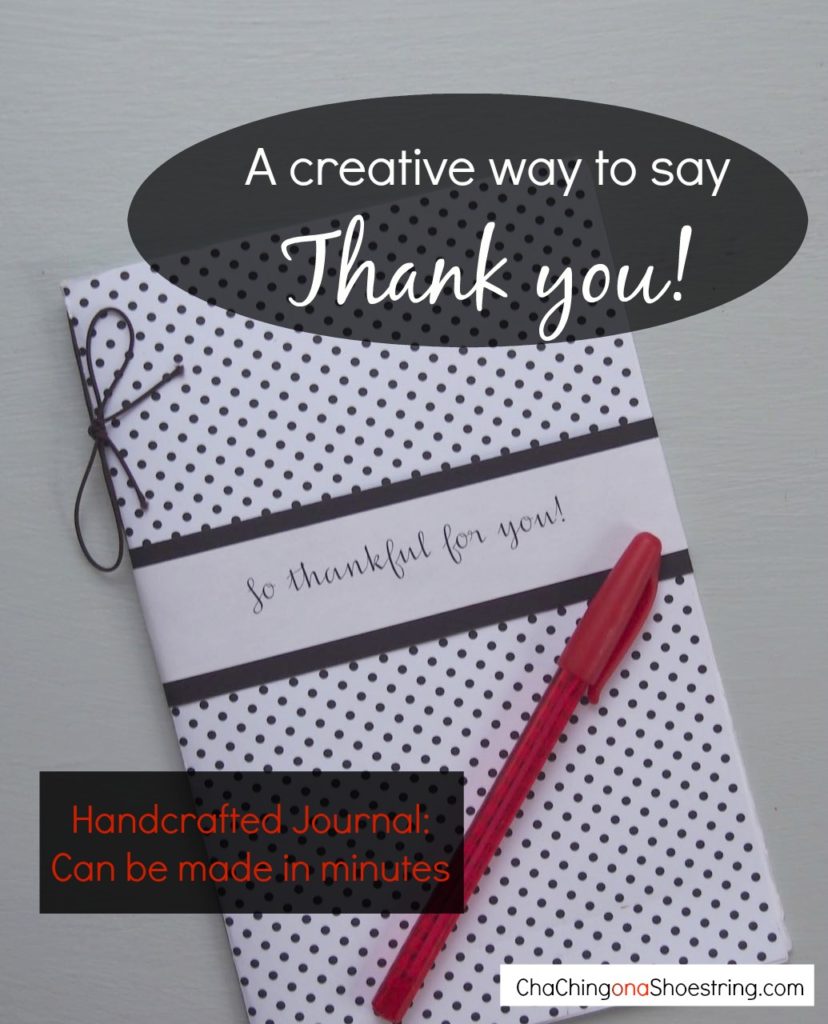
–Watercolor Pencils. Instead of watercolors, I use watercolor pencils. When I discovered these Fantasia Watercolour Pencils [half price at Michaels], I had no idea the pleasure they would bring me.

So here we go. A card can actually be made in minutes once the supplies are assembled. And once you get going, it’s so much fun you don’t want to stop.

#1

Cut a sheet of cardstock in half on the 11″ side.

#2

Fold the two sheets in half, creating two cards 5 1/2″ x  41/4″. Then press firmly with a bone folder, a ruler, or a dull butter knife to flatten the folded edge.

#3

Draw the outline of the candle and flame with the pen, and write the birthday message. No fancy lettering required. Remember, whimsy doesn’t require perfection.

#4

Color in the flame and candle with the watercolor pencils, then brush lightly with water.

And that’s it!

#5

How about some postcards?

Postcards are another money-saver with just as much pleasure for the recipient. One sheet of cardstock creates four cards–good deal, huh? And there’s still a space to write a lovely Happy Birthday note.

So there you have it! Ever so easy and fun with a personalized love note written inside.

***

Filed Under: Craft Ideas, Simple Living Tagged With: Dollar Store Diva

Simple Valentine Decorations: Two Easy DIY Banners

February 4th, 2017 By Kaley
This post may contain affiliate links, which means I will make a small commission if you click and make a purchase.


Every year when I turn my calendar to February, it seems that I have just put away my Christmas decorations. And I have to build up enthusiasm to start decorating–yet again–for Valentine’s Day.

But then I start having visions of hearts and candy and red and pink, and I just can’t help myself.

This year I thought that a banner would look lovely on my bookshelf. I decided to go with a red and black theme, and a quick search through my paper stash unveiled all sorts of appropriate scraps of paper.

But it didn’t stop there–I had so much fun with the first,  I couldn’t resist trying another. I decided to make the second one a bit more whimsical, and I think it turned out as cute as could be.

Check out this video, and I think you might catch the Valentine-Banner Bug too:

February in upstate New York is cold and dark; yup, cold and dark. Don’t you think that my banners add a nice touch of warmth to my home?

***

For those of you who haven’t met her, the Dollar Store Diva happens to be my Mom who has a special power.  She can transform Dollar Store and other inexpensive finds into super fun gifts and crafts that would brighten anyone’s day! Check out more from her here. 

Filed Under: Craft Ideas, Simple Living Tagged With: Dollar Store Diva

The Dollar Store Diva: Handcrafted Journal Tutorial with Printable

November 4th, 2016 By Kaley
This post may contain affiliate links, which means I will make a small commission if you click and make a purchase.

Handcrafted Thank You

See part 1 of this post here.

The gift of a handcrafted journal is such a lovely thing.

Once my friends and I decided we wanted to create some small gifts to bless special people in our life who have blessed us, this idea seemed the perfect place to start.

I searched online for journal-making ideas, and I found some impressive tutorials. But they included scary words such as tapestry needles, binding awls, coptic stitch binding, and screw punches. That all sounded a bit too ambitious for me.

Then one day I came across a roll of elastic cord in my craft cabinet. Inspiration struck for an incredibly simple binding–without one scary word included. And, then, look what I found at the Dollar Tree–exactly the elastic cord I needed. And, of course, for only one dollar.

Handcrafted Journal

Five Easy Steps for a Lovely Journal:

#1

First, print double-sided these Lined Journal Pages. [I print six or seven for each journal–that equals 12 (or 14) pages with 24 (28) sides.] Be sure that when you print the second side you have put the sheets in the printer correctly so that it will print out the same as the front side.

Lined Journal Pages

#2

For the cover, fold in half a sheet of decorative 8 1/2 x 11″ heavy paper or cardstock. Then fold the sheets of lined paper in half and flatten the folded edge. Place the lined paper inside the cover.

BB Journal - 07

#3

Here’s where my inspiration comes into play.

To create an it-couldn’t-be-easier binding, use scissors to snip two tiny cuts in the fold–one at the top of the page and one at the bottom. (See slideshow tutorial below.)  Then cut a length of the elastic, slip it through the two snips and wrap it around the journal.

DIY Journal

#4

Finally tie the elastic in a bow and double-knot.

BB Journal - 02

How easy is that?!

My crafting friends also used rubber stamps, painted them with water colors, and adhered them on a plain cardstock cover.

BB Journal - 09

#5

If you want to add a belly band for a final touch of spice, print a selection of thank you sayings. Trim the saying of your choice, mat it with a wider strip of 12×12′ colored paper, wrap it around the journal over the elastic binding, and adhere the two ends. [Don’t adhere the belly band to the back of the journal because it will tear the journal when it is ripped off.] Or use your own handwriting to express your warm thoughts. The easy steps are explained in the slideshow tutorial at the end of the post.

Belly Bands

One of the beauties of this gift project is that several can be created at one time–and ever so quickly. And they can be sent in the mail–ever so easily.

Handcrafted Journal
Some of the people I want to bless are not local, so I like to send journals in the mail. I discovered that 6 folded sheets of paper fit comfortably in an A9 envelope (5 3/4 x 8 3/4″) ] and mail with two first-class stamps.

Wouldn’t you like to find a journal like this in your mailbox?

Enjoy the following 2.5 minute tutorial.

Click to play this Smilebox slideshow

***

For those of you who haven’t met her, the Dollar Store Diva happens to be my Mom who has a special power.  She can transform Dollar Store and other inexpensive finds into super fun gifts and crafts that would brighten anyone’s day! Check out more from her here. 

Filed Under: Craft Ideas, Giving Tagged With: Dollar Store Diva, noads

The Dollar Store Diva: My Personal Story of Finding a Creative Way to Say Thank You

November 3rd, 2016 By Kaley
This post may contain affiliate links, which means I will make a small commission if you click and make a purchase.

Handmade Journal


Note from Kaley: I am honored to have my Mom share a little bit of her personal story with us today on the blog. Each time I hear this particularly touching story from her childhood, I am moved to tears by this simple act of compassion. May we all remember those who have touched our lives in such simple and meaningful ways during this season of Gratitude.

                      “Feeling gratitude and not expressing it is like wrapping a present and not giving it.”

**********

My third-grade picture that my dad carried in his wallet.

The year was 1957 and the grass was just starting to grow over my father’s grave. With the stop of my father’s heartbeat, my mother had been thrust violently into the role of breadwinner, and during that summer of my tenth year, she sat at a desk miles away from home working on a teaching degree. For those six weeks, my two teenaged sisters were left to care for my younger sister and me. In their bobby socks and ponytails, they spent their summer feeding us from cupboards that were too often bare, hanging our clothes on the line to dry, and keeping us safe at night.

In the afternoon of the day of my memory, I was taken to the doctor’s office with a dangerously infected toenail. Dr. Barrall bent his head, with its blazing red hair, over my foot, injected a shot of Novocain into my big toe, and proceeded to rip off the nail. My screams shot down the hallway and filled the waiting room.

That evening I lay alone in my rumpled bed. There were no pictures on the walls of my bedroom; there were no curtains at the window to sway in the breeze. This was the house we had escaped to after our house on Main Street had been taken away from us, after my father had sat down in the living room chair and died.

With my leg stretched out in front of me, I watched the stain of red seeping through the fat wad of gauze around my toe. The aching pain moved up my leg, and I sobbed. I had no mother; I had no father. I felt so very alone, in a house on the edge of town, with no pictures on the walls and no curtains at the window.

My sisters’ friend Flossie had stopped by the house, and the three girls were whispering nervously in another room. They should have been giggling together, like teenagers do on hot July evenings, but instead they were responsible for a wailing, inconsolable child.

Quietly, Flossie stepped into my room carrying a pan of cool water and a washcloth. She sat down on the edge of my bed and placed the pan on the nightstand. As she reached into the pan to saturate the cloth, she started cooing soft and soothing words.

I can still see her hands—dipping the cloth in the pan, wringing out the water, wiping my face, my damp forehead, my swollen eyes. Her hands—dipping the cloth in the water, wringing it out, wiping my face, my forehead, my eyes. Making soft, soothing sounds.

My sobs stopped, my body relaxed, and now it was just the murmuring of Flossie’s voice, the swishing of the water, the cool cloth to my face.

A gentle grace-filled quiet entered the room—and I slept.

*****

My two older sisters fishing with Dad a couple of years before he died. I love everything about this picture.

*****

Though I hadn’t seen Flossie for decades, I located her so I could say thank you. She was stunned–she had absolutely no memory of that July evening.  And I was amazed that for all these years she had been unaware that she had  wiped away the tears of a desolate little girl. I started thinking of other people who had shown kindness to me over the years. Like Flossie, perhaps they, too, had no memory of the gift they had given me. I wanted to thank them.

Recently, some friends and I decided to spend a few Wednesday evenings together creating small gifts with the specific purpose of  blessing others. And what fun we had laughing and working together, all of us with a desire to bless or say thank you.

Handmade Journals

Click here for a tutorial for these super-easy journals along with a free printable.

*****

For those of you who haven’t met her, the Dollar Store Diva happens to be my Mom who has a special power.  She can transform Dollar Store and other inexpensive finds into super fun gifts and crafts that would brighten anyone’s day! Check out more from her here. 

Filed Under: Craft Ideas, Giving Tagged With: Dollar Store Diva, noads

  • 1
  • 2
  • 3
  • …
  • 12
  • Next Page »

Welcome

About
Contact

My  name is Kaley. Wife, Mama, and Dreamer, I have a passion for saving money, living simply, and helping others find creative ways to live large on a limited budget.

My Favorite Things

Copyright © 2025 Kaley Ehret · Site Design by Sharon Hujik · Log in
Disclaimer | Disclosure Policy | Privacy Statement